
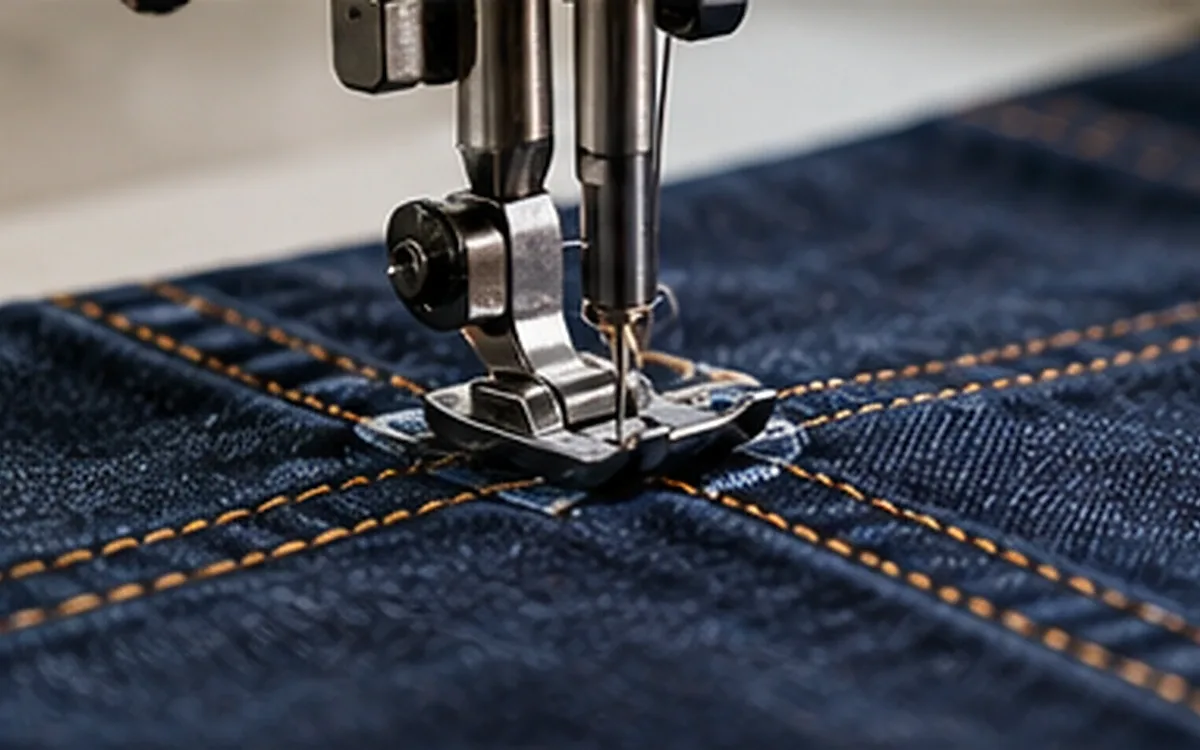
“Use a three-thread stitch” is not a complete sewing instruction. It could describe an overedge formation or a bottom coverstitch. Both use three threads, but they place those threads in different ways and serve different purposes.
Garment stitch types give the development team a shared way to name those structures. The code helps the designer, sample room, factory and inspector discuss the same stitch. It still needs a seam layout, material details and clear acceptance requirements.
This guide explains how to read the classes, recognise common designations and turn them into a useful operation brief. The worked examples are invented teaching cases. Their dimensions and trial choices are not universal settings for garments.
Separate the stitch from the rest of the seam
A stitch describes the thread formation. A seam describes how the material parts are arranged and joined or finished. The machine is the equipment that makes the work possible. These are related choices, but one name cannot stand in for all three.
For example, a straight stitch can attach a pocket, close a seam or form visible topstitching. The thread structure alone does not tell the maker where to put the fabric edges. The brief must also show the fold, overlap or other material arrangement.
ISO 4915:1991 classifies stitch types used in hand and machine sewing. Its official listing remains current and shows it under systematic review. The standard identifies formations; it does not supply a complete product specification for a particular garment.
Use the code to remove uncertainty about the stitch itself. Then add the facts needed to make and judge the seam. A buyer who asks for “coverstitch” may care about the underside coverage, the visible top rows, or both. Ask which result the design requires before approving a substitute.
Read the six classes as families
The first digit identifies the broad stitch class. The remaining digits distinguish types within that class. A class is therefore a family of formations, not a single stitch and not a quality rank.
The public ISO 4915 preview explains the six families and the numbering system. This short guide gives their broad meaning:
Class | Family | Main structural idea |
|---|---|---|
100 | Chain stitches | Needle-thread loops secure through loops of the same thread |
200 | Stitches originating as hand stitches | A single thread passes in and out of the material |
300 | Lockstitches | Different thread groups interlace |
400 | Multi-thread chain stitches | Thread groups interloop to form the stitch |
500 | Overedge chain stitches | Thread loops pass around the material edge |
600 | Covering chain stitches | Thread groups provide coverage on both surfaces |
These descriptions help organise the subject. They do not mean that all members of a family have the same thread count, width or performance. Nor does the word “hand” establish that a particular production sample was sewn by hand. Check the actual method when that is part of the purchase requirement.
Avoid treating a short list of common codes as a full catalogue. A factory may use only a few formations often, while a specialist operation needs another one. Confirm an unfamiliar designation through the agreed technical reference and the machine documentation.
Learn the thread roles behind common codes
Needle threads pass into the material through the needle. A bobbin thread or looper thread helps secure the formation. Some covering stitches add a thread across the top. The number of active needles and the number of threads are different counts.
American & Efird's stitch glossary provides the following useful distinctions. The table covers selected production designations, not every stitch type.
Designation | Needle threads | Other threads | Formation to recognise |
|---|---|---|---|
101 | 1 | None | Self-looping chain |
301 | 1 | 1 bobbin | Lockstitch |
401 | 1 | 1 looper | Two-thread chainstitch |
406 | 2 | 1 looper | Bottom coverstitch |
504 | 1 | 2 loopers | Three-thread overedge |
514 | 2 | 2 loopers | Four-thread overedge |
516 | 2 | 3 loopers | Combined 401 and 504 safety stitch |
602 | 2 | 1 looper and 1 top cover | Coverstitch with top coverage |
Read each row as a structure, rather than as a recommendation for every fabric. A spare cone on the stand does not add a thread to the stitch. A threaded path that is not forming the intended stitch does not prove that the correct structure is present either.
The table also explains why thread count is a poor substitute for a code. A 301 and a 401 each use two threads. A 406 and a 504 each use three. Their roles and paths differ, so equal totals do not make them interchangeable.
Coverstitch is not confined to class 600
The 406 formation belongs to class 400 even though it is widely called a coverstitch or coverseam. Its coverage is underneath. A 602 adds top coverage. Coats' guide to basic stitch types makes this distinction and also describes the three-needle 605 and four-needle 607 covering formations.
An instruction that says only “class 600 hem” is still too broad. Name the required type and show which garment face carries the visible effect. A neat underside does not prove that the top cover requested by the designer is present.
Safety-stitch names need their components
Supplier charts commonly identify the combination of 401 and 504 as 516. ISO 4915 also describes notation that writes the component stitch codes together. When a combination is made in one operation, its example uses brackets around the combined designation.
Keep the agreed convention in the specification and explain the component structures where needed. Do not silently replace a buyer's designation with a local nickname. “Five thread” or “safety stitch” alone leaves room for a different interpretation.
Begin selection with the operation's job
Before choosing a code, describe what the seam must do. Does it join two parts under load, finish a raw edge, hold a folded hem, attach elastic or create a visible effect? One operation may serve several functions, but each should be stated.
Then consider how the garment will move. A seam across a stretch area has different demands from a stable decorative row. The fabric's stretch direction matters, as does the direction in which the wearer loads the seam. The word “knit” does not settle every stitch choice.
The public guidance for ASTM D6193-16(2025) treats seam performance as a combined result. It includes fabric, seam construction, stitch type, stitch density, tension and thread properties. The intended use determines the balance between strength, extension, durability, security and appearance.
This means a familiar code is a starting point for development. It is not a certificate of seam strength. A visually correct stitch can still fail in an unsuitable material or poorly controlled assembly.
An original operation map for a knit top
Suppose a team is developing a simple lounge top. The brief requires joined body panels, a folded bottom hem and a visible covered detail at the neck. It proposes the following candidates for trials:
Operation | Candidate structure | Main result to check |
|---|---|---|
Join body panels | 514 overedge | Secure joining, edge control and required movement |
Secure the folded bottom hem | 406 bottom coverstitch | Correct fold capture, underside coverage and appearance |
Sew the neck detail | 602 with top cover | Intended visible coverage and comfort against the body |
These are choices for this fictional development trial. They are not a rule that every lounge top must use the same combination. Fabric, design and buyer requirements may lead to other choices.
The map also exposes missing information. How deep is the hem? Which side is visible? How wide should the needle rows be? What happens at a cross seam? The stitch code cannot answer those questions, so the sample instruction must.
If the neck detail changes from decoration to a loaded join, review the brief again. A previous appearance approval does not automatically cover that new function. Record the changed requirement before asking the factory for a revised sample.
Specify width, stitch length and density separately
Needle spacing runs across the rows. Stitch length runs along the sewing direction. A folded hem depth describes the fabric arrangement. All may be stated in millimetres, yet they describe different dimensions.
For a hypothetical 406 hem trial, suppose the brief calls for 5.6 mm between the needle rows and a 20 mm folded hem depth. Neither value tells the operator how far the material advances from one stitch to the next. That needs a separate stitch-length or density requirement.
Machine details matter here. JUKI's MF-7500 series documentation lists multiple needle gauges and a stitch-length range. Those are machine options, not a recommendation for every hem. Confirm the exact configuration available for the proposed sample instead of relying on the family name alone.
Convert density without changing its meaning
For evenly spaced stitches along one row:
Stitches per centimetre = 10 ÷ stitch length in millimetres.
Stitches per inch = 25.4 ÷ stitch length in millimetres.
A stitch length of 2.0 mm therefore gives:
10 ÷ 2.0 = 5 stitches per centimetre.
25.4 ÷ 2.0 = 12.7 stitches per inch.
At 2.5 mm, the values become 4 stitches per centimetre and 10.16 stitches per inch. These are conversions, not recommended settings. They assume an even spacing measured along the sewing path.
The reverse calculation is equally useful. A requirement of 12 stitches per inch gives an average pitch of 25.4 ÷ 12 = 2.1167 mm, rounded. Keep enough precision when converting a specification, then agree on the practical measuring and rounding rule. Do not create a new acceptance limit by rounding early.
American & Efird's SPI bulletin explains why density belongs in the sewing specification. It affects appearance and seam behaviour. Increasing it is not an unlimited improvement; extra needle penetrations can damage some fabrics.
Count intervals carefully
Imagine a straight row with 51 visible needle-hole positions from the first point to the last. Those endpoints span 100 mm. There are 50 intervals, so the average pitch is:
100 ÷ (51 − 1) = 2.0 mm.
Counting 51 holes as 51 full stitch lengths would create an error at the endpoints. Use the agreed counting convention and measure a suitable length. A short, uneven section can give a misleading result.
On a two-needle sample, both rows may show the same spacing. The inclusive window then contains 2 × 51 = 102 hole positions, but each row still has 50 intervals over 100 mm. Its density remains 12.7 stitches per inch. Adding the two rows together does not turn the specified row density into 25.4 stitches per inch.
State the row and location being measured. Keep the fabric in the agreed relaxed state, and avoid pulling it to make the count fit. If the spacing changes through a bulky crossing, record that local result instead of hiding it in a long average.
Check both faces and the edge
A sample review needs more than a glance at the face side. Look at the underside, the fabric edge and the start and finish. Compare the formation with the approved reference and confirm that it continues through the whole operation.
Two parallel lines on top do not reveal every thread path underneath. They could come from independent rows or a covering structure. Turn the work over and identify what connects the rows. Where the path remains unclear, ask the technician to explain it with a separate sample.
An identification sample can use contrasting thread colours in the different paths. That helps the team trace which thread forms which feature. It is a communication aid, not a replacement for testing the final thread and fabric combination.
Check the ends as part of the product design. Coats identifies runback from the finishing end as a concern with 101 chainstitch and discusses security limits in other chain formations. Agree on the approved way to secure the relevant operation. A long thread tail alone does not prove that the end will remain secure in use.
Also inspect whether the intended edge or fold is caught. A correct stitch structure can miss the folded fabric in one area. That is an assembly fault even if the thread path looks sound where it does catch the material.
Resolve a misleading sample before changing the code
Imagine that the approved hem uses 406, but a new sample has two independent rows of 301. From the face, both samples show two straight rows. The reviewer notices that similarity and marks the appearance as acceptable.
The next check should identify the underside structure. The new sample does not meet the named stitch requirement merely because its face looks close. Record the mismatch and ask whether the supplier made an error or is proposing a change. Those are different questions and need different responses.
If it is an error, request the specified formation. If it is a proposed change, assess the new assembly against the product's needs. Do not rewrite the code in the file just to make the existing sample appear compliant. The sample review may support a change, but the responsible team must make that decision explicitly.
Keep the appearance comment with its limited scope. It may remain useful evidence about the face side, even though it does not approve the whole operation. Clear review notes prevent one narrow observation from becoming a broad release decision.
Distinguish extension from recovery
A seam may extend without breaking and still fail to return to its intended appearance. Extension describes the change while stretched. Recovery concerns what happens after the load is removed. The stitch code does not give either result for a finished assembly.
For an original development check, mark a 200 mm gauge length along a sewn strip. Under the agreed trial conditions, it reaches 260 mm. The extension is:
(260 − 200) ÷ 200 × 100 = 30%.
After release and the agreed rest period, suppose the marked length is 204 mm. The remaining change is:
(204 − 200) ÷ 200 × 100 = 2%.
The sample therefore reached 30% extension under those conditions and retained 2% change after that stated rest. Neither number is a pass or fail until the product brief supplies the limits. This example is arithmetic for a development record, not a published laboratory test method.
Keep the applied load or movement, direction, gauge length and rest conditions with the result. “Stretches 30%” is incomplete if another person cannot reproduce the conditions. For formal acceptance, use the agreed test method and suitable equipment.
Review appearance as well as the numbers. Look for thread rupture, openings between plies, distortion or damage at needle holes. The failure mode helps the team decide what to investigate. Do not assume that changing the stitch class alone will resolve every fault.
Write a brief another person can reproduce
The finished instruction should connect an operation to its actual materials and approved sample. Include the stitch designation, seam layout, thread specification and key dimensions. State the face to be shown and the required treatment of the ends.
American & Efird's stitches-and-seams resource brings together stitch identifiers, density specifications and seam drawings. That combination is useful because a name, a number and a physical arrangement answer different questions.
For the fictional hem, a clear record might identify operation H04, the approved fabric, type 406, the 5.6 mm needle spacing and the 20 mm hem depth. It would add the approved density range, thread details and sample reference. The example dimensions do not replace the missing product-specific values.
Use a labelled sample to show the intended appearance. Record which revision it represents and whether it covers appearance alone or also the agreed performance checks. An old sample without status can create a conflict with an otherwise correct written brief.
Find the gaps in an incomplete operation note
Consider the note “double needle, 5.6 gauge, 12.” It leaves several decisions to the reader. Does “double needle” mean two independent rows or a covering structure? Is the gauge in millimetres? Does 12 mean stitches per inch, stitches per centimetre or something else?
The note also says nothing about the fabric fold or where the rows sit relative to its edge. A maker could follow the three stated numbers and still produce the wrong result. Add the missing units and the stitch designation, then link the seam layout and sample. Ask the receiving team to identify any remaining uncertainty.
When the written note and sample conflict, identify which one is current. Do not tell each person to use whichever seems more reasonable. Correct the obsolete record and keep a brief explanation of the change. That prevents the same question from returning with the next colour or repeat order.
Review translated instructions with the same care. A local machine nickname may be familiar on one production floor and unclear elsewhere. Retain the agreed numeric designation and units across language versions, with plain descriptions of the required effect.
Keep the thread-order calculation separate from the stitch identity. Thread count is not a consumption ratio. ApparelDiary's sewing-thread consumption guide explains how a confirmed operation feeds into a practical quantity estimate. A change in stitch structure needs a fresh consumption basis.
Manage substitutions through the same evidence
A factory may propose another stitch because its available machine is different. Ask what changes in the finished product before accepting the proposal. The same number of needles does not establish the same thread structure, coverage or end security.
Compare a new sample with the approved requirements. Use the intended material and inspect the same critical locations. If the trial also changes thread, fabric or seam layout, record all those changes. Otherwise, the team cannot tell which difference produced the result.
Keep trial observations separate from decisions. “No thread break in this sample” records an outcome under the stated conditions. It does not mean that every garment in a bulk order will perform the same way. Note which material lots, sizes and locations the trial actually covered.
Choose cases that expose the operation's limits. A long straight section may sew well while a crossing, curve or join creates a different result. Include the relevant difficult areas in the sample and inspect them directly. A good average across the easy sections should not hide a local failure that matters in use.
If the trial fails, describe the failure before choosing a remedy. A missed fold, a wrong formation and a thread rupture are not the same defect. Send the finding to the person who controls the relevant part of the process. This keeps a stitch-selection review from becoming a series of unrecorded machine adjustments.
Approval should identify the scope of the substitution. It may apply to one operation, one material or one order. Avoid wording that could be read as permission to replace the stitch throughout the whole style range.
ApparelDiary's apparel PLM guide provides a way to connect those decisions with the product revision. Whether the team uses software or a controlled file, the next maker needs the current instruction and its supporting sample.
At handover, ask the receiving team to explain the intended thread structure and show its sample. Resolve any mismatch before treating the operation as routine. The practical value of stitch classification is a shared, testable instruction that still makes sense at the sewing machine.



Discussion0
Loading the discussion…