
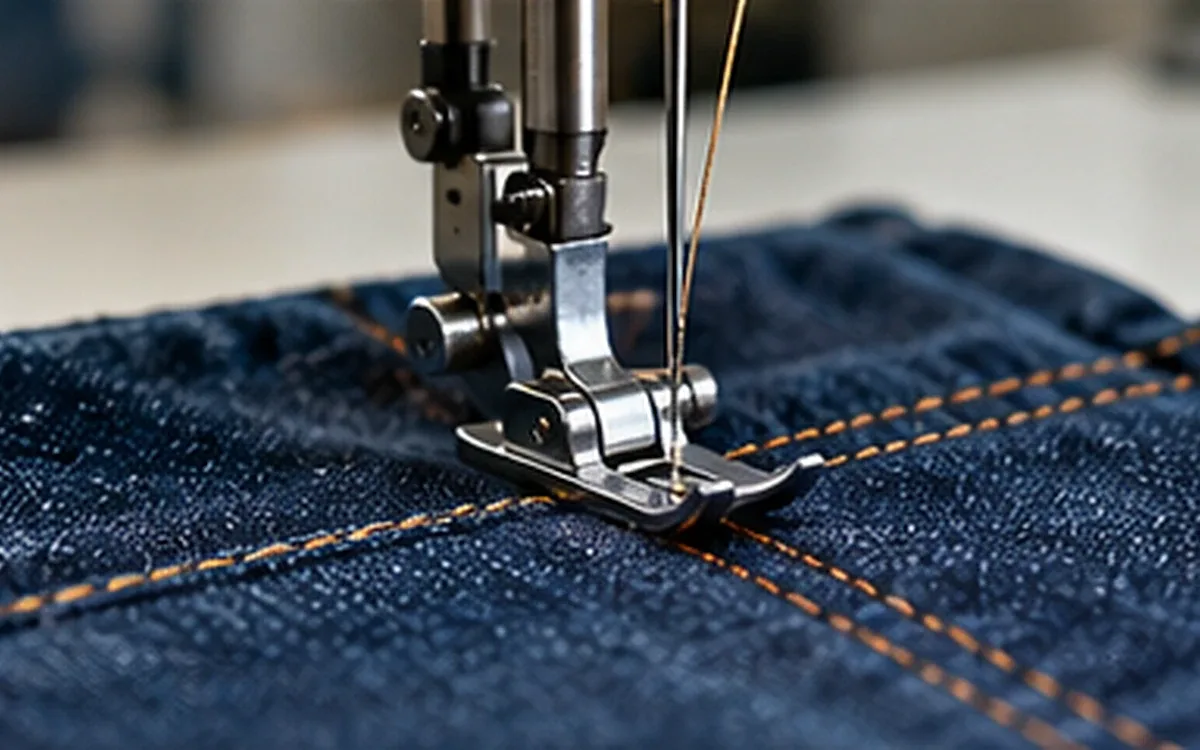
Two samples can look almost alike from the front. One may use lockstitch and the other chainstitch. Turn them over and the difference becomes clear. One has a second straight thread line. The other has a chain of loops beneath the fabric.
That difference matters, but it does not settle the choice. A collar row, a stretch waistband join and a long trouser seam have different demands. The best option for one operation may be a poor fit for another in the same garment.
This comparison concerns two specific types. Stitch type 301 is the usual straight lockstitch. Stitch type 401 is the two-thread chainstitch. Other types can have different structures. The chosen sewing arrangement must meet the required movement, security and appearance. Confirm those results on the actual materials.
Know what the two codes describe
Type 301 uses one needle thread and one bobbin thread. They interlace within a balanced seam. The visible thread lines can look similar on both faces, although the selected colours and thread sizes can differ.
Type 401 also uses two threads, but the second is a looper thread. It links with the needle thread beneath the material to form the chain on the reverse. The looper thread normally feeds from a larger thread package. This avoids the bobbin changes needed by a conventional 301 machine.
American & Efird's stitch glossary describes these thread roles. It also identifies type 101 as a separate, single-thread chainstitch. The term “chain stitch” alone does not say which type is required.
Feature | Type 301 | Type 401 |
|---|---|---|
Thread roles | Needle and bobbin | Needle and looper |
Main joining action | Threads interlace | Threads interloop |
Reverse appearance | Straight thread line | Linked chain structure |
Lower thread supply | Bobbin | Looper thread package |
Key trial concerns | Movement, balance and secure ends | Movement, reverse bulk and runback |
Neither code defines the fabric folds or the number of material layers. The same plain joining arrangement can be sewn with either stitch. If a trial compares only the stitches, keep the seam folds and layers the same.
Include the rest of the sewing route
A straight joining row does not automatically finish the cut edge beside it. If the garment needs an overedge finish, include that in the proposed route. A neat 401 row still leaves the cut edge beside it exposed. The use of loopers does not make it an edge finish.
The same distinction matters when reading a machine list. A five-thread safety stitch can combine a 401 joining row with a three-thread overedge formation. American & Efird identifies that combination in its stitch glossary. Comparing the combined operation with a separate 301 joining row leaves different work in the two samples.
Write down what each option must produce before judging the result. If both routes must join the panels and finish their raw edges, show both tasks in the trial record. Include any extra topstitching too. It may hold an allowance down or form part of the required look.
Then inspect the complete sewn area. A joining row may perform well while the edge finish restricts movement. An attractive face may also hide loose thread on the reverse. The final garment contains the whole arrangement, so the approval must address the parts that will remain together.
Write the operation's requirements first
Begin with a short description of the task. State the material, seam location, intended appearance and movement. Include the steps that follow sewing, such as pressing, garment washing or attachment of another component.
For a decorative row on a stable collar, a neat line on both faces may carry more weight than high extension. For a seam around an opening, movement during dressing may be essential. A hidden reverse side can still matter if it rubs against the skin or another layer.
Decide which results are required before comparing samples. A row that looks attractive but cracks during the agreed movement check needs work. A sample that stretches well but opens from an unsecured end also needs work. A higher score on one feature does not remove a failure on another.
ASTM D6193's public guidance links several parts of seam design. These include strength, elasticity, durability, security and appearance. The end use determines their importance. Use that framework to write the brief. Then state the test methods and limits agreed for the product.
Compare movement without assigning a fixed percentage
Type 401 generally offers greater seam extension than a comparable straight 301 arrangement. Coats' stitch guide identifies this advantage. It also describes the different underside and the risk of runback. It does not make every 401 seam suitable for every stretch product.
The thread, stitch density, tension balance, fabric and seam layout affect movement. A thread can stretch, and the thread path can also change shape under load. These are different contributions. Knowing a thread's breaking elongation does not give the finished seam's useful extension.
Avoid a fixed rule such as “401 stretches by 30%.” It leaves out the test force, direction, starting length and endpoint. Was the seam still sound at that length? Did it recover afterward, or had it reached the point of breaking? The percentage alone leaves those questions open.
Translate a movement target into a sample length
Suppose a development trial marks a 150 mm length along a sewn line. The brief asks the trial piece to reach 174 mm under a defined check without broken stitches or opening. These are invented values to show the arithmetic, not a standard test or a garment specification.
Required increase = 174 − 150 = 24 mm.
Required extension = 24 ÷ 150 × 100 = 16%.
The test record must still explain how the extension is applied. Record the direction, speed, cycles and hold time. Include the other conditions required by the chosen method. A hand pull to an unmarked distance cannot be compared with this defined trial.
If a sample first breaks at 168 mm, the extension at that point is 18 ÷ 150 × 100 = 12%. That result falls short of the trial's 16% movement target. It does not prove that every seam using the same stitch type will break at 12%.
Also inspect the sample after release. A seam can survive extension but leave a distorted edge or loose loops. Record that condition separately from the maximum length reached. The product may need a sound seam that retains its shape after repeated movement.
Treat the ends as part of the seam
A strong middle section cannot compensate for an end that pulls open. Type 401 can run back from an unsecured finishing end. Its end treatment therefore belongs in the construction brief from the start.
For 301, reverse sewing is a common way to secure the beginning or end. American & Efird defines this as backtacking in its general thread glossary. A bartack is a separate stitch pattern used for reinforcement. It does not describe the same action as backtacking.
The claim that chainstitch never needs end security is wrong. So is a blanket claim that a chainstitch machine cannot sew in reverse. JUKI's MH-481 documentation lists two ways to secure ends on that family: condensation stitching and reverse stitching. This is a model capability, not permission to apply the same operation to every 401 machine.
Read the maker's terms in context. Its description of condensation as safety stitching concerns an end-securing function. That end function is distinct from the five-thread joining and overedge combination discussed earlier. Similar shop-floor names can refer to different features. Keep the code and sample reference with the instruction.
Choose an end treatment suited to the actual machine, material and construction. Where another seam is intended to secure the end, verify the crossing in the finished assembly. Its position must catch what the plan expects it to catch. A later operation that stops short of the chain does not provide the intended restraint.
Look at the transition after trimming as well. A sample reviewed before the loose thread is cut may behave differently from the finished garment. Use the planned trimming method in the trial and inspect the resulting end.
Check interrupted sewing, joins and repairs in addition to planned seam ends. An operator may stop to replace thread or correct a fault. The restart needs an agreed method that preserves appearance and security. “Continue from here” is not a complete repair instruction.
Judge appearance on both faces
Type 301 can be useful where a similar straight line is wanted on the face and reverse. Type 401 has a distinct underside, which may be desirable or may conflict with the design. Show both views during sample approval.
Use the intended thread shades and sizes where they affect the decision. A dark chain under a pale, thin fabric can be more noticeable than a sample made with matching thread. A bulky underside can also become clear only after the seam is pressed or worn against another layer.
Do not rank the two types by a universal puckering rule. Coats notes that 401 can reduce one form of puckering: structural jamming. This occurs when inserted thread crowds the fabric structure. That is one cause of puckering, not an explanation for every ripple beside a seam.
American & Efird's puckering bulletin lists several causes: yarn displacement, thread tension, uneven feeding and unequal shrinkage. A change of stitch may leave a feeding problem unresolved, producing another puckered sample.
Note when the fault appears. A ripple visible as the seam leaves the machine raises different questions from one found after washing. Include the required finish in the sample sequence and compare like stages. Detailed fault finding should follow the observed cause, with the stitch choice reviewed as one part of that work.
Keep strength separate from extension and security
Three samples can fail in different ways. One may break the sewing thread under load. Another may tear the cloth. A third may open because its threads unravel. Those outcomes should not be combined into a single statement that one stitch is “stronger.”
A higher breaking force is also different from reaching a useful extension without damage. A firm seam may resist a large force yet limit movement. A more flexible seam may extend farther under a lower force. The requirement must make clear which response matters at that location.
ASTM's public guidance links the result to fabric and thread strength. It also identifies seam type, stitch type, density and tension as factors. It does not support a claim that 401 always produces the stronger garment seam.
Ask the laboratory to report the selected method and failure mode with the result. Compare specimens prepared and tested on the same basis. If the stitch, thread size and seam folds all changed, the result compares complete constructions. It cannot isolate the effect of changing the stitch alone.
Use two stages for a fair comparison
The first trial can hold the main inputs steady. Use the same fabric lot, cut direction, seam allowance and nominal thread size. Set both machines to make balanced stitches at the agreed density. Use components suited to each machine.
This stage helps the team see differences under controlled conditions. It should not force both machines to use the same tension dial number. Equal dial positions do not mean equal thread tension on different machines. Poor stitch balance would make the comparison less useful.
The second stage can improve each option for the task. One may need a different approved thread size, feeding arrangement or density. Record each change and repeat the relevant checks. The decision then concerns the best feasible version of each option under the brief.
Keep the two questions clear. The first asks what changes when the stitch differs under a stated setup. The second asks which complete sewing arrangement should enter production. Mixing the two makes it easy to credit a thread or feed improvement to the stitch code alone.
Include a realistic difficult point, such as a seam crossing, curve or change in layer count. A long straight sample can show extension and appearance well. Yet it may miss a fault at a more demanding feature.
Read a trial result without declaring a premature winner
Consider an imaginary comparison using the 150 to 174 mm movement check. Ten sample pieces are prepared for each option. In this development brief, every submitted piece must finish the check without thread failure or opening. This is an example review rule, not a lot sampling plan.
Trial result | 301 option | 401 option |
|---|---|---|
Pieces checked | 10 | 10 |
Pieces meeting all stated checks | 8 | 9 |
Pieces with a thread crack | 2 | 0 |
Pieces with end runback | 0 | 1 |
The observed proportions meeting all checks are 80% and 90%. A simple ranking would put the 401 option first, but neither option meets this trial brief. The 301 result needs a movement investigation. The 401 result needs its end treatment corrected and checked again.
The next step is not to hide the failed piece in an average. Keep the sample and record the fault location. Review the relevant setting or construction detail, then submit a clearly identified new trial.
Ten pieces also cannot establish a reliable future defect rate for all production. They provide evidence about these submitted samples under these conditions. A production control plan needs its own sampling basis and release rules.
If both options later meet the required checks, the team can compare appearance, handling and material use. A preference among passing options is a different decision from accepting a failed requirement to gain speed or save thread.
Measure thread demand on the proposed seam
Type 401 often uses more thread per metre than 301 because of its longer looped path. The actual difference depends on the sewing arrangement. Use measured demand or a calculation tied to known conditions when the difference affects the choice.
AMANN's thread requirement guide lists stitch density, material thickness and thread balance as inputs. It also separates net sewing demand from extra thread use. Securing ends, thread changes and other production steps can add to that total.
For an original comparison, suppose thread is removed from a measured 1.00 m trial seam and measured without stretching it. The example results are:
Thread measured | 301 trial | 401 trial |
|---|---|---|
Needle thread | 1.35 m | 1.65 m |
Bobbin or looper thread | 1.35 m | 3.60 m |
Total for the 1.00 m seam | 2.70 m | 5.25 m |
For a 0.60 m operation made under those same conditions, net thread demand would be:
301: 0.60 × 2.70 = 1.62 m.
401: 0.60 × 5.25 = 3.15 m.
The difference is 1.53 m per operation. In this invented case, the 401 total is about 94.4% greater than the 301 total: 1.53 ÷ 1.62 × 100.
That percentage belongs to these measured samples. It is not a conversion factor for every 301-to-401 change. Nor does equal active thread count mean equal thread consumption. Both stitches use two threads, but their paths differ.
Keep any thread used outside the measured seam length separate. State whether the trial includes starts, ends and trimmings. Recheck the demand if the material thickness, density or end treatment changes. ApparelDiary's sewing thread consumption guide covers the wider purchasing calculation. Use it once the construction is settled.
Compare the sewing task with the machine's rating
A stitch code does not assign a standard machine speed. Models within one family can have different rated limits. For example, JUKI's DDL-8700 specification lists a maximum of 5,500 stitches per minute for one version. Other versions have a 4,000 maximum. These are limits for the listed models. They do not tell the operator to run every seam at those speeds.
For a simple arithmetic example, a 900 mm straight row at a nominal 2.5 mm stitch length needs about 360 stitches. At a constant 3,000 stitches per minute, the sewing time is 360 ÷ 3,000 × 60 = 7.2 seconds. At 1,800 stitches per minute, it is 12 seconds.
These values exclude loading, guiding, starts, stops, trimming and inspection. They also assume steady speed and pitch along the whole row. They cannot establish a complete operation time or a production target.
The absence of bobbin changes can help a 401 operation, especially on long runs. The actual benefit depends on the work and the rest of the sewing sequence. Compare complete sample cycles with the correct end treatment included. A fast unfinished row is not the same task as a finished, inspected seam.
Make the choice at operation level
Consider a shirt collar with a visible row on both faces. Begin by testing whether 301 gives the intended appearance and enough movement for use. Check the points, corners and any area with extra layers. Choosing 301 here does not decide how every other seam in the shirt should be sewn.
Now consider a long join on a woven trouser. A 401 option may offer useful movement and avoid bobbin interruptions. Its reverse structure and end treatment still need approval. Trial the join where it meets other seams, since that crossing can determine how its end is secured.
For a stretch waistband, start with the required movement of the complete assembly. Elastic, fabric, stitch and seam layout all share the job. A promising 401 sample does not prove that the waistband will pass its full check if another row limits movement.
These examples are starting points for sampling. They are not rules that a certain product must always use a certain stitch. The operation's requirements and the tested result should determine the final choice.
Carry care and repair through the comparison
If the garment will be washed, dyed or given another finish after sewing, include the relevant process in development. Review appearance and security at the final stage the buyer will assess. A sample approved before finishing leaves that part of performance unresolved.
Keep the intended repair route in view. A chainstitch can be easy to remove during some controlled repairs. That ease of removal also explains why its security needs attention. Removing either stitch can mark delicate cloth or leave visible needle holes. Test the repair on spare material when its appearance matters.
An operator should not replace a failed 401 section with 301 simply because a lockstitch machine is nearby. The repaired segment may respond differently to movement or look different underneath. Use an agreed repair construction and review the boundary where the two sections meet.
Keep repaired trial pieces identified. They can show whether the repair works, but they should not be presented as untouched samples from the original sewing run. Clear sample history helps the team understand what the result actually proves.
Record a repeatable decision
The final instruction should name the stitch code and the operation. Add the seam drawing or sample reference and identify the fabric and thread. Record density, dimensions, end treatment and the approved finishing route. State how the result will be checked.
Keep the chosen settings linked to the machine and attachments used. A written code alone does not define thread balance or feed behaviour. It does not identify a machine's reverse-sewing function either. ApparelDiary's guide to apparel PLM for product development explains how to manage those details in the current style record.
Save the rejected options with a short reason where they help explain the decision. “Thread cracked at the required extension” is useful evidence. “Chainstitch is better” says little about the condition that passed or the one that failed.
The approval should give production a clear, demonstrated result to repeat. It should also state which changes require another check. That makes the 301-versus-401 decision useful beyond the first neat sample on the table.



Discussion0
Loading the discussion…