
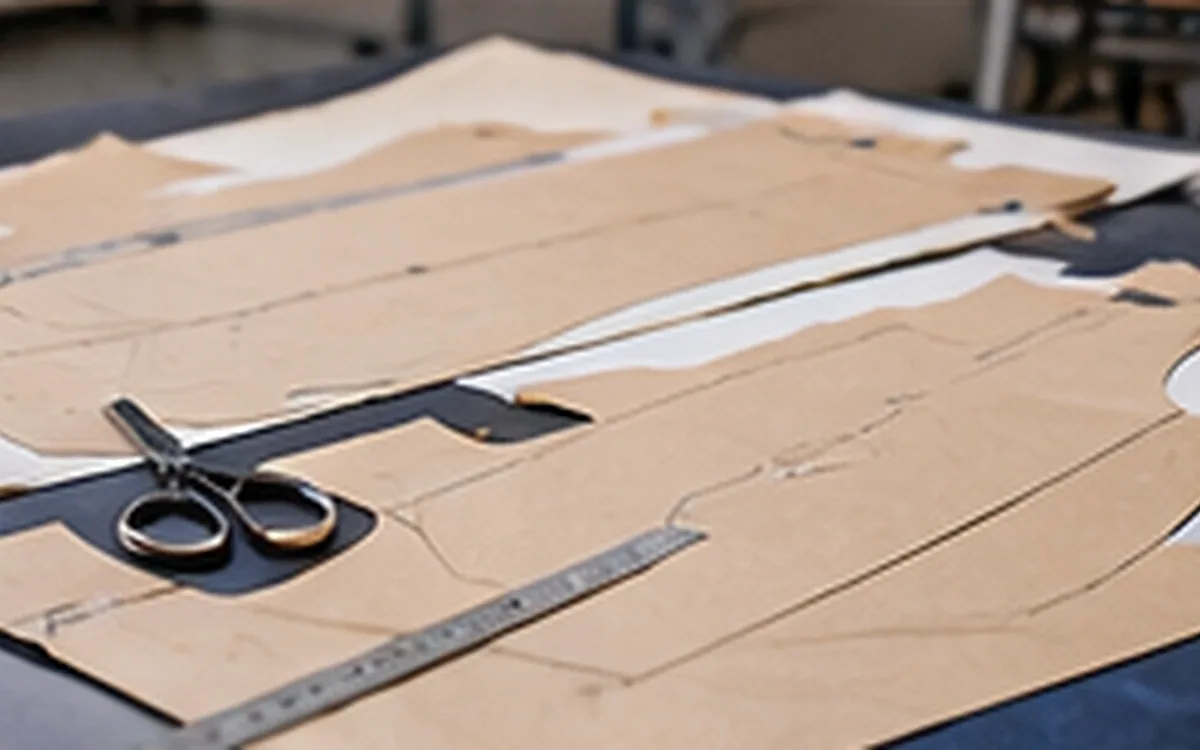
Read the instructions carried by the shape
Two fabric pieces can have the same outline and still serve different jobs. One may be the left front and the other the right front. A small notch may locate a seam junction. An internal dot may show where sewing must stop. If those instructions disappear, the outline alone cannot tell the sewing team what to do.
Garment pattern markings connect the design to cutting and assembly. They identify the piece, its fabric direction, its partners and the features that must be transferred. Reading them means checking how those instructions work together.
Start with a complete, current pattern set and its written instructions. Do not begin by guessing what an unfamiliar symbol means. A symbol key from another brand can help you ask a question, but it cannot replace the instructions for the pattern in front of you.
This guide explains a practical reading sequence for sample rooms and apparel production teams. The numerical cases are invented teaching examples. They do not set universal seam allowances, notch depths, ease levels or acceptance limits.
Identify the piece before interpreting its marks
Read the style number, piece name, size and revision first. Then check the material and cut quantity. A correct grainline on the wrong size is still wrong for the job. A lining piece may resemble the outer fabric piece without sharing its dimensions or allowance.
The Australian training unit MSTAT3002 links pattern accuracy to the design specification. It also requires labels that support production and records of alterations. That provides a useful principle: the marks must belong to an identified piece and a known version.
A practical label might read: “Style C42, front facing, size M, revision C, main fabric, cut one mirrored pair.” This is an example of a clear label, not a prescribed industry format. A factory may use different fields or codes.
Check that the label agrees with the piece list. If the list calls for two different front facings, a single shape marked “cut two” needs explanation. The two sides may differ because of the closure or design.
Keep the pattern revision linked to the technical pack and approved sample. ApparelDiary's guide to apparel PLM explains how product information can stay connected. The important point here is simple: a loose printout should still show which version it represents.
Confirm the printed scale before trusting dimensions
A digital pattern may be accurate on screen and wrong on paper. Print settings can resize the drawing to fit a page. A reference square or known dimension helps reveal that change before fabric is cut.
Adobe's printing guidance distinguishes two relevant settings. “Fit” changes page size to suit the printable area. “Actual size” prints without scaling, although content that does not fit can be cropped. Select the settings required by the pattern supplier, then inspect the output.
Suppose a reference square should measure 100 mm in both directions. On a test print, each side measures 97 mm:
Printed scale = 97 ÷ 100 = 0.97, or 97%.
A 600 mm pattern length printed at the same uniform scale would become:
600 × 0.97 = 582 mm.
The shortfall is 18 mm. This affects the drawing before any fabric shrinkage, cutting error or sewing variation occurs. Adding an allowance at one edge would not restore all the lost dimensions.
Find the cause and print the test again. Confirm both directions with a suitable ruler. If one side measures 100 mm and the other 97 mm, the output is distorted rather than uniformly reduced. A single enlargement factor cannot correct both axes.
For tiled files, also check page identity, overlap rules and matching reference marks. A correct test square on one page does not prove that every tile was joined correctly. A missing strip or repeated overlap can change a long piece while leaving the square intact.
Separate cutting lines, seam lines and fold lines
The cutting line defines the fabric edge to be produced. The seam line identifies where joining stitches belong. The space between them is the seam allowance. A fold line tells the maker to turn or fold material at that position; its purpose must be read from the instructions.
The University of Tennessee's Learning About Patterns describes common symbols and notes that many patterns do not print a stitching line. An absent seam line therefore does not prove that the allowance has been excluded.
Read the allowance statement before measuring or adding anything. Some patterns include allowances. Others require them to be added. Different edges of one piece can also carry different allowances because their construction differs.
Do not treat every dashed line as a seam. It may identify a fold, dart, pocket position or adjustment. Follow the legend and the related sewing instruction. On a nested size pattern, confirm the correct size line before tracing across a crowded corner.
A simple location example shows why the reference matters. Suppose a pocket placement mark lies 35 mm from a straight cut edge. The specified seam line is 10 mm inside that edge. The mark therefore lies:
35 − 10 = 25 mm from the seam line.
Marking it 35 mm from the seam line would move it 10 mm farther inward. The number “35” was not the problem. The mistaken reference edge caused the error.
Read the grainline as an orientation instruction
In woven fabric, the lengthwise yarn direction runs along the selvage and the crosswise direction runs across it. The pattern grainline tells you how to orient the piece relative to the fabric. It does not necessarily follow the longest edge of the piece.
Tennessee's guide explains these grain directions. For a piece intended to lie on the lengthwise grain, check the marked line against a reliable lengthwise reference. Measuring from both ends of the marked line helps reveal a tilt that a quick visual check may miss.
For example, one end of the line might be 120 mm from the reference edge while the other is 130 mm away. Those unequal distances show that the two lines are not parallel. Adjust the position and measure again. This example does not define an acceptable angular tolerance.
Check the fabric as well as the paper. A distorted selvage or skewed cloth can make a simple edge comparison misleading. Keep the agreed fabric preparation and inspection method with the cutting instructions.
A double-ended arrow does not by itself approve turning a piece upside down. Nap, pile, shading or a one-way print can impose another direction rule. The Butterick B4885 cutting instructions, for example, separately address grainline placement and layouts with nap.
A deliberately angled or bias-cut component needs its specified orientation. Do not rotate it merely to make its outer edge look straight or to fit a gap. For knits, confirm the required course, wale or stretch direction through the material and pattern instructions. Do not assume that a woven-fabric rule fully describes a knitted fabric.
Distinguish a fold piece from a mirrored pair
“Cut on fold” usually means that an indicated edge of the pattern sits on a fabric fold. Once opened, the cut fabric forms one connected piece. A mirrored pair consists of two separate pieces whose shapes face opposite ways.
These instructions produce different results even when the paper template looks like half a garment. The Butterick instruction key explicitly separates a fold edge from a cutting edge. Read the wording beside the symbol, not just the bent arrow or bracket.
Instruction in the approved set | Intended result | Question to settle |
|---|---|---|
Cut one on fold | One connected piece after unfolding | Which edge belongs exactly on the fold? |
Cut one mirrored pair | Separate left and right pieces | Which face and direction rules apply? |
Cut two identical pieces | Two copies with the specified orientation | Is reversing the shape allowed? |
Cut one in lining | One piece in the named material | Does another layer need a different pattern? |
Cutting two pieces from a single layer with the template facing the same way may produce two of one hand. Turning one over is not always a solution. The correct fabric face, coating, print or nap may then be wrong.
A fold mark also needs care in a production layout made for open-width, single-layer cutting. The pattern team may need to provide the full unfolded shape. That conversion should retain symmetry, grain direction and all internal marks. The cutter should not invent the missing half.
Use clear wording when “cut two” could mean either identical pieces or a pair. Resolve the ambiguity before a sample is cut. A successful guess is still poor production information because the next person may make a different guess.
Use notches to locate relationships
Notches help match pieces and identify positions along their edges. They can locate a seam junction, distinguish front from back or mark the limits of a section that needs special handling. Their value comes from the relationship they describe.
A single notch and a double notch often form part of a front-and-back convention. Treat that as a familiar clue, not a universal rule. Read the actual piece names and instructions. A notch can serve another purpose in a different pattern system.
Follow one seam at a time. Find its start, its end and the marks between them. Then identify the matching edge on the partner piece. Check the sequence of the marks as well as their number.
If two notches seem to match but the piece names do not, stop and investigate. A similar edge may belong to the lining, another size or a different style option. Stretching the pieces until the marks meet can conceal the source of the error.
A pattern notch also does not prescribe an unlimited cut into the fabric. The physical method must suit the material, seam allowance and production process. Use the approved notch specification. A deeper cut can enter the finished part or weaken a narrow allowance.
Keep the required marks visible through the work. An edge mark lost during trimming cannot guide a later operation. Decide which information must be transferred in another approved way before that edge disappears.
Compare seam lengths at the line that will be sewn
Matching the cut edges is not always a valid check of matching seams. Curves with different allowances can have different outer-edge lengths. Compare the relevant seam lines between their intended joining points.
This check is often called walking the seam. The reader follows the intended sewing path on each partner piece and compares corresponding sections. The check should account for darts, pleats, gathers or ease that the design deliberately includes.
For a curved seam, follow the curve rather than measuring a straight line between its ends. Establish the same starting junction on both pieces. If one measurement begins at the cut corner and the other at the seam intersection, the totals will not describe the same joining path.
Consider a fictional joined section with one intermediate notch. Piece A has a 300 mm seam line. Piece B has a 312 mm seam line, with the extra length deliberately approved for easing.
Section between reference points | Piece A seam line | Piece B seam line | Planned extra length |
|---|---|---|---|
Start to intermediate notch | 120 mm | 124 mm | 4 mm |
Intermediate notch to end | 180 mm | 188 mm | 8 mm |
Total | 300 mm | 312 mm | 12 mm |
The total extra length is 12 mm. Relative to Piece A, that is:
12 ÷ 300 × 100 = 4%.
This is an invented comparison, not a recommended ease percentage. Whether that amount can be sewn cleanly depends on the design, fabric and approved method.
The section check reveals more than the total alone. It shows that the intended extra length is split into 4 mm and 8 mm. If a notch moves while the total stays 312 mm, the distribution changes. A sewing team should not redistribute it without approval.
When the specification requires equal lengths instead, a 12 mm difference is a discrepancy to resolve. Ask whether it comes from the wrong revision, size, measurement path or pattern change. Do not label every difference “ease” just because the pieces can be forced together.
Read internal marks through the operation they control
Dots, crosses, circles and short lines may identify pocket corners, dart ends, button positions or the start and finish of stitching. Their shapes vary. The key and operation notes must explain their meaning.
A dot is not automatically an instruction to make a hole. It may be a reference point transferred with chalk or another temporary method. Where production uses drill marks, the method and position require approval for the material and finished appearance.
For a pocket, distinguish the finished outline from the cutting outline. A placement line may locate the folded edge after its allowance has turned under. Placing the raw edge there could shift the finished pocket.
For a buttonhole, check both position and direction. A short line might represent its length, its centre or one end, depending on the key. Confirm which measurement the maker must use before repeating it across several locations.
Keep paired marks consistent. A button position and its matching buttonhole need a common closure reference. Moving one without reviewing the other can change the overlap or fastening position.
Treat unreadable internal marks as missing information. A blurred cross near a seam junction should not become a larger dot drawn from memory. Ask for the source file or a clear replacement and identify the affected piece in the request.
Interpret darts and pleats before measuring the finished shape
Dart legs show the boundaries that come together to create shape. The point shows where the dart ends, while a fold line may show how it is brought together. Read all three features as a set.
The distance between the legs is the intake at that location. For an invented dart with legs 18 mm apart at the seam line, a centred fold places 9 mm on either side of the fold line. The total intake is 18 mm, not 9 mm.
Do not turn that arithmetic into a sewing rule for every dart. Curved, double-ended and shaped darts need their own instructions. The marked point, stitching path and pressing direction may serve different purposes.
Pleat markings also need labels for folds, placement lines and direction. A group of parallel lines does not reveal which line folds onto which. An arrow may show the fold direction rather than the grain direction.
Lengthen-and-shorten marks identify an adjustment area. They do not instruct the cutter to separate the fabric there. After an authorised adjustment, check the related pieces and marks again.
New Mexico State University's pattern-alteration guidance calls for corresponding changes to related pieces. Its advice is useful when reading a revised pattern: a changed body edge may also affect a facing, collar or joining panel. Preserve the approved design relationships rather than checking each piece in isolation.
Transfer information without damaging the garment
A mark is useful only if the next operation can find it and the finished garment can meet its appearance requirements. Transfer methods should be tested on the actual material, including its colour and finish.
Clover's marking-tool guidance explains that removal behaviour differs among its products. Some chalk marks become harder to remove after ironing, while other products are intended to disappear with heat or water. There is no safe rule that every temporary mark responds to the same treatment.
Make a test on a representative scrap before marking visible production parts. Follow the specific product instructions and the intended process. Check that the mark remains legible long enough for sewing and that its removal method is compatible with the garment.
A mark that vanishes before the bundle reaches the next operation has failed its purpose. A mark that survives sewing but leaves a stain has also failed. The useful test covers both stages.
Choose the side and location of the mark deliberately. Where a reference must be visible on both layers, confirm that both received it. Do not assume that pressure through the upper layer made an accurate mark below.
This is a reading and information-transfer check, not a substitute for a factory's marking procedure. The pattern tells you what must be located. The approved method determines how that information reaches the fabric.
Work through one pattern-piece audit
Imagine a sample room receives revision C of a woven overshirt pattern. The piece list includes a mirrored pair of fronts and a full back. One front print is labelled revision B. A pocket mark is measured from a cut edge, but the sewing note measures from the finished seam.
The first action is to separate the conflicts. The old front belongs to a version problem. The pocket note belongs to a reference-point problem. Reprinting the old front does not resolve the pocket position.
Write the questions in terms the pattern team can answer:
Which front revision belongs to this sample and its approved closure?
Does the pocket dimension start at the cut edge or the seam line?
Which mark controls the finished pocket edge?
Does the corrected front alter any facing or closure marks?
Suppose the team confirms the earlier example: the mark is 35 mm from the cut edge and the seam allowance is 10 mm. The work instruction can state the equivalent 25 mm from the seam line. Both descriptions must refer to the same location and measurement direction.
Check the corrected piece against its partner before release. Confirm size, grainline, quantity, internal marks and seam references. Remove the obsolete print from active use without losing the change record.
The aim is not to produce a long fault list. It is to make each unresolved point visible before fabric is committed. A short, precise question can prevent several later operations from following a plausible but wrong interpretation.
Release a readable set, not a collection of outlines
At handover, confirm that another person can identify every piece without relying on the maker's memory. Keep the piece list, symbol key, cutting instructions and revision record together.
Check legibility at the size actually used. Tiny labels may look sharp on a large monitor and disappear on a plot. Nested size lines can also become hard to follow after a low-quality copy.
Inspect important curves and junctions after any print, scan or format conversion. A missing notch or faint internal line can leave the outer shape looking complete. The information check must cover more than the outline.
Fabric changes may also require a review. A substitute with a different stretch, shrinkage or surface can affect the approved orientation and handling. ApparelDiary's fabric shrinkage and pattern allowance guide explains why those decisions need a defined measurement basis. Do not silently alter a grainline or allowance to compensate.
A readable pattern set answers four practical questions: what is this piece, how is it cut, where does it join and what must happen inside its outline? When the answers agree across the set, the sewing team receives usable instructions. When they conflict, resolve the information before trying to solve it with fabric.
References
Australian training unit MSTAT3002: Develop patterns using basic patternmaking principles. Pattern identification, accuracy, labels and supporting records.
Adobe Acrobat: Adjust page size for printing. Scaling and actual-size printing behaviour.
University of Tennessee Extension: Learning About Patterns. Pattern keys, common symbols and woven grain directions.
Butterick B4885 instructions. Publisher examples of grainline, fold, notch and cutting instructions.
New Mexico State University: Pattern Alteration, Guide C-228. Related-piece changes after pattern alterations.
Clover: Tool School—Marking Tools. Product-specific marking and removal considerations.



Discussion0
Loading the discussion…