
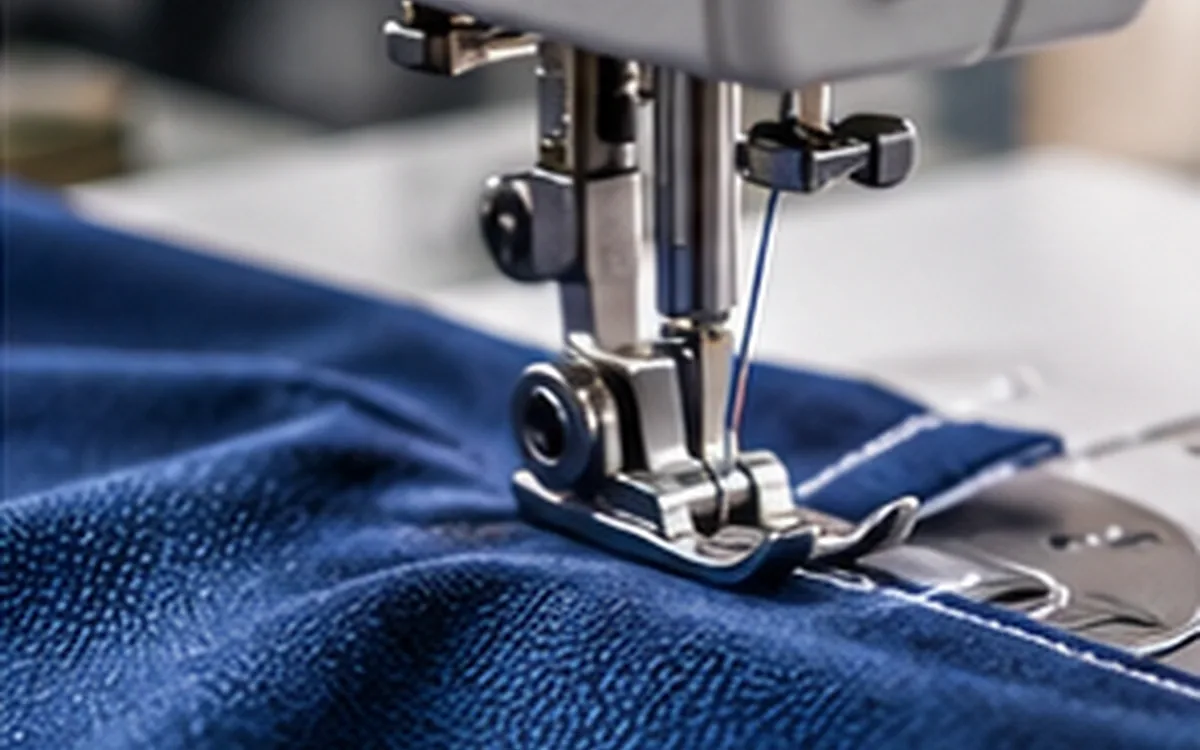
A seam can run smoothly across a flat panel and miss stitches beside a bulky crossing. The operator may slow down, tighten a tension disc or fit another needle. If several things change together, the next good seam cannot show which change helped. The team still needs to explain the fault.
A skipped stitch has no completed thread connection at the required position. It is not simply a longer-looking stitch or a loose thread end. First confirm the fault and find where it occurs. Then test a cause that could explain it.
This guide deals with garment sewing. The trial is an invented case. It sets out what to check and how to count each fault. Its settings and limits serve only that example. They do not replace machine instructions or an acceptance standard. Nor do they prove that an attachment works. Use the approved construction and the manual for the actual machine.
Confirm what the inspector has found
Check both sides of the seam before changing the machine. Name the stitch type and follow its thread path through the suspect area. Use good light and a suitable lens where needed. Record the seam as found before stretching it or pulling it apart.
A missed connection may leave a longer span of thread. A broken thread can also create an open area, but it raises a different question. Look for severed ends, fraying and pulled-out loops. Find the point where normal stitching resumes. If the fault is unclear, keep the sample for a technical review.
Do not classify every visible gap as a skip. A change in feed can alter spacing while each connection still forms. A seam that misses a lower ply can look correct from the top. An operation that never reached part of the required seam has an unsewn area. Give each finding its own name in the record.
Agree a simple defect record. Identify the garment, seam, side and needle row. Add the fault's position, a close view and the state of the piece when checked. State the stage of the check. Was the piece just sewn, handled or finished? This helps show whether the fault arose during sewing or the seam was damaged later.
Understand the loop-capture step
In a lockstitch machine, the hook must meet the needle-thread loop at the correct point in the cycle. The needle can pass through the cloth without making a complete stitch. A needle hole alone does not prove that the thread connection formed.
Groz-Beckert's sewing-problem guidance describes several relevant factors. These include missed loop pickup, hook position, loop shape and needle deflection. It also identifies tension and speed as influences on stitch formation. Each is a possible cause to test. The garment alone does not prove which one applies.
Chainstitch and overedge machines form their thread connections in other ways. A looper or needle may fail to enter the required loop. Name the actual machine and stitch path first. Check that the explanation fits that system.
To understand the fault, ask three questions. Did a suitable loop form? Was it in the correct place when the receiving part arrived? Did the thread remain intact through the rest of the cycle? A fault at each stage may call for a different fix.
Find the fault before choosing a cause
Record what happens around each skip. Note the entry to a thick area, its highest point and the exit. Keep steady sewing separate from starts, stops and reverse sewing. Identify whether the same needle row or direction keeps failing.
These patterns suggest where to look next. They do not prove a cause on their own.
Observed pattern | Question to investigate | Comparison that may help |
|---|---|---|
Skips beside a seam crossing | Does local support change as the foot crosses the step? | Flat and crossed assemblies with the same materials |
One needle row repeatedly skips | Is that row's needle, loop or thread path different? | Record each row separately |
Failure mainly at the start | Does the start sequence retain and control the threads? | Starts after the same trimming sequence |
Fault appears after a material change | Did the new material alter the sewing interaction? | Identified old and new lots on a controlled setup |
Fault grows during a run | Does a component or process state change with running? | Time-labelled samples and the maintenance record |
For example, a machine that skips only after a trim should not be assessed only on a long continuous seam. A flat sample also cannot clear a problem confined to a crossing. Build the test around the condition that actually fails.
Keep what you saw separate from what you think caused it. “Three missed positions after the side-seam crossing” is observable. “Wrong needle” is a proposed cause until the evidence supports it.
Check fabric movement at the needle
Flagging means the material rises with the needle. The fabric lacks the support needed while the loop forms. A&E's technical bulletin on thread breakage and skips explains this link. It also describes how a crossing can change the foot's contact just before or after the thick section.
The fault may therefore lie beside the bulky seam, not right on top of it. The unsupported part beside it may be the important location. Record the position accurately instead of grouping the entire area under “thick material.”
Ask a trained technician to check how the sewn parts are supported. Review the foot and plate, and how the cloth reaches them. A larger opening is not automatically better because it gives the needle more room. The cloth still needs suitable support near the stitch-forming area.
Compare the result with the garment requirements. Fewer skips do not settle the decision. Check for surface marks, distorted layers and changes to the approved seam. The support must suit the whole sewing task.
Do not ask an operator to press the material toward a moving needle by hand. Use a suitable machine setup and the maker's safe working method. A handling trick that cannot be repeated safely will not work in bulk sewing.
Restore a known baseline before testing improvements
Verify the installed needle against the machine and work instruction. Record its system, size, point and any special geometry. Check its condition and how it is fitted. Replace a damaged needle with the same correct specification to restore the baseline. That repair does not prove a need for a new needle design.
Follow the complete thread path using the relevant diagram. Check for a missed guide, snag or trapped thread. Check that the thread feeds off its package as intended. Keep the needle and lower-thread identities in the record. Two cones with similar colours need not contain the same thread.
Coats' troubleshooting bulletin lists several ways that skips can arise. These include loop starvation, poor fabric control, needle deflection and incorrect tension. Its list shows why turning a tension control is not a universal remedy.
Record repairs to the baseline before starting a comparison. If a guide was missed, rethread correctly and repeat the failing operation. If the skips stop, check that the result lasts in the work that had failed. Do not keep the known threading error merely to create a poor comparison.
Where several faults make the setup unsuitable, correct them before production. Record the changes together if their effects cannot be separated. First restore sound operation. Do not claim that a single change fixed the fault when several were made.
Keep adjustments within the correct authority
Machine instructions say which tasks are routine and which need trained technicians. The Brother S-7300A manual calls for power to be off when fitting a needle or threading. Its fault guide reserves certain adjustments for qualified technicians. It also calls for isolation before those tasks.
Use the requirements for the actual model. Stop and isolate the machine as directed before needle replacement or hands-on checks. Any check made with power on needs an approved technical procedure. Use the required guards and safe viewing arrangements.
A slow hand-turned cycle can help a technician see how the parts work together. It does not reproduce every condition at running speed. The technician must also check the setup safely under its intended running conditions. Then the team can judge its performance.
Use the correct hook clearance, needle-bar height and timing values. Do not copy them from another machine. Even variants within a model family can have different requirements. Record the manual reference and the technician's work, then check the resulting seam.
The same care applies to pressure and tension. A higher setting can change more than the fault being studied. After the change, check the stitch balance, feed and seam appearance. Look for any change in the material too.
Select needle geometry through evidence
A needle's diameter is only one part of its specification. The shape of its blade, scarf and eye can affect how it sews. A change must remain compatible with the machine, thread and material.
SCHMETZ describes special geometries that address loop formation, needle stability or thread passage. Its SERV 7 description links the scarf design to loop pickup. It also explains how the blade design resists deflection. That product explanation does not prove the same result for every garment.
If a change in needle shape is proposed, record the full identity of both needles. Check the point and size as well as the trade name. Changing the diameter, point and thread at the same time prevents a clear test of geometry alone.
Inspect the sewn material for damage as well as skips. A needle that appears more stable may still be unsuitable for the fabric. Check the whole approved seam before choosing the needle. A lower defect count is only part of that decision.
Check each thread path on multi-needle work
One sound row does not prove that the rows beside it are sound. Check each needle position and label it on the sample and record.
Groz-Beckert's Loop Control leaflet describes different needle-thread loop conditions in multi-needle chainstitch arrangements. The needles may look similar from above, yet their positions can affect the loops they form. It is not a universal fault diagnosis or a reason to replace every needle with one product.
When counting expected stitch positions, define the total being checked. Does it cover one row or all rows? Two rows of different lengths cannot be combined by simply doubling one row's count. Backtacks, starts and special patterns may also change the total number of positions to check.
Keep row-level results even when a summary is needed. If one row improves while another worsens, an average can hide the trade-off. Check both against the requirements for that seam.
Plan a trial that can test the suspected cause
Suppose a one-needle lockstitch operation skips beside a bulky crossing. The team first checks the baseline. It then proposes a compatible presser-foot variant to improve support beside the crossing. Call the existing setup A and the proposed variant B.
Only the foot variant changes in this invented comparison. The machine and approved needle and thread specifications stay the same. So do the fabric lot, seam construction and recorded settings. Before sewing, the team checks that both setups are safe and compatible.
Prepare two conditions. One assembly is flat; the other has the defined crossing. Keep the same dimensions and layer order within each condition. Place the crossing at the same marked location. Choose test cloth that matches the work with the fault.
Run both setups under each condition in three rounds. Each round uses five fresh pieces per combination. This gives:
Total trial pieces = 2 setups × 2 conditions × 3 rounds × 5 pieces = 60.
The NIST guidance on randomized blocks explains the value of grouping comparable runs. This can control selected sources of variation. Here, each round includes all four combinations. Balance or randomize their order where practical and preserve the order record.
Three rounds are an example plan, not a prescribed sample size. Fresh pieces within one session do not create independent machines or operators. Keep the conclusion limited to the tested setup and conditions.
Define the count before sewing the trial
For this exercise, mark a check zone on each fresh piece. It contains 200 recorded forward needle penetrations in one row. Check the count against a reliable cycle record and the sewn seam. Do not infer it only from nominal stitch density or finished length.
Check the required connection at each expected position. A run of three missed positions counts as three skips here. Those skips may form one visible defect region. The calculation still counts each missed position.
Starts, end securing and any reverse sewing lie outside this particular measurement zone. They still receive their required quality checks. Excluding them from the arithmetic does not approve faults there.
Each setup-condition combination contains 15 pieces and 3,000 examined positions:
Positions per combination = 3 rounds × 5 pieces × 200 positions = 3,000.
Across the four combinations, the trial examines 12,000 positions. List any areas that cannot be read clearly on their own. Do not call an uninspected position successful, and do not invent a total from a damaged sample.
Work through the results without hiding the crossing
Assume the following counts were recorded. Every number is illustrative.
Trial combination | Round 1 skips | Round 2 skips | Round 3 skips | Total skips |
|---|---|---|---|---|
A, flat | 3 | 2 | 4 | 9 |
A, crossing | 18 | 16 | 20 | 54 |
B, flat | 1 | 1 | 0 | 2 |
B, crossing | 3 | 4 | 2 | 9 |
The descriptive skip percentage uses examined positions:
Skip percentage = missed stitch positions ÷ examined positions × 100.
A's crossing result is 54 ÷ 3,000 × 100 = 1.80%. B's crossing result is 9 ÷ 3,000 × 100 = 0.30%. The flat results are 0.30% for A and about 0.067% for B.
B has fewer observed skips in both conditions. Its crossing count is lower in every round. The difference therefore remains visible before the data are pooled.
For the whole measured zone, each setup covers 6,000 positions. A has 63 skips and B has 11. Their pooled percentages are 1.05% and about 0.183%.
Relative reduction = (63 − 11) ÷ 63 × 100 = about 82.54%.
This reduction compares observed counts with equal exposure. It is not an 82.54 percentage-point change. It neither forecasts customer returns nor proves that the cause is fully resolved. Both setups still produce skips.
Decide whether the result meets the requirement
Suppose the invented trial requirement is no missed connection on any examined piece. B fails that requirement despite its lower count. The team has found a promising change, not a released production setup.
Keep affected-piece counts beside skipped-position counts. Assume B's two flat skips occur on two different pieces. Its nine crossing skips occur on six pieces, with some pieces containing more than one skip.
Then eight of B's thirty pieces have at least one skip. Twenty-two have none in the assessed zones:
Pieces with no observed skip = 22 ÷ 30 × 100 = about 73.33%.
That number cannot be recovered from eleven skipped positions alone. The eleven skips could be spread across the pieces in other ways. A piece with no observed skip may still fail another garment requirement.
Use the approved decision rule for real work. Do not turn this example's zero-skip rule into a universal sampling plan. An engineering trial may ask a different question from routine inspection. Shipment acceptance may need other evidence again.
ApparelDiary's Pareto guide distinguishes defects from affected garments. Keep those two counts distinct when reporting the factory's results.
Confirm the cause and release the changed method
Check starts on their own
If only the first stitches fail, check the start on its own. Use a start sequence that can be repeated. Brother's manual covers skips during sewing in one entry. Another deals with skips or unraveling at the start. Its start section includes thread control after trimming. A separate start check is needed. The crossing trial does not cover this fault.
Repeat the relevant sequence. Finish the previous seam and use the intended trim function. Then position the next assembly. Record which parts of that sequence are automatic and which depend on handling. Record the material, stitch pattern and start settings used.
For an invented example, inspect twenty separately prepared starts. Suppose two starts contain at least one missed connection. The observed affected-start percentage is 2 ÷ 20 × 100 = 10%.
This denominator is twenty starts, not the number of stitches in the later seam. Thousands of sound stitches later in the seam could dilute the pooled percentage. The start fault would still remain.
Keep the position and number of missed connections for each affected start. Note whether a connection never formed or unraveled later. The proposed fix must address the observed fault. Check that it does so in the repeat trial.
Sewing again over the same punctured sample does not give fresh evidence. Prepare suitable new pieces for the repeat and label each one. Record any manual change to a thread tail during the test. That change could affect the result as well as the machine setting.
Agree how to inspect before comparing the results
Before the main trial, ask the reviewers to check agreed examples together. Include a complete stitch, a clear skip, a broken thread and an uncertain area. Decide how each will be recorded. Keep a sample or a labelled close view to help staff tell the faults apart.
If reviewers disagree, ask the technical owner to resolve the finding. Agree its class before pooling the counts. If inspectors change what they call a skip, the process may appear to improve. Keep unresolved findings in the record. Explain their effect on the count of examined positions and the result.
Turn the confirmed correction into a work instruction
Review the locations of B's remaining skips. If they still cluster beside the crossing, the support question remains open. If a different pattern appears, investigate it without erasing the original records.
Use a controlled repeat to test the proposed cause. Where safe and appropriate, plan a return to the earlier sound setup. Check whether the observed difference repeats. Do not reintroduce a damaged part or an unsafe setup for the sake of comparison.
After a successful correction, check the intended production conditions. Include the relevant speed range, material combinations and difficult garment sections. Plan further trials for new conditions that the earlier checks did not cover.
Get the required technical and quality approval before releasing the method. Record the setup, materials, limits, checks and starting batch. Give the operator a usable instruction and show the accepted seam. “Use the better foot” is too vague to preserve the result.
Review early production after the change. A sample that passes gives evidence for that sample and setup. Continue to check that staff follow the method. Watch for any return of the original fault.
Contain affected work and retain the learning
Keep suspect garments separate while their status is decided. Use traceable records and the last reliable checks to define the affected range. If the boundary is unclear, say so in the record. Do not assume that only the last piece is affected.
Use an approved repair method and inspect the repaired seam. Sewing over a gap can alter bulk, appearance and the thread path. Check that the repair has removed the original defect. Then confirm that the repaired garment meets the specification.
Keep first-pass quality and repair results separate. A repaired piece may become suitable for release. Its original sewing attempt still failed the first-pass check.
ApparelDiary's quality assurance and control guide covers this link. Product checks need working methods that staff can repeat. Keep the skipped-stitch evidence from the original fault through to the corrected setup. Include the checks that allowed the garment to be released.
Close the fault review by stating what changed and what was tested. Explain what the evidence does not yet cover. The next team should be able to recognize the same condition and use the approved response. A clear record saves them from repeating the guesswork.



Discussion0
Loading the discussion…