
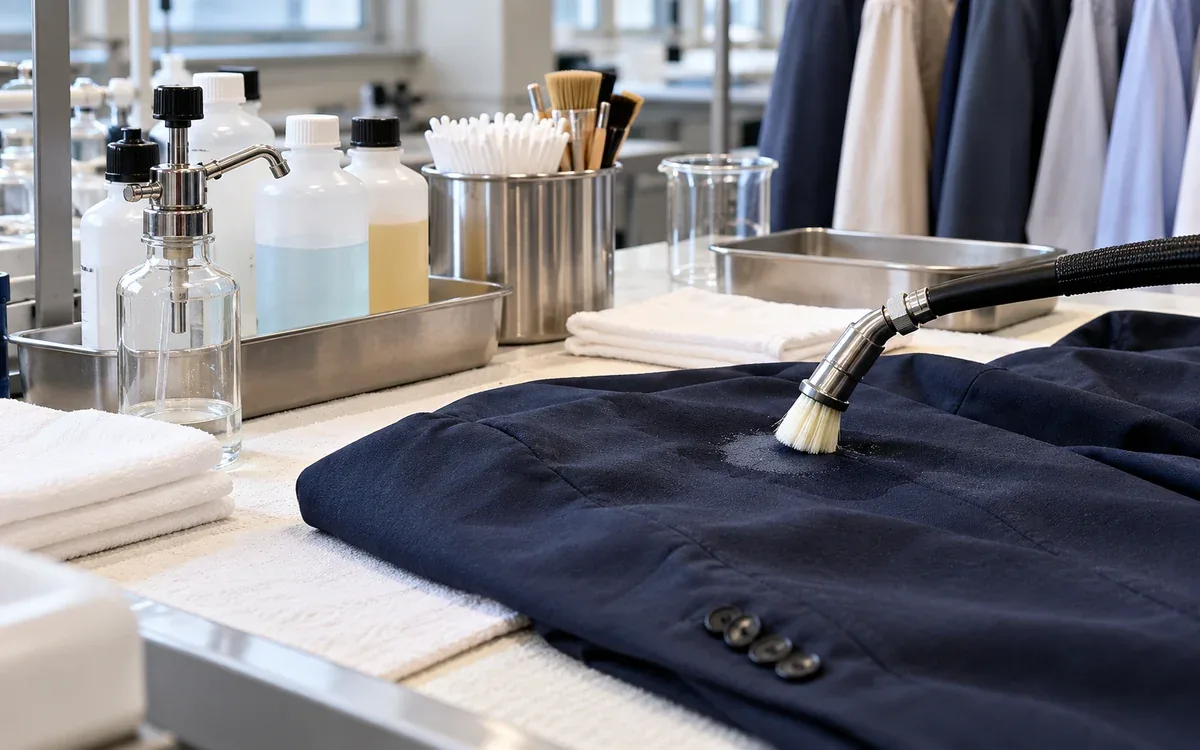
Identify the mark before selecting a cleaner
Garment spot cleaning should begin with a diagnosis. An oily mark, a pale patch and a shiny pressure mark may all look like stains. Each can require a different decision.
The oily mark may contain removable material. The pale patch may be colour loss. The shiny mark may be a change in the fabric surface. Removing more material cannot restore lost dye. It cannot rebuild damaged fibres either.
That distinction matters in a factory. A rushed repair can spread a small fault into a larger ring. It may fade an area or damage a print. The garment may look better while damp and fail again once dry.
Use a controlled route. Identify the likely cause and check whether the treatment suits the material. Test a limited area first. Remove the treatment as required, then inspect the final result. Keep uncertain cases separate until the evidence supports a decision.
Separate contamination from a material defect
Use suitable light to examine the garment before applying liquid. Compare the marked area with an undamaged part of the same panel.
Look for raised deposits, stiffness and oily edges. Check for colour transfer or a change in surface direction. Inspect both sides. A face-only mark may have one history. A mark that reaches every layer may have another.
Ask whether the mark changes when the fabric is gently repositioned. A pile or nap effect can appear lighter or darker as its direction changes. That observation is useful. It does not justify hard brushing.
A scorch mark may include chemical or physical damage to the fibre. A cleaner may remove soil around the damage. It cannot reverse destroyed material.
Photograph the initial condition. Note its location. The record helps identify any later change. It shows whether treatment created a new defect.
Check whether the apparent stain is a light effect
Consider a hypothetical dark trouser with a pale oval at the pressing point. The area contains no raised deposit. It changes strongly with viewing angle. Its yarn surface looks flatter than the surrounding cloth.
These clues support checking pressing or a surface change. They do not confirm an oil stain. A solvent gun may add a ring. It may leave the original mark unchanged.
Compare it with an unpressed sample and review the pressing contact. The product may permit a corrective finishing trial. If so, qualify that route separately. Keep its result distinct from cleaning.
The same reasoning applies to a pale adhesive shadow or an abrasion patch. First ask what happened to the material. Was it added, moved, removed or altered? The answer helps decide whether spot cleaning belongs in the repair route.
Use the production history as evidence
The work sequence often provides better clues than the spot's colour.
Ask when the garment was last known to be clear. Check the operations between that point and discovery. Sewing, pressing and adhesive work can add different contaminants. Marking, transport and storage add other possible sources.
A mark may repeat at the same distance from a seam. That may point to a machine contact. Random marks on exposed faces may suggest handling or a shared work surface.
Does the problem follow an operator or workstation? Check material lots and trolleys too. These links do not prove the cause. They help focus the next inspection.
Where appropriate, keep safely stored and labelled samples of suspected substances. A maintenance oil reference can help the cleaning specialist choose a test. Guessing from the stain colour is less reliable.
Do not sniff unknown stains to identify them. Use process records, product identity and suitable examination instead.
Classify the likely stain without overclaiming certainty
A practical stain grouping helps select a suitable route. Revise the group when new evidence appears.
Likely group | Production examples | Important question |
|---|---|---|
Oily or greasy soil | Lubricant, handling oil or wax. | Is it a single substance or a mixture? |
Water-associated soil | Some drinks, salts or process residues. | Will water spread colour or distort the material? |
Colouring material | Ink, marker or dye transfer. | Is the colour foreign to the garment or part of its own dye? |
Adhesive or film | Tape residue, label adhesive or paint. | What polymer or binder is present? |
Metal-related mark | Rust-like stain near hardware. | Is there continuing contact with a corroding source? |
Physical or thermal damage | Scorch, abrasion or shine. | Is cleaning an appropriate repair at all? |
Kreussler's stain guide separates stain identification from treatment selection. Its examples also show why marks with similar colours can have different origins.
Mixed stains need particular care. A coloured cosmetic may contain oil, pigment and other ingredients. Removing one part can leave another visible.
Do not use the classification table as a set of chemical instructions. It lists questions for a trained spotter and product supplier to resolve.
Check the whole material system
The fibre label alone does not prove that a cleaner suits the garment. Dyes, prints and coatings may respond differently from the fibre. The garment may also contain adhesives, fused areas and trims.
Inspect the layers beneath the spot. A solvent may pass through the shell and reach a bonded component. Water may spread into an interlining or a pocket edge.
Read the approved care information. One approved cleaning route does not permit every local spotting chemical. Spotting can expose a small area to a more concentrated treatment.
A clean scrap from the same material lot is useful for development. The scrap may lack the garment's decoration or fused structure. Test those assemblies when needed.
The SEITZ professional spotting brochure gives restrictions for each product. These include limits for coatings and laminations. It also calls for tests on sensitive fabrics, dyes and prints.
Use the current instructions for the exact product. One cleaner's approval does not automatically cover another. A similar purpose is not enough.
Establish a clean-area compatibility test
Before treating a visible stain, test a suitable hidden area. A representative assembly is another option. Check whether the treatment itself changes the garment.
Test the full proposed route. Include application, contact time and permitted mechanical action. Complete removal and drying too. A quick wet dab does not reproduce a longer treatment.
Use an untreated comparison. Check colour loss, dye transfer and gloss change. Look for stiffness, distortion, adhesive failure and print damage too.
Let the test area reach the defined dry condition before deciding. A damp patch may hide a pale area that becomes obvious later.
For formal assessment, ISO 105-D02 tests colour resistance during local spot cleaning. It combines rubbing with organic solvents. It does not prove that every cleaner suits every garment component.
A factory trial should be described accurately. A quick hidden-area check is not automatically a standard test. Use that label only when the full method was followed.
Why common household substitutions can fail
A familiar product name does not prove it suits a factory repair. Household products may contain fragrances, oils or colours. These and other ingredients can leave a new mark.
The University of Georgia's textile-care guidance warns against acetone on acetate fabrics. Other ingredients in nail-polish removers can also worsen a stain.
That illustrates a wider rule: know both the cleaner and the textile. A product that dissolves a deposit may also affect the garment.
Do not create mixtures from unrelated tips. A sequence may suit one fibre, dye and cleaner system. It may harm another.
Use named professional products. They need clear instructions for application and removal. Keep the original label and batch information available.
An unknown contaminant on a sensitive garment needs care. Ask a qualified textile cleaner to review it. Repeated trials on the finished piece may add damage without useful evidence.
Set up the spotting station to prevent transfer
The work surface, support and absorbent materials must be clean. Otherwise, the cleaning operation can move soil from one garment to the next.
Use suitable lint-free materials that do not transfer colour. Replace soiled absorbent backing before it can transfer dirt.
Separate tools used for different product families where required by the supplier's system. Keep bottles closed and clearly identified.
Arrange the garment to protect untested components. Check where the treatment could spread. A folded second layer beneath the stain may receive the cleaner as well.
Use the approved equipment method for suction, steam or air. Too much pressure or heat can distort a delicate surface.
Keep clean and treated garments apart. The visible deposit may have gone while the piece still needs drying or inspection. Keep it out of the accepted pile until those checks are complete.
Use the least disruptive qualified treatment
Once compatibility is established, apply the approved treatment within its limits. More liquid and more rubbing are not automatic improvements.
A trained operator may first remove a surface deposit by controlled physical action. That should not scrape or cut the textile.
Use the product's specified application and removal sequence. The instructions may require flushing or later full cleaning. Letting the cleaner evaporate locally does not replace those steps.
Woolmark's stain guidance calls for gentle handling and pre-testing. It also stresses proper removal of treatment. Advice for cotton or synthetics may not suit wool.
Keep treatment local where the qualified route permits it. A local method may leave an unavoidable boundary mark. In that case, reconsider the route. Some pieces need professional whole-garment cleaning.
Stop if the surface begins to change. A cleaner may remove both the stain and the garment's colour. That is not a successful repair.
Diagnose rings by their boundary
Liquid may carry dissolved material to the edge of a wet area. This can form a ring. Leftover treatment can do the same. A ring may also show different finishes in treated and untreated areas.
Map the ring after the garment is dry. Compare its colour, feel and gloss with the centre.
Ask what was moved and where it went. Was the absorbent backing replaced? Was the cleaner removed according to its instructions? Did the treatment spread into another layer?
Do not repeatedly wet a larger circle without a plan. The boundary can expand while the underlying cause remains.
Run a controlled comparison on representative material. Use one sample to test the approved removal stage. Use another to examine the suspected handling error. Keep all other conditions as similar as possible.
The method must leave even appearance on the actual construction. If it cannot, reconsider the route. A larger, less obvious ring is still a fault.
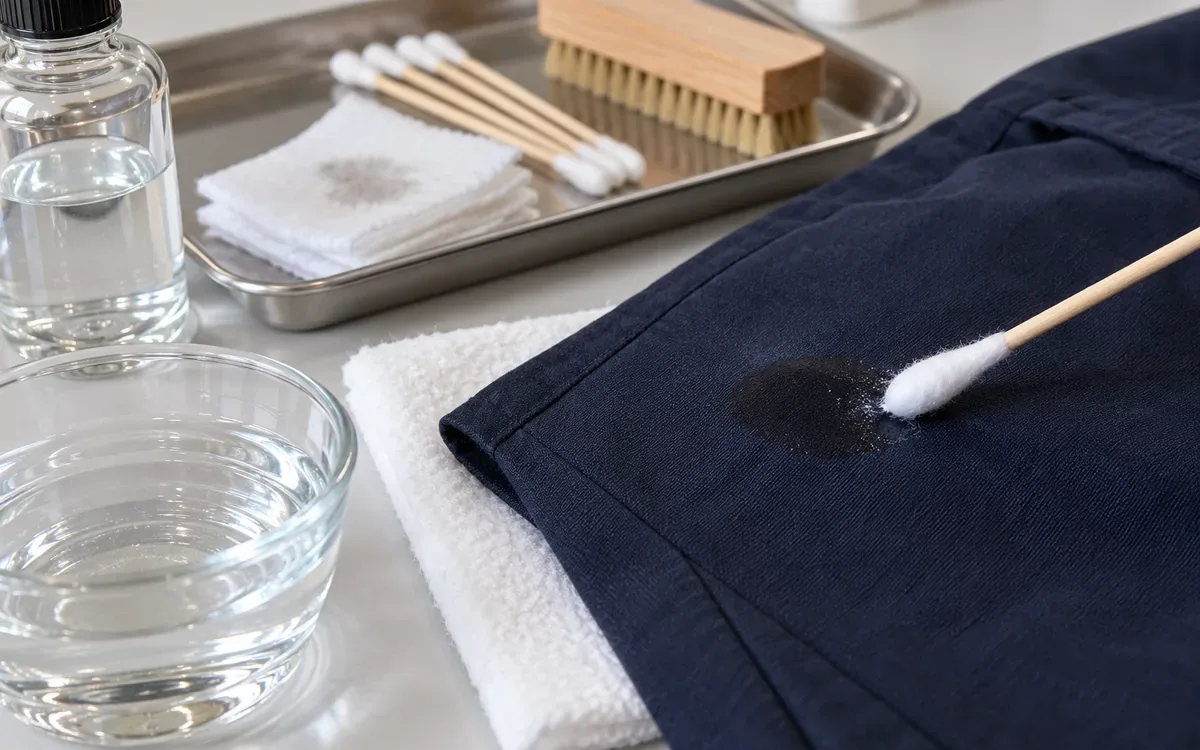
Handle oil marks as a known-substance problem
In garment production, oil marks often invite a standard response. The cleaning challenge depends on which oil is present. Its age and earlier heat exposure also matter.
Find the source where possible. Name the machine oil or other product involved. Record whether the garment was pressed afterward.
Use the known substance to make a representative stained sample. Develop the route on that sample. Record the amount applied and its ageing conditions. A fresh test spot may be easier to remove than the production mark.
Compare the dry result under both normal and angled light. A residual oily region may show through gloss or transparency rather than colour.
Check the fabric's finish and nearby decoration. The route may remove oil from plain cotton successfully. That does not approve it for coated panels or heat-transfer prints.
Correct the leak or handling source before repairing a large pile. Without a source correction, the station must keep repairing the same fault.
Treat ink and marking faults by exact product identity
Ink is not one chemistry. A water-based marker may differ from ballpoint ink or a permanent marker. Their carriers and binders can differ.
Identify the tool used on the line. Check its label and supplier guidance. A temporary mark still needs a suitable removal route. Confirm that route for the actual fabric and finish.
Do not assume that fading means removal. A marker may become less visible under one condition. It can reappear after another treatment.
Test the repair through all relevant later operations. Include pressing or care where needed. Record the result after those stages.
Colour may transfer from the garment during testing. Stop and check whether it is garment dye or foreign ink. A coloured swab alone does not tell which dye is being removed.
Prevent recurrence by controlling marking tools at the workstation. An unapproved pen can create more risk than the spotting process can reliably repair.
Distinguish adhesive residue from bonded construction
A sticky mark may be surface adhesive that can be removed. It may instead belong to an intended laminate or transfer system.
Identify what was attached and how. Ask whether heat, pressure or time changed the adhesive before the residue was found.
A solvent may soften both unwanted adhesive and a useful bond nearby. Include that assembly in the compatibility trial.
Use the supplier's removal guidance for the specific adhesive where available. Avoid a generic rule based on stickiness alone.
After treatment, check the surface for tack, gloss and dirt pickup. A mark that looks clear but remains sticky can collect soil during packing or use.
Also verify that the garment has not lost its intended decoration or support. A repair must preserve the product function, not just remove the visible outline.
Escalate rust-like and biological contamination appropriately
An orange-brown mark near metal may suggest corrosion. Appearance alone does not confirm it. Check the hardware, moisture and storage history.
Ask a trained specialist to select the product. Some rust-removal chemicals have serious hazards. They may also be unsuitable for some materials.
NIOSH's guidance on spotting chemicals identifies exposure risks. It recommends suitable isolation, local exhaust and trained work practices. Protection must also fit the specific product.
Set a handling plan for biological contamination too. Removing a visible stain does not prove hygiene or disinfection.
Keep affected garments separate and follow the workplace's applicable procedure. Do not transfer unknown contamination to a general rework table.
For both situations, record the cause and disposition. A garment can fail for reasons beyond the final colour of the marked area.
Build a small trial before processing the full repair lot
Choose trial pieces that represent the fault, material and severity range. Do not select only the easiest marks.
Keep one untreated reference where practical. Record each piece's initial condition and the route applied.
Record garment identity, stain source and cleaner product on the trial sheet. Add treatment history and operator. Record the final dry result and any later performance check.
Set a stopping rule before the trial begins. New colour loss, surface damage or bond change should trigger review. Do not simply add more treatment.
Agree who can approve a repeat application. Repeated exposure can differ from the tested single treatment.
Use the trial to decide whether the route suits this type of fault. A repair lot may contain several stain types. Separate them. Do not apply one assumption to the whole lot.
Read repair yield with clear denominators
Consider a hypothetical trial on 30 garments with the same confirmed oil contamination.
After one qualified treatment, 24 pass the final dry inspection. Four remain stained, and two show unacceptable colour change.
First-pass repair yield is 24 ÷ 30 × 100 = 80%.
The two colour-change failures matter even though most garments passed. Check whether the route suits every material variant in the trial.
Suppose a separate second treatment is approved for the four stained pieces. Three then pass. Final accepted quantity is 27, or 90% of the original 30.
Do not report only the 90% figure. It hides the extra operation and the two damaged pieces.
Keep repair yield separate from the factory's overall first-pass production yield. Repaired goods may pass. The original contamination still caused cost and delay.
Estimate the repair burden without confusing it with value
Use the same example trial. Assume the first treatment takes four minutes per garment. The approved second treatment takes three minutes on each of four garments.
Total direct treatment time is 30 × 4 + 4 × 3 = 132 minutes.
With 27 accepted garments, direct treatment time per accepted piece is 132 ÷ 27 = 4.89 minutes.
This excludes waiting, drying, inspection, chemical use and handling. State that boundary. The figure is not a complete repair cost.
If the full work cost is later calculated, include rejected pieces in the input. Counting only the easy successes can make a weak route look attractive.
Use the result to compare repair with prevention or another approved disposition. A cheap cleaner is not necessarily a low-cost repair method.
Verify the dry garment independently
Inspect the whole affected region. Include the reverse and nearby layers. Where practical, use an inspector who did not do the repair.
Check colour, gloss, hand and surface texture. Assess dimensions and print or bond condition. Check any remaining odour or residue relevant to the product.
Do not use odour alone as a chemical clearance test. Follow the product's removal requirements and any specified verification.
Use normal product assessment conditions. Also view at an angle that reveals surface changes. A stain can disappear in one view and remain visible in another.
Complete any required later-stage check. The garment may be pressed, packed or washed before release. Prove that route with the repaired sample.
Only then return accepted pieces to the normal flow. Keep the repair history linked to the batch for investigation if the fault reappears.
Feed the findings back to prevention
Spot-cleaning data can identify a process problem before it grows. Record the operation, source and location in a consistent way.
Review repeated patterns. Oil marks near one presser foot suggest a local check. Dirt on every trolley contact surface needs a different action.
Confirm the cause before replacing equipment or materials. A trial with a clean contact surface or repaired leak can test the suspected source.
Check the first output after the correction. A short period with no new stains gives useful evidence. Set the full review period to suit the production risk.
Keep approved marking and adhesive products controlled at the point of use. An approval file loses value if staff can substitute an untested item.
Use the existing safety data sheet review guide when selecting chemicals. It helps align repair quality with workplace controls.
Frequently asked questions
Can every stain be removed?
No. Some marks are colour loss or material damage. Some contaminants cannot be removed without unacceptable change. A clear stop decision protects the garment.
Is a hidden-area test enough?
It is a useful first screen. It should reproduce the whole proposed route and relevant assembly. Formal or product-specific tests may also be needed.
Why does a stain return after drying?
The damp state may hide residue or colour differences. Possible causes include incomplete removal, migration and surface-finish changes. Investigate which applies.
Should the operator rub harder if the spot remains?
Use only the mechanical action allowed by the qualified method. More rubbing can damage fibres or remove colour without solving the stain.
Can repaired garments be counted as first-pass production?
They can be counted as accepted after repair when they meet the requirements. Keep the original production failure separate from the repair result. This preserves useful process data.
Make a clean appearance part of a sound repair
A successful spot-cleaning route removes unwanted material and preserves the garment. Start with evidence about the mark. End by inspecting the complete dry result.
Use exact product identities and controlled compatibility trials. Set clear stopping rules. Then use the repair record to remove the source of contamination. That makes spot cleaning a dependable quality decision and reduces the need to repeat it.
References
Kreussler: Professional stain identification guide.
Woolmark: Removing stains from wool.
ISO 105-D02: Colour fastness to rubbing with organic solvents.
NIOSH: Control of spotting chemical hazards.
SEITZ: Spotting agents for professionals.
University of Georgia Cooperative Extension: Textile-care products.



Discussion0
Loading the discussion…