
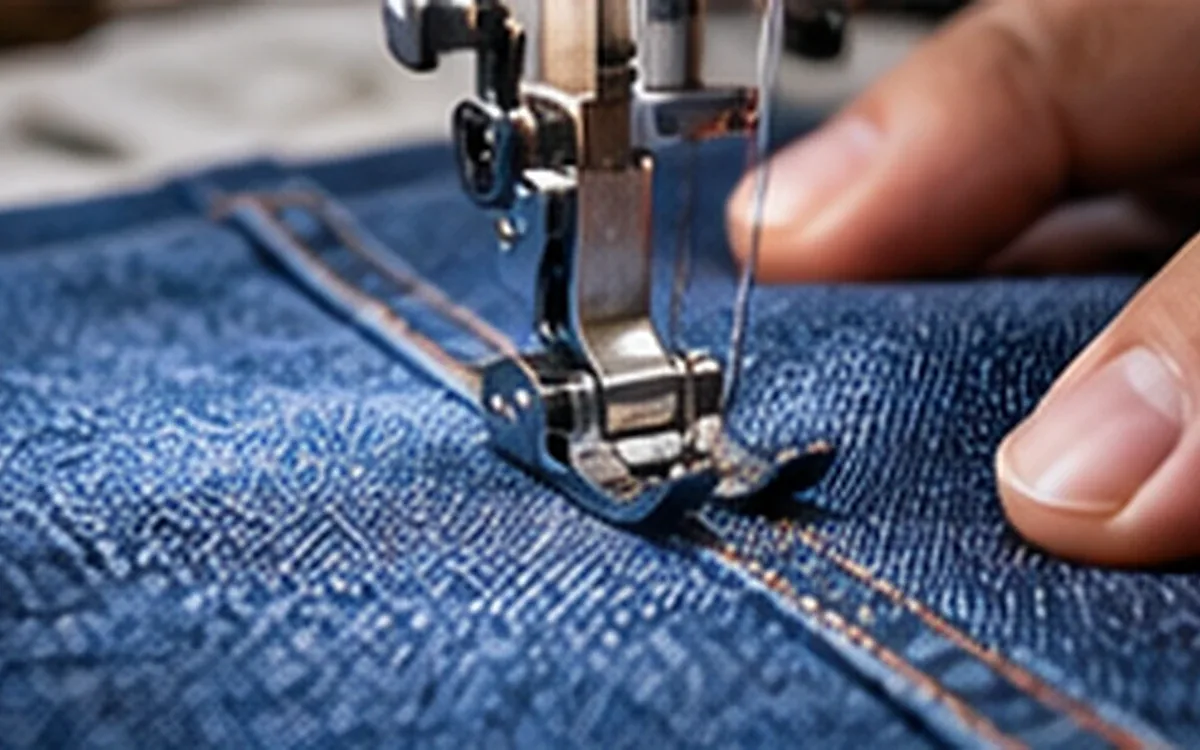
A hole beside a seam is an observation. Calling it needle damage is a diagnosis that still needs evidence. The fabric may have a cut yarn, an enlarged space between intact yarns, a snag or a heat-affected edge. Those faults can require different actions.
Start by keeping the damaged sample and its production details together. A needle change may improve the next piece, but that alone does not explain the first failure. The new needle may differ in wear, point, size or surface condition.
This guide follows the investigation from the visible mark to a checked correction. Its numerical cases are invented examples, with stated inspection rules. They explain how to compare evidence; they are not buyer limits or results from a factory trial.
Describe the damage before naming its cause
Examine the fabric around the sewing thread. A broken sewing thread and a broken fabric yarn are separate observations. Record both when they occur together. A thread break count cannot tell the team how many fabric yarns were cut.
Use consistent light, magnification and sample handling. Record whether the cloth is relaxed or held under a stated load. Pulling one sample much harder than another can change the apparent opening. Some checks require cutting stitches or opening the seam. Keep an untouched sample for comparison.
The following distinctions help frame the first questions. They do not identify a cause from appearance alone.
Observation | What to establish next |
|---|---|
Open space around the stitch | Are nearby fabric yarns intact, displaced or broken? |
Cut yarn ends or a developing run | Where does the break begin, and which layer contains it? |
A pulled loop or surface snag | Does its path match a needle entry or another contact surface? |
A hard, fused-looking rim or deposit | Is there evidence of thermal damage or transferred material? |
A mark visible only after care | Was the same location examined before treatment? |
American & Efird's needle-cutting guide describes yarn breakage during needle entry into knits. Such damage can develop into a run. The guide also points to rough machine contacts. It describes damage already present away from the seam. These findings call for a check beyond the needle packet.
If the view is unclear, record it as unresolved. A firm label based on weak evidence can send the team down the wrong path. Keep the sample for a closer check by the technical team or laboratory.
Opening a seam also needs care. A blade that removes sewing thread can also cut the cloth beneath it. That new cut can mislead the team. Record which samples were opened and how. The check may depend on the state of each fabric yarn. Choose a method that suits this purpose, and keep an unopened sample beside it.
Map the location and the stage
Mark the seam direction, fabric face and layer positions on the sample record. Identify the needle-entry side and the opposite side where that distinction is useful. A folded hem can hide several layers. An outside photograph alone may not show which layer is damaged.
Locate the fault within the operation. Is it in a straight run, at a crossing seam, near a start or stop, or along a folded edge? Look at the same feature on sound pieces. A problem confined to a thick junction needs a trial that contains that junction.
Record when the fault first became visible. Check the cut panel, sewn piece and pressed garment. Add a check after the specified care treatment. Keep the observations separate. Finding a hole after washing does not prove that washing first broke the yarn.
For a practical map, give each sample a simple location code. A code such as “left side seam, inside layer, below pocket junction” is more useful than “bad piece.” The exact code format matters less than the ability to find that point again.
Check unsewn material from the same lot and nearby source position. Retain its direction and face. A control from another finish or roll can introduce a new difference. This control helps show what was present before sewing. It cannot reproduce all the stresses of sewing.
Preserve the setup that produced the fault
Record the machine model and the complete needle designation. Include system, size, point and any special geometry or coating. Keep the thread product, size, colour and lot with the fabric lot and seam details. “Standard needle” is too vague for a repeat check.
Note the needle's known use history and any recent collision, thread jam or adjustment. If its history is unknown, say so. A replacement date records time in service. It does not measure how many times the needle entered the cloth.
Keep the removed needle identified under the factory's handling procedure. Do not place it back in service to reproduce a known damaging condition. Stop the machine safely for the technical check. The team can then inspect the point, eye and other relevant surfaces.
The Groz-Beckert apparel-needle guide describes point and eye wear during demanding sewing. It also describes how geometry affects stability and thread handling. Record the complete product for this reason. Two needles of the same size may still differ in these other features.
Record the settings actually used, including stitch length, speed and feed arrangement. Keep tension and any relevant adjustment history. A replacement needle installed alongside a timing change creates a combined change. The record should make that clear.
Separate point choice from needle condition
An unsuitable point and a damaged point are different problems. Replacing a worn needle with a fresh needle of the same full code checks one question. Trying another approved point family checks another. Combining the two makes the result harder to explain.
SCHMETZ's round-point guide lists distinct round and ball-point forms. A light ball point is intended to displace textile yarns. A larger ball is a different geometry, not a higher grade of the same solution. The actual fabric structure must guide the choice.
Do not assume that every knit needs the same point or that every visible hole calls for a smaller needle. The needle must still work with the thread and machine. A smaller candidate that bends or forms poor stitches has introduced another problem.
Agree the candidate with the machine and needle guidance. Keep the system compatible with the exact machine. If special geometry changes the eye or blade, retain that detail in the trial record. The comparison then concerns those complete needle products.
Fabric condition also matters. Repeat the check on the actual finish and layer stack. A soft development swatch may behave differently from the production material. Avoid treating a change in fabric finish as evidence about needle point alone.
Examine the other surfaces that touch the material
A mark on one face of the cloth should direct attention to that face's contact path. It does not prove which part caused the damage. Compare the needle row with the paths taken under the presser foot and over the feed and plate surfaces.
Coats' sewing-problem guide covers rough edges and needle condition. It also considers thread routing, fabric control and alignment. These conditions can occur together. Assign machine checks to qualified staff using the correct model instructions.
Look for a repeated relationship between the mark and a machine feature. For example, a snag may appear beside the stitch row. Check whether a contact edge passes that position. Retain the observation before any repair removes the evidence.
Avoid filing, polishing or changing clearances by guesswork. An apparently smoother edge can still have the wrong shape or clearance. Restore the part to its approved condition. Then check sewing on the intended assembly.
Also examine handling before and after sewing. A bundle clip, rough work surface or later operation may affect the same area. Follow the piece through the route if the first point of damage remains unclear. Replacing a needle cannot correct a fault that occurs elsewhere.
Investigate heat without relying on colour alone
Needle friction can contribute to heat during sewing. A&E's needle-heat bulletin discusses fabric damage and thread fusing under heat. It also identifies material, speed and contact conditions as relevant factors. These are reasons to investigate heat, not a way to assign one safe temperature to every garment.
A dark mark alone is weak evidence. Inspect the edge and any deposit, then compare the material's known behaviour. Residue on the needle may come from a finish or bonded layer. Keep a sample for identification if the deposit's source is uncertain.
The timing of the fault can help. Record whether it occurs after continuous sewing, at a stop or at a thick junction. Keep actual running time and interruptions with the sample. A short cold-start row may not represent a longer operation.
In Mazari's 2021 sewing-heat study, the material was polypropylene and the thread was polyester. At higher speeds, the needles ran hotter and the thread retained less strength. Those findings apply to the tested conditions. The paper also discusses infrared measurement. A needle is small, moving and reflective, which makes the reading difficult. These results do not set a speed limit for every other material.
Do not treat an unvalidated temperature reading as an exact measurement. Sensor placement, response time and the surface being measured matter. A technical investigation may need a suitable measurement method. It should not require an operator to touch a hot needle or improvise a sensor near moving parts.
Make the comparison answer one useful question
Choose the next trial from the evidence. A worn-point concern may justify a fresh, identical needle first. A suspected material mismatch may justify a supplier-approved point or size comparison. A heat concern may require a defined speed or run-length comparison.
Keep the fabric lot, direction, layer stack and seam feature comparable. Cut enough material for every candidate before the trial begins. Label the samples and check their allocation. Avoid giving one candidate only easy areas and another only dense junctions.
Use fresh paths. Sewing a second candidate through old holes changes its starting condition. Keep repair stitching separate from the first-pass sample. The real operation may include a backtack or repeated entry into a hole. Reproduce and label that feature for a separate check.
Repeat the chosen comparison across more than one run when the decision needs it. Record the order and interruptions. A clean row just after a change is useful evidence. It tells little about later wear or changes in machine condition.
Keep the purpose narrow. A diagnostic trial asks whether the evidence fits a suspected cause. Final approval asks whether the complete setup meets every required seam property. A useful diagnosis can still lead to a candidate that needs further development.
Follow one fault through a short investigation
Consider an invented case in which visible cut yarns recur at a folded junction. The straight run looks sound under the same inspection. Retained unsewn material has no observed cuts at the selected control locations. Those findings focus attention on the junction, while leaving the exact cause open.
The technical team finds a damaged point on the used needle. A fresh needle with the identical full code produces sound initial samples. That result supports a needle-condition concern. It does not yet explain why the point became damaged or how long the correction will last.
Suppose the fault returns during a comparable run. The replacement point is also damaged. Repeated replacement alone is then a weak response. Does the needle contact another part at the junction? Does handling deflect the assembly? Check the material stack for other difficulties too. Qualified staff should investigate the machine under its approved procedure.
Now suppose a verified contact problem is repaired. Keep the needle product and material unchanged for the next comparison where practical. Record the repair, inspect later-run samples and repeat the required product checks. If the evidence improves, it supports that repair within the conditions tested.
The finding should describe this sequence. “Changed to a fresh needle” records an action. It leaves the recurring damage mechanism unresolved. Link the observed point damage to the confirmed contact problem. Keep the later sewing evidence with that finding. Do not claim that every hole on another style has the same cause.
Choose a denominator that matches the observation
“Twelve holes” is incomplete without the amount inspected and the counting rule. Count each damaged site once under the stated rule. Several broken fabric yarns at that site still count as one site. If broken yarns are also counted, keep that total in a separate field.
An assembly can contain several damaged sites. Counting damaged units answers a different question from counting damaged sites. ApparelDiary's DHU and defect-counting guide explains why defects and affected units need separate records.
Consider two invented trial setups on the same assembly. Each sews ten separate paths of 0.10 m, giving 1.00 m of new seam per setup. There are no backtacks or repairs within the counted paths. The inspector examines one specified fabric layer at every distinct needle-entry site.
Setup A has 50 counted sites per path; setup B has 40. These are actual counts in the example. Do not infer them from a nominal stitch setting if the measured row differs. Assume both stitch-density variants have been authorised for this development comparison.
Setup | New seam, m | Sites inspected | Damaged sites | Damaged assemblies out of 10 |
|---|---|---|---|---|
A | 1.00 | 500 | 12 | 4 |
B | 1.00 | 400 | 10 | 5 |
For A, the damaged-site share is 12 ÷ 500 × 100 = 2.4%. For B, it is 10 ÷ 400 × 100 = 2.5%. B has fewer damaged sites in total but a slightly larger share of the sites inspected.
For A, the damaged-assembly share is 4 ÷ 10 × 100 = 40%. For B, it is 5 ÷ 10 × 100 = 50%. Damage is spread across more assemblies in B, even though its total site count is lower.
On a length basis, the observations are 12 ÷ 1.00 = 12 damaged sites/m and 10 ÷ 1.00 = 10 damaged sites/m. Each figure answers a valid but different question. Report the counts and their bases together.
These small totals do not prove that B has a worse underlying process. They also do not justify calling it an improvement from the raw count alone. The trial changed stitch density, which can affect other seam properties. Judge it against the pre-agreed requirements and follow-up evidence.
Keep the sample-level tally beneath the summary. Twelve sites may cluster at one junction or spread along a straight row. These patterns call for different checks. A pooled percentage cannot show that pattern. Keep the location codes and inspected count for each relevant zone. Retain these details alongside the overall result.
Do not add both fabric layers to the denominator when only one layer was inspected. Repeated needle entries may share a hole. In that case, the machine-cycle count is not a count of distinct sites. Define the unit first, then make the numerator and denominator refer to that same unit.
Compare the same locations before and after care
Keep a map of the locations examined before treatment. A total recorded after care cannot show which marks were already present. Use the same viewing conditions after the sample reaches its specified state.
Suppose 100 marked sites are checked before and after the agreed treatment. Five show the defined damage before care. After care, those same five still show it and seven additional sites meet the definition. No marked site is missing from the second inspection.
The result changes from 5 ÷ 100 × 100 = 5% to 12 ÷ 100 × 100 = 12%. The increase is 7 percentage points. Relative to the original five damaged sites, the count rises by 7 ÷ 5 × 100 = 140%.
That is seven newly observed sites under this method. It does not prove that the treatment created all seven breaks from sound yarns. Earlier damage may have become easier to see. Compare the matched views with unsewn controls and other evidence. Use these checks to judge when the damage began.
The public scope of ISO 6330:2021 covers domestic washing and drying procedures for textile tests. A complete test includes both washing and drying. It also notes that equipment and other procedure choices can affect results. The standard name alone leaves trial details open. It does not set a needle-damage acceptance limit.
Use the specified procedure and edition. Include the required drying route and number of cycles. Keep the laboratory's actual record. A factory garment wash may serve a different purpose from a domestic-care test. Give each a clear name in the record.
Test a remedy for the problem it claims to solve
Evidence of wear or stuck material may justify a needle-coating trial. SCHMETZ's coating guidance describes different surface designs for such applications. The product features are supplier guidance. They do not prove how much damage will fall on the factory's own assembly.
Record the coated needle's full code. Check which other features changed with it. A different eye, point or blade can affect the comparison. Keep observations from the start and later in the run. The first attractive sample is only part of the evidence.
Cooling or lubrication changes also need technical approval and a defined method. Check compatibility with the machine, thread, material and later finishing. An added substance may leave a mark or affect another property. Do not turn a successful short trial into an instruction to apply an unapproved fluid.
When speed changes, record actual speed and run pattern. A slow setting may run without a break. A faster setting may run only in brief bursts. These are different heat conditions to investigate. Keep the observation basis clear before claiming a heat-related improvement.
The best next action may involve the material supplier. A finish change or a recurring weak area in one lot cannot always be corrected at the needle. Send traceable samples and observations, including sound comparisons. Give the supplier locations and process stages to check. This makes the request clearer than a broad complaint about sewability.
Confirm the correction across the real operation
Check the corrected setup on the actual difficult features. Include crossings, folds and the intended sewing direction. Where both faces matter, inspect both under a defined plan. A clean outside can conceal damage in an inner layer.
Retain samples from the beginning and later parts of the confirmation run. Include the specified pressing and care stages. Do not reopen tested seams and then use them as untouched specimens for another test. Plan separate samples where examination would alter the evidence.
Damage is only one release requirement. The corrected seam must also meet its agreed appearance, stitch formation and performance requirements. A changed seam construction may reduce visible openings. The new construction still needs approval against its other requirements.
Record what changed, why it changed and the limits of the approval. Link the first observation to the technical finding. Keep the later confirmation result with both. ApparelDiary's quality assurance and quality control guide explains how such evidence supports a documented release decision.
Write the final instruction for the next shift. It should help staff repeat the approved setup and recognise the same fault. If the evidence still leaves two plausible causes, retain that uncertainty and plan the next check. Keep that open question clear. One unexplained hole is a weak basis for a permanent needle rule.



Discussion0
Loading the discussion…