
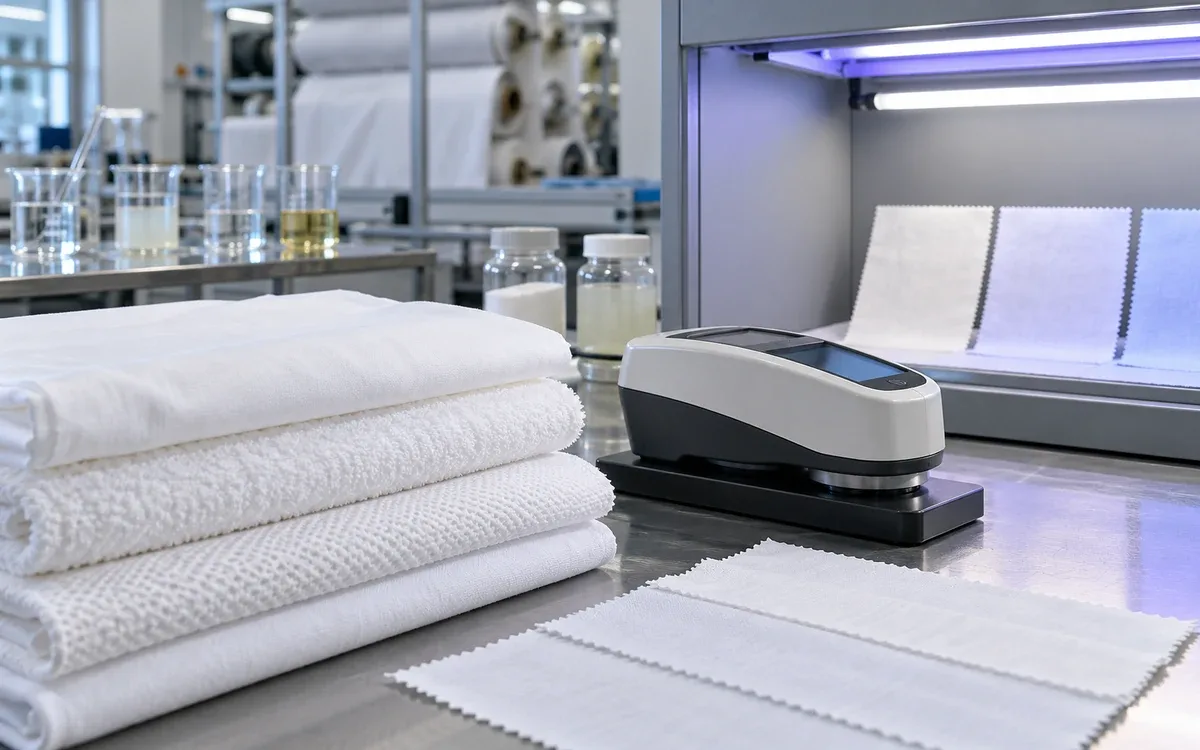
Start with the white the customer will actually see
An optical brightener can make a well-prepared fabric look cleaner and brighter. The lab result can also mislead. Ultraviolet (UV) energy drives the brightening effect. The test light may provide more UV than the agreed viewing condition.
The finishing team therefore has two linked tasks. First, apply a suitable product evenly. Then measure the white under a defined light source. A high number can hide a weak base white or unwanted tint. The finish may also change during care.
This guide explains how to choose and assess optical brighteners in textiles. The trial data and costs are teaching examples. They show how to make decisions. They do not give a recipe or specification for all products.
Understand the extra light from fluorescence
Another name for optical brightening agents is fluorescent whitening agents. This is often shortened to FWAs. They absorb energy from part of the UV region. They emit visible light, usually in the blue region. This added blue light changes the perceived white.
Datacolor's UV calibration guide explains this light-dependent effect. It depends on the UV content of the light reaching the fabric. The brightener and the light source work together.
Chemical bleaching acts on coloured matter in the substrate. Fluorescent whitening adds an optical effect. A blue shading dye absorbs some visible light and changes its balance. These routes can be combined. They still perform different jobs.
This distinction matters when troubleshooting. Extra brightener cannot remove an oil stain. It cannot repair uneven preparation either. A shading correction changes appearance. It does not prove stable fluorescence under the intended light.
Whiter does not mean cleaner
A strong fluorescent signal is not a cleanliness test. It does not prove removal of size, oil, or metal contamination. Process chemicals may remain too.
Keep preparation checks separate from optical approval. Start with a substrate that meets the needs of the next process and end use. Build the white appearance on that base.
Brightness does not prove product safety or biodegradability. It does not prove UV protection either. Each claim needs relevant evidence. A whiteness result answers an appearance question.
Define the white target before choosing a product
“Brilliant white” leaves too much room for disagreement. A customer may want neutral white or blue white. Another may prefer a slight violet cast. Those preferences can lead to different chemical choices.
Use an agreed physical reference. Keep the required test setup. Record the fabric construction and finish. A smooth woven shirt fabric and a bulky knit can scatter light differently.
Set the whiteness and tint limits together. Define the intended care treatment. State when the finished sample is assessed.
ApparelDiary's guide to fabric colour approval covers reference identity and sign-off. For fluorescent whites, agree on UV calibration. Define viewing conditions too.
Separate the main target from diagnostic checks
The specified instrument condition provides the release result. Other conditions can help explain a problem. They should not silently replace the release condition.
A UV-excluded reading offers a separate comparison. It assesses the samples without the same fluorescent effect. A controlled UV-included reading assesses the intended brightened white. Label each condition clearly.
One lab may report the first condition and another the second. Their numbers then describe different tests. Align the basis of the readings before changing the recipe.
Match the brightener to the fibre and application route
A commercial product is a chemical formulation with a defined use range. Check its fibre affinity, shade, and stability. Concentration and physical form matter too. A broad family name cannot replace these details.
Archroma's UVITEX range includes low-, medium-, and high-affinity products for cellulosic fibres. These products do not all behave alike. The name “optical brightener” alone does not justify a product swap.
Read the current technical data sheet. Check the actual product and local supply form. Does it suit exhaustion or padding? Can it share a bleach route, or does it need a separate finish step?
For a fibre blend, assess the complete fabric. A product may give the desired white on cotton. The other fibre may still look different. A good result on one fibre does not prove success for the blend.
Ask what the product needs to survive
List what happens after the product is applied. Include heat, pH changes, other finishes, washing, and drying. Add storage and use. Choose the candidate for that full sequence.
CHT's TUBOBLANC COL technical sheet shows why decisions must fit the product. It gives separate stability statements for peroxide and chlorine-based bleach systems. It also covers acids and reduction conditions.
Do not apply those statements to every brightener. A shaded blend may differ from its unshaded component. The brightener must survive the intended route. Any shading dye must survive it too.
Qualify the complete bath
Check what will share the bath or remain on the fabric. This may include softeners, resins, catalysts, wetting agents, and other auxiliaries. Review how the brightener works with each one.
A clear beaker solution gives useful evidence. It covers only part of the check. Test the normal production temperature, water quality, and shear too. Account for dwell time and how the bath is replenished.
Use the supplier's approved dilution and addition sequence. Use the actual process water and full formula in a lab trial. Assess both the bath and treated fabric.
Keep a sample of brightened fabric before later finishing. Compare it with the fully finished sample. This can show where whiteness starts to fall.
Acid stability is a selection requirement
Some later finishing routes use acidic conditions. A product may work well before that stage. Its shade or performance can change afterward.
CHT's current TUBOBLANC guidance describes products and shading options for these conditions. The claim supports testing that candidate. Run the test through the mill's full route.
A supplier demonstration may use different fabric and cure exposure. It does not prove durability on the mill's product. Test the finished material. Keep the result with the approved formula.
Establish the base white before building fluorescence
Prepare a matched sample without optical brightener. It helps separate the substrate's contribution from the later optical effect.
If the base is uneven, investigate preparation before increasing the brightener dose. A larger addition may improve the average. Local differences can remain.
Compare corresponding width positions and process stages. Keep conditioning, thickness, backing, and orientation the same. A change in presentation can otherwise look like a process change.
The instrument may have a UV-excluded mode. Use it with a validated procedure. It is a diagnostic condition. It does not remove the brightener chemically. Its reading is not the exact value of the original untreated fabric.
Build a concentration curve on the actual fabric
Do not assume that twice the dose gives twice the optical benefit. The useful dose range depends on the brightener and substrate. Application and viewing conditions affect it too.
An original cotton study by Dekanić and colleagues compared several brighteners and concentrations. It measured whiteness after treatment. It measured again after a defined water-washing cycle. The study also discusses a possible dose limit. Too high a concentration can reduce whiteness.
Plot dose against response in the mill trial. Do not copy one published concentration to different products and fabrics.
Include a control without brightener. Test several doses supported by the supplier. Repeat a promising route. Keep other factors fixed, or plan an experiment that separates their effects.
A hypothetical concentration decision
Suppose the target is a whiteness index of at least 140. The final tint must also pass visual review after the full finish route. The instrument condition is the same for all readings below. It has been validated for this comparison.
Product dose on fabric mass | Whiteness index | Visual result | Trial interpretation |
|---|---|---|---|
No brightener | 82 | Cream cast | Base reference only |
0.10% | 128 | Acceptable tint | Below the example target |
0.20% | 143 | Acceptable tint | Candidate for repeat trials |
0.30% | 146 | Acceptable tint | Small gain for extra product |
0.40% | 141 | Unwanted cast | Higher dose gives a worse result |
These invented readings show a possible decision pattern. They are not performance claims for any named product.
Check that the 0.20% route repeats well and treats the fabric evenly. Test care durability and the margin above the limit. One passing specimen cannot prove that production can hold the target.
Compare the incremental cost
Take an example 5,000 kg fabric lot. Increase the commercial product dose from 0.20% to 0.30%. The extra amount is:
5,000 × (0.003 − 0.002) = 5 kg of product
Assume a price of 8 currency units per kilogram. The extra chemical cost is 40 units. The example gain is only three whiteness-index units before durability checks.
That is not automatically a poor purchase. The extra dose might improve the margin above the limit. Prove that gain in the process trial. A higher number alone is a weak reason for approval.
Keep concentration, product strength, and retained add-on separate
A recipe percentage uses a stated commercial product and fabric-mass basis. The active brightener retained on the cloth may differ. Do not treat these as the same percentage.
Two formulations may have different strengths or shading components. Equal kilograms do not establish equal optical effect. Dyeing staff may know the amount charged to an exhaust bath. That does not prove the amount on the fibre.
Compare each new supplier or product form with the approved one. Check the technical data, behaviour in use, and measured fabric result. Product names alone cannot give a conversion factor.
For a padding trial, record both bath concentration and actual wet pickup. Concentration and pickup changes may offset or compound each other. Record both. The stated concentration alone does not describe what reaches the fabric.
A limited padding calculation
Assume a trial bath contains 3 g/L of commercial product. Its density is 1 kg/L. Pickup is 70% on dry fabric mass.
Each kilogram of dry fabric carries 0.70 L of bath. The nominal product carried out is:
3 × 0.70 = 2.10 g/kg of dry fabric
At 60% pickup it would carry 1.80 g/kg under the same assumptions. That is about 14.3% less product carried with the liquid.
This balance tracks product carried onto the fabric. It does not measure the amount left after later stages. It does not measure chemical activity or fluorescence. A finished-fabric trial is still needed.
Set up the instrument for fluorescent textiles
Black-and-white calibration serves one purpose. UV calibration serves another. An instrument may measure ordinary colours well. It may still give poor agreement on fluorescent whites.
AATCC's UV calibration guidance explains why textile reference materials matter. A plastic fluorescent standard may respond to a different part of the UV spectrum. It may not produce agreement for textiles.
Use the method's required reference material. Follow its procedure. Record the reference identity, validity, and storage condition. Add the calibration date and instrument settings.
Maintain and check the instrument on its required schedule. Lamp age can affect UV output. So can the state of the optical system. If calibration fails, investigate the system. Do this before accepting production results.
Do not rescue a failing calibration with a new target
Do not change a reference's assigned value to make the instrument pass. That defeats the check. Keep certified or assigned values under control.
The lab procedure may allow a retained working sample for routine checks. Use it to spot drift. The required calibration reference is still needed.
When labs disagree, exchange method details and control results first. Check that both systems read on the same basis. Do this before changing the recipe.
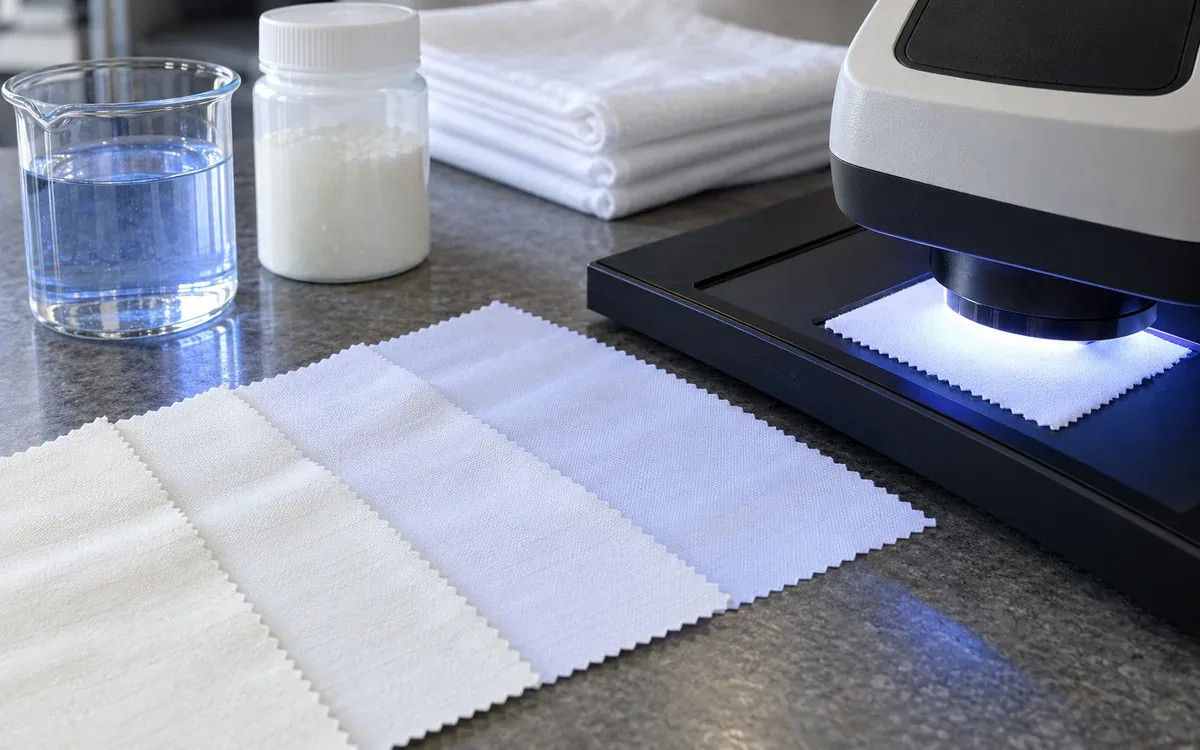
Know what the whiteness number means
AATCC TM110 addresses whiteness and tint using CIE formulas. The public scope states limits on their use. Use the full method to follow its lab rules.
A whiteness index combines selected colour data. This gives a basis to compare samples. It is not the percentage of white fibre or brightener concentration. It does not prove the cloth is clean.
The ASTM E313 scope limits comparison to suitable white or near-white specimens. Material and appearance must be comparable. Check whether the index applies before ranking unrelated fabric surfaces.
Record the formula, illuminant, and observer with the result. Add geometry, UV condition, and specimen preparation. A column headed only “whiteness” can hide different kinds of readings.
Why small colour-coordinate changes matter
HunterLab's instrument guide gives the CIE form:
W = Y + 800(xₙ − x) + 1700(yₙ − y)
Y is the specimen's luminance factor. The x and y terms describe its chromaticity. The chosen reference white also has chromaticity values. These are xₙ and yₙ. The method defines valid conditions and limits.
For an arithmetic illustration, hold every term constant except y. If y decreases by 0.001, the calculated W increases by 1.7 units.
That change does not prove that extra brightener was applied. Tint and calibration can affect the gain. Readings must be taken in a consistent way. Follow the full method and assess appearance. Then judge whether the numerical gain improves the product.
Use a UV comparison as a diagnostic, with clear limits
Match the samples and define the UV setup. The readings then help investigate fluorescence. They do not weigh the brightener. They cannot directly state how many grams remain in the fabric.
Suppose a sample reads 148 under the agreed UV-calibrated condition. It reads 84 under a validated UV-excluded condition. The difference is 64 index units under that instrument protocol.
This is not “64% optical brightener”. It is not a fixed share of the fabric's white appearance either. The index and test setup do not support those meanings.
Compare like fabrics under the same protocol. The difference may change later. This can prompt an investigation. Use process history, visual results, and control samples to interpret it.
Control sample presentation before debating small differences
Use the prescribed layers or backing. Keep the agreed sample orientation. Avoid creases, dirt, damage, and edges that do not represent the fabric. Include them only when those defects are the test subject.
Measure enough locations to cover the trial question. A mean can hide a strip that differs from the rest of the width.
For example, readings of 142, 143, 144, and 131 average 140. Suppose each required position must reach at least 138. The fourth result fails that rule. The mean alone cannot approve that rule.
Retain the individual readings and their locations. Do not hide a visible fault in an average. Do not take new readings only from areas that already look acceptable.
Check appearance under the agreed lights
Use controlled viewing conditions with the specified reference. Fluorescent whites can change with the light source's UV content.
Inspect the whole sample, including any side-to-side or face-to-back difference. Define the observer's task. Is it overall match, tint, evenness, or a specific defect?
A photograph or screen image can help locate a fault. It cannot fully define a fluorescent-white standard. The image depends on the camera and display as well as the cloth.
The numerical and visual rankings may disagree. Check the method, UV settings, and tint. Examine the surface and reference condition too. Do not discard a result just because it is inconvenient.
Test durability without accidentally replacing the finish
Define the care sequence before testing. Specify detergent, any bleach, and water conditions. Add the drying route and required cycle count.
A detergent containing brighteners can add a new optical effect during washing. AATCC's laundering guidance explains the purpose of versions with and without brightener. To isolate the mill-applied finish, choose a suitable detergent. Document that choice. Follow the specified method. A separate consumer-care trial may answer a different question.
Keep untreated and treated controls through the same sequence. If both become brighter, washing may add to the result. Do not credit the original mill treatment with all the final white.
Evaluate the finished article state after care. A good initial result does not prove durability. One defined wash cycle does not prove a garment's full service life.
Include the later finish and storage route
Measure before and after each relevant treatment. These may include resin cure or softening. Where storage yellowing is a concern, use the agreed test and packaging conditions.
Do not treat a storage failure as proof that the brightener dose was too low. Check the base fabric, chemistry, exposure, and packaging. They may interact.
Preserve samples from the intermediate stages. They help the team locate the change. A final rejected roll alone gives less evidence about earlier stages.
Investigate the pattern of a failure
Observed problem | Useful first comparison |
|---|---|
High lab white. Weak visual effect. | Check UV settings, reference condition, and the viewing source. |
White changes after another finish. | Compare matched samples before and after that stage. |
Edges differ from the centre. | Check preparation and application spread. Compare pickup and results across the width. |
Extra dose gives an unwanted cast. | Check the concentration curve, shading component, and tint. |
Different labs disagree. | Compare the method and calibration material. Check geometry, UV condition, and sample presentation. |
White changes after washing. | Check the defined detergent and control samples. Review drying and care history. |
These checks guide the search for a cause. They do not prove one cause. Record the evidence. Make a controlled change, then assess the whole result again.
Transfer the laboratory result into bulk control
Before bulk production, define what must stay fixed from the successful trial. Include base fabric condition, product identity, and formula. State how the product is applied and how results are measured.
Keep samples from the start and end of the first run. Add samples from the middle. Choose width positions to suit the risk. One convenient edge sample cannot prove evenness through a long order.
Keep an approved intermediate white when later finishing can affect the result. The mill can then compare a failed roll with the correct stage. A sample made before final chemistry may not be a fair reference.
When the product lot changes, check its identity. Review the incoming quality records. Where practical, compare it with the retained approved product. Start with the same commercial dose. That alone does not prove equal performance.
Control changes to the measurement system too
Reported results can change with a new instrument or lamp. Software settings and calibration materials can change them too. Record the lab change. Run a suitable check against the old setup.
Where possible, measure retained samples before and after the change. Use samples across the working range. Include different white tints if they are part of normal production.
The old and new systems may disagree. Find the reason before changing production targets. Otherwise, a lab change can look like a chemical failure. It may trigger a needless recipe adjustment.
Frequently asked questions
Can a whiteness index exceed 100?
Yes. The index is not a percentage capped at 100. Check the selected formula's valid range. Read the result in light of the specified test setup.
Does a blue cast always mean too much brightener?
No. It may reflect the selected product, a shading dye, the light source, or another process effect. Compare controlled trials before choosing a correction.
Can one brightener suit every fibre blend?
Do not assume so. Check that it suits the fibres and how it will be applied. Review how it works with the other chemicals. Assess the full blend after all required treatments.
Is UV-excluded testing always better?
The appropriate condition depends on the question and specification. It can help diagnose a problem. For release, use the required validated condition for fluorescent white.
Should the highest initial white win the trial?
Only if it meets the other needs too. These include tint, evenness, durability, process, and cost. A smaller initial number may give a better finished result.
Approve a white that survives the whole route
Reliable optical whitening needs a suitable product and a well-prepared substrate. Apply it with care. Use valid tests to judge the result. Each part can change the final appearance.
Build the dose curve on the real fabric. State the UV condition clearly. Keep tint values and each reading. Test the complete finish and care sequence. The mill and customer can then assess the same white specification. That makes the result easier to repeat.
References
Datacolor: UV Calibration and Whiteness FAQs.
Archroma: UVITEX optical brighteners.
CHT: TUBOBLANC COL technical data.
CHT: TUBOBLANC finishing and shading guidance.
Dekanić et al.: Optical brightener concentration, whiteness, and UV protection of cotton.
AATCC: Spectrophotometer UV calibration.
AATCC TM110: Whiteness of textiles, public scope.
ASTM E313: Whiteness and yellowness indices, public scope.



Discussion0
Loading the discussion…