
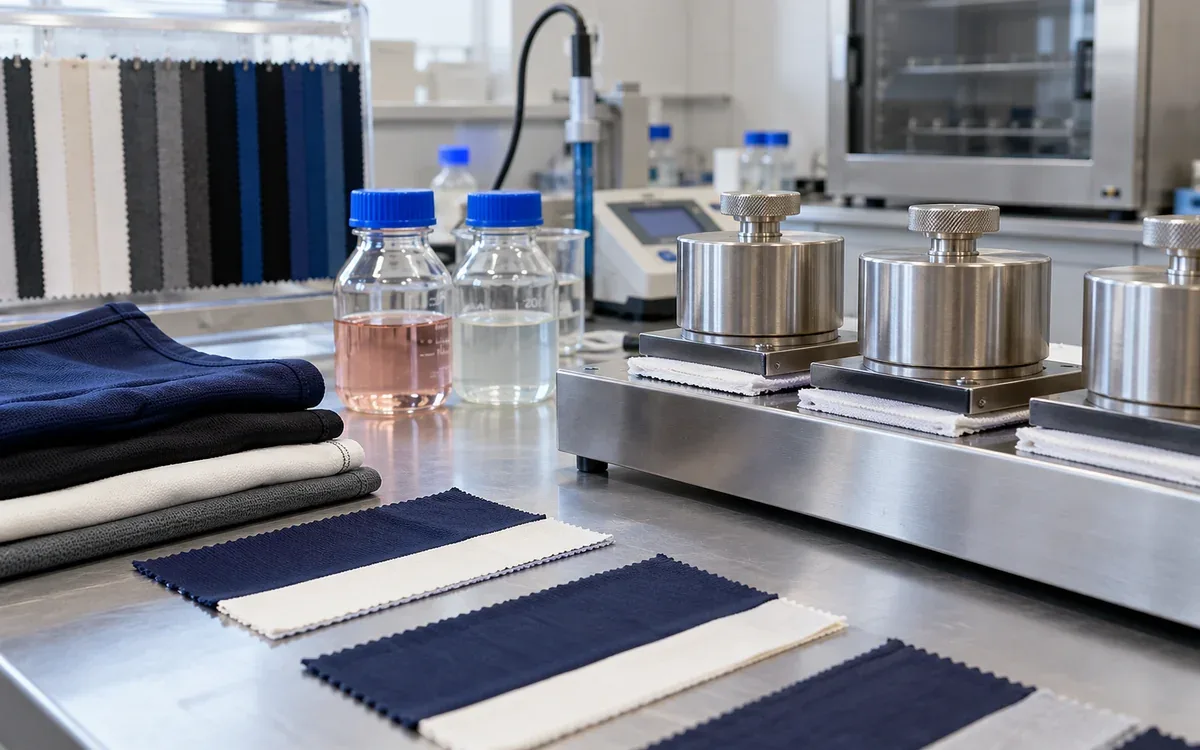
What a perspiration test should tell the garment team
A dark training top can keep its own shade yet stain a pale lining. A bra panel can change hue while the adjacent fabric stays clean. Both results matter, but they describe different failures. Colourfastness to perspiration tests a coloured textile with a defined sweat solution. The report must show two things separately. Did the test cloth change colour? Did colour move to the materials beside it?
Start with the product decision. For a close fitting base layer, check the body fabric, underarm panel, and binding. Include contrast parts that touch when wet. A passing body fabric does not approve a dark elastic or printed label. Plan for those contacts. Do not treat all parts as if they were the same material.
This guide explains how to specify the test, control the work, and investigate a poor result. It uses original examples to show the arithmetic behind sample allocation and test conditions. The examples are teaching cases. They are not acceptance limits or a replacement for the full method used by the laboratory.
Choose the method before preparing the solution
ISO 105-E04:2013 covers the response of textile colour to perspiration. ISO lists that edition as confirmed in 2023. Its date alone is therefore no reason to dismiss a report. Check the current status and the buyer's required edition when you order the test.
The ISO route uses acid and alkaline test conditions. The James Heal Perspirometer operator guide describes separate specimens and separate units for these conditions. It also distinguishes colour change from staining of each adjacent material. The guide gives useful machine details. It dates from 2013 and does not replace the lab's controlled standard.
AATCC TM15-2021e has an acid perspiration scope. AATCC says it removed an earlier alkaline test after limited field studies. Do not relabel a TM15 acid result as a full ISO acid and alkaline result. The two ISO conditions do not mean that each person produces those exact sweat solutions.
These controlled solutions make tests comparable. Their names do not support claims about a person's health or sweat. Nor do they predict how that person will react to a garment.
Test request | What must be clear before work starts |
|---|---|
ISO 105-E04 | Required acid and alkaline results, adjacent materials, edition, and acceptance rules |
AATCC TM15 | Acid test conditions, evaluation route, edition, and buyer limits |
Perspiration plus light | A separate combined exposure request, not an assumption from two separate passes |
Buyer development trial | How it differs from a standard method and what decision it can support |
The public ISO and AATCC pages give the scope and status. Get the detailed test steps from the full method that applies. It gives sizes, preparation rules, solution recipes, exposure settings, and report needs.
Separate the three questions in the specification
The first question is whether the test piece changes colour. A navy specimen may become duller or greener after exposure. Compare it with its own untested reference under the required viewing conditions.
The second question is whether colour moves onto the specified adjacent fabric. A pale cotton strip and a polyamide strip can show different staining. Preserve those separate results. One value called perspiration grade can hide which fibre was stained.
The third question concerns the actual garment. Is that set of parts acceptable together? Standard adjacent fabrics help labs compare results. The actual cream lining may have a different finish and structure. If the risk calls for a trial with real garment parts, add one. Keep that extra trial separate from the standard ratings.
Do not use initial shade approval as proof of fastness. ApparelDiary's fabric colour approval guide explains how to establish the accepted colour target. Perspiration testing asks what happens after a defined exposure. Link samples for the two decisions. Each still needs its own evidence.
Set limits for change and staining in the order brief. Name rules for specific fibres. A grade from a teaching article is not a rule for every product. A customer may set a stricter requirement for a pale contrast panel than for an all-dark garment.
Build a specimen plan around real material differences
Choose the finished state that will reach the user. A test on unfinished dyed cloth may not cover later steps. These may add a softener, binder, resin, or coating. Record the finish code and any care pretreatment with the fabric lot.
Sample each relevant colour and material combination. Deep navy on cotton is a different stream from deep navy on polyamide. For a print with several colours, plan to capture the relevant areas. A cutting that is mostly white ground may miss the source of transfer.
Use the sampling locations required by the agreed plan. If processing looks uneven, keep each sample's location. Do not let a centre cutting stand for a darker edge without saying so. Tests can then show whether a problem affects the whole lot or one part.
Consider a made-up project with three body colours and two contrast lining fabrics. Test each body colour in two solutions. Do this both before and after a defined care treatment. The team wants two separate test pieces for each condition.
Body test specimens = 3 colours × 2 solution conditions × 2 care states × 2 specimens = 24.
That count covers the body material in the standard test. It does not include extra contacts with the two real linings. Suppose the team requests a separate trial of all three colours against both linings. It uses two solutions, two specimens, and one care state. That needs:
Supplementary combinations = 3 × 2 × 2 × 2 = 24.
The two groups have different purposes. Use distinct labels. A trial of actual product contacts must not look like a standard adjacent-fabric result.
Control the identity of adjacent fabrics
Adjacent fabric is a test material, not any white scrap left near the cutting bench. Its fibre content and construction affect what the test reveals. Record its type, supplier, batch, and condition according to the laboratory system.
James Heal's multifibre product information distinguishes ISO Multifibre DW from American multifibres used for AATCC methods. The company notes differences in both composition and construction. Check the full fabric name before comparing two reports.
Match each reported stripe to the correct fibre. A neat table is useless if its rows were entered in the wrong order. Keep the supplier's label with the batch. Check which way the sample faces before grading.
Handle unexposed and exposed materials so that stray colour cannot transfer between them. Keep the unexposed comparison clean. Record any stain already present before exposure. Follow the lab's rule for rejecting unsuitable test cloth.
For a component contact study, record which faces touch. The outer face of a lining can differ from its inner face. A coated logo, seam tape, or elastic may also present different surfaces. Choose a contact that fits the product question. Keep it the same across the options being compared.
Check solution preparation without inventing a recipe
A solution can have the right pH but the wrong ingredients. Check each salt, its chemical form, and its concentration. Water quality, age of the solution, and pH matter too. Follow the current method's chemical grades and mixing steps.
Watch hydrated salts. An old worksheet may leave water of crystallisation out of the chemical name. A dry, anhydrous form at the same mass may add a different amount of substance. Check the exact reagent before weighing. Do not adjust the dose from memory during a test run.
Use a signed preparation record that identifies the method and solution condition. Record actual masses and final volume, not only the target recipe. Making a batch up to a final volume is one process. Adding that same volume of water to the chemicals is another.
The same distinction applies to the amount of liquid assigned to specimens. Suppose a made-up trial needs 50 parts solution to one part composite by mass. A 1.80 g composite needs 90.0 g of solution. A 2.30 g composite needs 115.0 g. If both get 90.0 g, the second ratio falls to about 39.1:1.
If a procedure expresses volume instead, use its stated basis. Treating grams as millilitres assumes a suitable density. It is not a universal conversion. Include all parts that the method defines in the composite mass. Do not weigh only the pieces that happen to reach the balance.
Make pH measurements comparable
Measure the solution at the specified stage and temperature. Record the reading and the conditions that produced it. A handwritten acid label does not show that the target was reached.
Metrohm's pH calibration guidance says that calibration buffers should cover the measurement range. It also explains two different temperature effects. One affects the electrode response. The other affects the sample's own pH. Automatic temperature compensation does not make a liquid's pH stay the same at all temperatures.
One technician may measure a fresh solution in a cool room. Another may measure it warm. Compare like conditions before deciding the recipe has drifted. Follow the lab's electrode and buffer checks. Keep the calibration result with the run.
If the pH is out of tolerance, follow the method's preparation or correction instructions. Repeated acid and alkali additions change more than the meter reading. If the first mixing steps cannot be traced, making a new batch may be the sounder choice.
Keep acid and alkaline containers clearly separated. Arrange the bench to reduce the risk of using the wrong liquid. Check identity again before immersion. That is easier than trying to infer a mistake from an odd result later.
Understand pressure, contact, and liquid distribution
The loading device must create the prescribed contact. A weight's mass alone is not a pressure value. Pressure depends on the applied force and the area over which it acts.
For a made-up mechanics example, assume a uniform effective area of 0.0040 m². The relevant mass is 5.0 kg. Use 9.81 m/s² for gravity:
Force = 5.0 × 9.81 = 49.05 N.
Pressure = 49.05 ÷ 0.0040 = 12,262.5 Pa, or about 12.26 kPa.
This calculation explains the units. It does not establish the correct weight for a particular instrument. Check the fixture design, loaded parts, effective area, and allowed tolerances. Follow the maker's loading steps. Do not replace them with a mass guessed from an article.
Uneven stacking can also disturb contact. Inspect plates and the mechanism under the equipment procedure. Fix a curled test piece or trapped fold before exposure. Record unusual thickness or texture if it affects mounting.
Follow the defined wetting and liquid removal steps. Improvised squeezing may spread liquid differently. One test piece may then enter the fixture much wetter than another. Different preparation steps make a weak basis for comparing finishes.
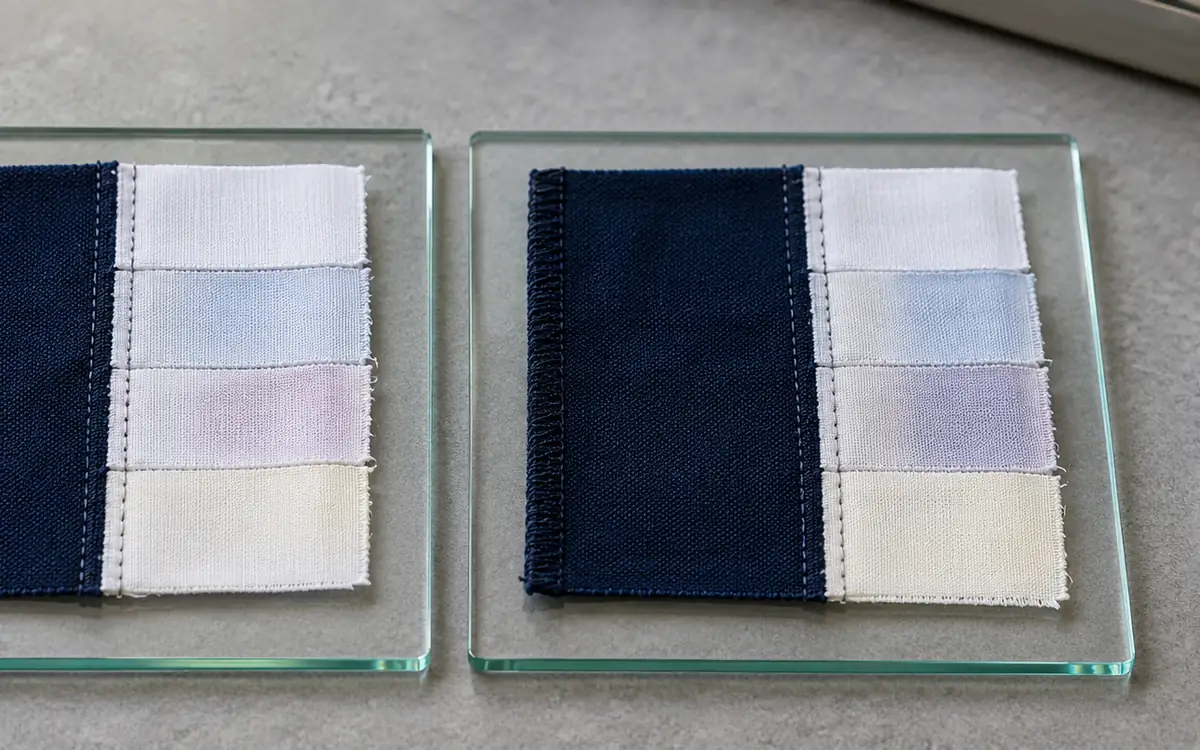
Keep exposure and assessment separate
Use the required exposure time and temperature. Make the lab's required equipment checks. A control display shows one measured condition. The lab still needs proof that the loaded device works as required.
Record the start and finish points defined by the method. Do not choose a convenient clock time after the event. Record power losses or loading delays that interrupt a run. Apply the lab's rule for affected samples.
After exposure, handle and dry the components as the method requires. Keep the identity of each adjacent material. Pieces laid together during drying may make extra contact that the method did not intend.
Assess colour change and staining using their proper evaluation routes. ISO 105-A03:2019 defines the grey scale for assessing staining of adjacent fabrics. It is not interchangeable with the scale used for colour change. Record the grading method. Include any agreed instrument assessment.
A photograph helps locate a stain and preserve a visual record. It should not replace the specified assessment. Camera exposure, light, screen settings, and compression can change what a photo shows. Keep the rated pieces as the retention plan requires.
Read the result as a set of decisions
Consider the following invented findings for one fabric. The example buyer sets grade 4 as the minimum for colour change. Each listed adjacent fibre must also reach 4. Both solutions must meet these limits. These limits are for teaching only.
Condition | Colour change | Cotton staining | Polyamide staining | Result against this example rule |
|---|---|---|---|---|
Acid | 4–5 | 4 | 3 | Fails polyamide staining |
Alkaline | 4 | 4–5 | 4 | Meets the listed limits |
The material fails even though its own colour change is acceptable. Reporting only colour change would miss the staining risk to a pale part.
Do not average the acid and alkaline results to create a pass. They are distinct exposures. Nor should the team turn grade 4 into 80% colour retained. Grey-scale grades rank visual changes. They are not percentages of dye mass or equal steps in service life.
Preserve a half-grade result such as 3–4 in its agreed format. A database field that forces all entries to whole numbers can change the decision. Apply the buyer's rule for borderline grades. Keep the original lab result too.
Investigate failure with a question that can be tested
First confirm that the comparison is valid. Check sample identity, method, adjacent material, solution record, exposure, and rating. A second test helps if it resolves a clear doubt. Testing until one result passes does not explain the lot.
Then distinguish the observed pattern. Staining with little change in the source calls for one kind of review. A strong hue shift with little staining calls for another. These patterns suggest possible causes. They do not prove a dye or chemical fault.
For a suspected afterwash issue, compare matched cloth before and after a controlled new wash-off. For a suspected finish effect, keep cloth from before finishing. Where practical, run a route-only control. Give it the same extra handling and drying without the chemical being tested.
ApparelDiary's reactive dyeing control guide provides the wider process record for cotton dyeing. Use those lot details to choose a focused experiment. A perspiration failure does not justify changing salt, alkali, dye selection, and finishing dose at once.
For a made-up trial, split matched cloth into four routes. Use the original process, new wash-off only, new finish only, and both changes. Apply the same perspiration test to all four. This can show whether the changes act separately. It can also flag a need to study their combined effect.
Check which component supplied the colour
In a mixed garment, the darkest part is an obvious suspect. That does not prove it supplied the colour. A print, binding, or lining may also be the source. In an extra trial, test each suspect part against the same clean receiving cloth. Use one controlled condition. Keep the standard test separate.
Add a control of the receiving cloth without the suspect coloured part. The pale cloth may change on its own. Check that before calling every change dye transfer. The control does not make the original contact acceptable. It helps show what needs further study.
For example, imagine a cream lining that looks yellow after contact with both a navy body fabric and a black binding. If the lining-only control also yellows, the dark parts may not cause the full effect. Use the agreed method to compare how much each piece changed and in what way. Keep each part labelled. Do not pool all pieces in one envelope.
This small study is useful when several suppliers provide adjacent components. It creates a common receiving surface and a clear comparison. It does not justify blaming a supplier before process and test evidence show the cause.
Evaluate a proposed correction across its full use
Suppose the four routes give the following lowest required staining grades. All other listed conditions are assumed to pass solely for this example.
Route | Before specified care | After specified care |
|---|---|---|
Original | 3 | 3 |
Revised wash-off | 4 | 4 |
Finish change | 4–5 | 3–4 |
Both changes | 4–5 | 4 |
If both states need at least grade 4, the finish change alone fails after care. Its high starting grade does not cancel that failure. The new wash-off and the combined route both pass these example limits.
That table still does not prove which route is best overall. Compare shade, feel, size, other fastness tests, and cost. Check that the samples represent the planned bulk route. A good trial gives a reason for a controlled bulk check. It does not permit changes to every lot record.
Keep the original failed result in the investigation. State what changed and which material the new result covers. If only part of a lot is reprocessed, the new pass covers that part. It does not cover the untreated balance.
Know when another exposure is needed
A perspiration-only result cannot settle every complaint about an underarm or collar. The garment may also encounter light, abrasion, deodorant, laundering, or contact with a different material. Use the complaint evidence to choose the next test. One test does not cover all colour problems.
AATCC TM125 addresses the combined effect of perspiration solution and light exposure. Its scope describes wetting a test piece, then putting it in a fading device. Separate passes for perspiration and light do not prove a pass under this combined method.
For a real complaint, preserve the affected garment and an unused comparison if available. Map the location and note the material contacts. Compare the failed area with a nearby sound area. Their wear histories may differ. These clues help you choose a test. They do not alone prove the user's actions or the cause.
Frequently asked questions
Is acid perspiration testing enough for every order?
It is enough only when it satisfies the actual specification. AATCC TM15 has an acid scope. An ISO request may need separate acid and alkaline results. Check the required method before accepting an existing report.
Can the laboratory report one overall grade?
It may give a summary if the reporting rules define one. Keep the full colour-change and staining results too. The summary must not conceal a failed condition or fibre. Ask how the overall decision was reached.
Does a passing result prove that a garment is safe for skin?
This test supports a defined colour decision. It does not prove skin safety. Separate chemical, product, and legal requirements may still apply.
Should every failed specimen be retested?
Use the agreed retest rule. Check validity first, preserve the original result, and identify what the repeat will resolve. If processing caused the failure, test the corrected route. State exactly which material that result covers.
Release fabric on evidence that matches the product
A useful report names the material, finished state, method, and solutions. It lists adjacent fabrics and each rating. State any departures and the acceptance rule. These details let the garment team link the lab result to the actual fabric or part.
Keep the release decision tied to that evidence. When a result fails, use a matched trial to test the likely process cause. When a correction works, test it after the required care. Check the other product needs too. This turns a colour grade into a clear factory decision.
References
ISO 105-E04:2013: scope and current status.
AATCC TM15-2021e: official purpose, scope, and principle.
James Heal: Perspirometer Model 290 operator guide.
James Heal: Multifibre DW and distinction from American multifibres.
Metrohm: pH meter calibration and temperature effects.



Discussion0
Loading the discussion…