
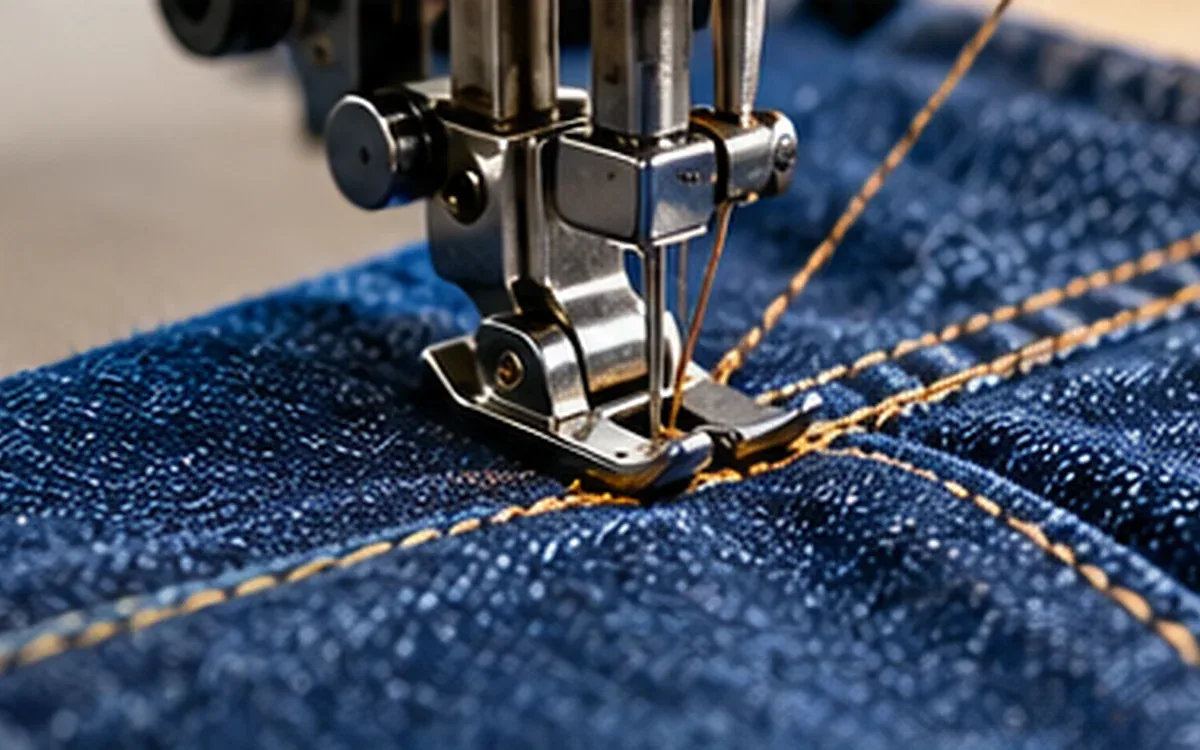
An outside view of a garment can hide a poor seam choice. A shirt may look neat on the hanger, yet its inside edges shed threads. A soft top may stretch across the fabric but feel stiff at a join. A well sewn sample can also miss its finished width if the seam takes up more cloth than the pattern allowed.
Choosing among the types of garment seams starts with the job of each join. Decide how the cloth must meet, where the cut edges will sit, and what the wearer will see or feel. Then choose the stitch and check the finished result.
The same garment can need several constructions. Its side seam, neck edge, patch pocket and hem perform different jobs. A clear seam schedule records those choices so the pattern room, sample room and production team can work from the same plan.
Start with the demands at the seam
Before choosing a familiar seam name, look at the product in use. A side seam may carry strain when the wearer reaches. A neck binding must follow a curve. A trouser seam may rub against the body or another layer. An inside seam may remain visible when an unlined jacket opens.
Write down the main demand at each location. Include stretch, bulk, edge control, appearance and care. Some demands compete. More folded cloth may hide cut edges, but it can also create a ridge at a seam crossing. A very narrow allowance may look neat while leaving little room for an error in guiding.
ASTM D6193 treats strength, stretch, durability, security and appearance as parts of seam performance. Fabric, stitch, thread and sewing conditions affect the result. A seam name alone cannot establish that the finished join will meet the product brief.
Separate fixed needs from preferences. A seam must preserve the agreed garment size. A visible second row may be a design preference that the buyer can discuss. This distinction helps a team compare sample options without treating every detail as equally open to change.
Read the construction before the stitch
A seam describes the arrangement of material at the sewn area. A stitch describes how the threads form that sewing. These are linked decisions, but they answer different questions.
For example, two pieces can lie face to face and be joined near their cut edges. The team must still specify the stitch used to join them. It must also decide whether the exposed allowances need a separate edge finish.
A seam does not always join two separate panels. The scope of ISO 4916 includes sewn constructions involving one or more material thicknesses. A folded edge or a stitched narrow strip therefore belongs in a wider discussion of seams.
The eight classes as a reading aid
The following table pairs common industry names with brief structural cues. Use the actual cross section when a name is unclear. The public ISO 4916 preview defines the classes by material arrangement; Coats' seam guide supplies familiar names.
Class | Common family name | Main structural cue |
|---|---|---|
1 | Superimposed | At least two components have edges on the same side. |
2 | Lapped | Opposing edges overlap at different levels. |
3 | Bound | A separate strip wraps another component's edge. |
4 | Flat | Opposing edges meet at the same level. |
5 | Decorative | Stitching includes a component extending on both sides. |
6 | Edge finishing | One component has an edge on one side. |
7 | Attaching separate items | An edged component combines with narrow components. |
8 | Narrow component construction | One or more components have edges on both sides. |
These short cues do not replace the detailed drawings. Class 8 is not simply a box for unnamed seams. Class 6 does not include a separate binding strip merely because both operations finish an edge.
ISO's five digit seam designation identifies the class, material configuration and needle locations or passages. Specify the matching stitch as well. Do not guess the remaining digits from a photograph of the garment face.
Compare five practical construction choices
A plain join with a chosen edge finish
A plain join places two pieces together and stitches through them along the joining line. The remaining cut edges need a decision of their own. They may be finished separately, finished together, enclosed by later work or left untreated where the material and brief allow.
This is a useful starting sample when the designer wants a simple joining line. Pressing the allowances open spreads them across the two sides. Pressing them together puts the extra layers on one side. Neither direction should be left to guesswork where it affects later sewing.
Suppose a pocket opening meets the side seam. An allowance pressed toward the front may behave differently from one pressed toward the back. Check the opening with the actual pocket construction before copying the same seam instruction to every part of the garment.
The University of Kentucky's seam guide separates the joining seam from the finish applied to its edge. That distinction prevents the vague instruction “overlock inside” from becoming the whole construction specification.
A French seam that encloses its cut edges
A French seam uses two sewing passes to enclose the raw edges. In the usual method, the first pass joins wrong sides together. The allowances are trimmed, the fabric is folded with right sides together, and the second pass encloses the trimmed edges. The Kentucky guide illustrates this sequence.
This construction is worth sampling where an unlined inside needs a narrow, enclosed finish. It does not automatically suit every curve or cloth weight. Test whether the folded section remains soft and whether any loose fibres escape through the final line.
Check the ends as well as the middle. A neat enclosed section may meet a zip, facing or opening that needs a different treatment. Plan that transition before making the complete sample. Otherwise, the operator may have to cut into a finished fold to complete the next task.
A flat felled or folded lapped join
A felled construction folds and secures the allowances within a flat arrangement. Utah State University's sewing guide describes a flat felled seam with enclosed edges and visible rows. The exact folds and sewing route still need to match the approved sample.
This can give a deliberate outside line on a shirt or workwear panel. The sample must show which side carries the folded section and where each row sits. A mock version can resemble the face of a fully enclosed version while leaving a different inside structure.
Do not approve the substitute from the face alone. Open the sample flat, check the reverse and follow each cut edge. At a bulky crossing, check whether the next seam can pass over the folded area without a lump or a step in its visible line.
A bound edge or bound allowance
Binding uses a separate strip to wrap an edge. It may finish a garment opening or an exposed seam allowance. The strip is another material component, even when it is cut from the same fabric as the garment.
Decide which face is meant to show and how much binding should remain visible. Check that the stitching catches the required part of the strip on the reverse. A neat front line can hide a section that missed the folded edge underneath.
At a curved opening, make a sample in the actual shape. A straight strip sewn onto a flat rectangle cannot prove that the chosen cut direction and width will follow the neckline. Include the join in the binding strip if the finished garment will have one.
A flat or abutted join
A class 4 arrangement places the meeting edges at the same level. This can reduce the ridge made by a conventional projecting allowance. Its success still depends on how the chosen stitch captures the edges and how the join behaves in use.
“Flatlock” or “flatseamer” on a machine or order note is not enough to identify that structure. For example, JUKI's MF-3620 documentation describes a flatseamer configuration with an adjustable amount of material overlap. The commercial name therefore does not prove that the sewn edges are abutted.
Ask for the cross section and a physical sample. If the buyer expects low bulk against the skin, compare the actual raised area and thread feel. Do not replace that check with a claim that every seam called flatlock has the same construction.
Trace an existing sample when its name is unclear
Begin at a point where the inside of the seam is easy to see. Follow the material from the garment body into the sewn area. Note each fold, cut edge and added strip. Mark which parts belong to the same piece of cloth rather than counting every folded layer as a separate component.
Then follow the sewing lines. Two rows seen from the face may serve different purposes: one joins the panels, while another holds an allowance down. Their similar appearance does not mean that both rows pass through the same layers.
Use a designated sample piece to check hidden details when needed. Keep its position and orientation clear. A section viewed from the opposite end can appear reversed, so label the garment face and the direction of the seam before drawing it.
Record a construction in stages if one drawing becomes hard to read. For example, show the original join, the finished cut edge and the final fold held by topstitching. This makes it easier to discuss a change without losing track of the joining line.
Finally, compare your description with the relevant standard drawing or agreed factory record. Keep any unresolved detail as an open sample question. A clear sketch and a short explanation are more useful than a confident code chosen from an outside photograph.
Account for the cloth used in the seam
Seam allowance is part of the pattern plan. Changing it can change the finished dimension even when the pieces were cut correctly. The following examples use simple flat geometry. They ignore cloth thickness, stretch and any later change during care.
Two panels joined along one edge
Take two rectangular panels, each 160 mm wide. Join one edge of each panel using an allowance of 12 mm on each piece. Open the panels into a single flat assembly.
Finished overall width = panel A width + panel B width − both seam allowances.
Finished width = 160 + 160 − 12 − 12 = 296 mm.
If the operator uses 10 mm on each piece, the width becomes 300 mm. That is 4 mm wider than planned. At 14 mm on each piece, the width becomes 292 mm, or 4 mm narrower.
These figures describe this flat assembly before any finish at its outer edges. They are not a formula for every garment circumference. Draw the actual joining lines before applying the arithmetic to a shaped panel or a garment with several seams.
Split a French seam allowance between two passes
For an original sample trial, allocate 12 mm from each original cut edge to the final joining line. Sew the first line 5 mm from the cut edge. Trim the allowance so that 3 mm remains beyond that first line. Fold at the first line, then sew the final line 7 mm from the fold.
Total allowance used = first pass distance + second pass distance.
Total allowance used = 5 + 7 = 12 mm.
The 3 mm trimmed edge sits inside a nominal 7 mm enclosure. In this simple cross section, the difference is 4 mm. That is a geometric clearance, not a universal safe margin for loose fibres, thick cloth or uneven cutting.
If the first line moves to 6 mm while the second stays at 7 mm, the total becomes 13 mm. Across the two panel edges, that extra take-up reduces the flat width by 2 mm. A tidy seam can therefore still produce the wrong size.
Measure the finished sample against its intended joining line. Record trimming width separately from the two sewing distances. Combining all three as one unnamed “seam width” makes it hard to find the cause of an error.
Match the construction to the product
Consider three proposed products: a sheer woven blouse, a dense work shirt and a close-fitting stretch top. These are development examples, not fixed recipes for those categories.
For the blouse, begin with the inside appearance. Check whether the seam shows through the face and whether the folded section looks heavy beside the cloth. Compare a narrow enclosed construction with another approved finish using the same fabric. Include a curved section if the design has one.
For the work shirt, examine the planned visible rows and the thickest crossings. A folded lapped join may fit the design, but its bulk at the hem can affect the next operation. Include that crossing in the trial instead of judging only a long straight section.
For the stretch top, examine movement and contact with the skin. A joint may be thin but have a rough thread surface. Another may feel soft at rest but resist the movement needed to put the top on. Trial the whole construction in the relevant direction.
The fabric name is only a starting point. Finish, thickness, stretch, edge behaviour and garment shape can differ within a product category. “Use the usual shirt seam” leaves those differences unresolved.
Colour also matters when the seam is visible. Compare the join under the agreed viewing conditions. A thread that blends into the face may stand out on the reverse, which can matter for an open or reversible garment. Record that design choice rather than treating every visible thread as a fault.
Turn the decisions into a seam schedule
A seam schedule is a compact map of the constructions used in a style. The following original example concerns an unlined woven overshirt. It is a starting brief for sample work, not an approved bulk specification.
Location | Proposed construction | Edge decision | Main sample check |
|---|---|---|---|
Side join | Plain joining seam | Finish allowances together | Smooth inside; correct width |
Shoulder | Folded lapped construction | Enclose cut edges | Fold direction and crossing bulk |
Back neck edge | Separate binding strip | Wrap the exposed edge | Reverse edge caught throughout |
Lower hem | Folded single component | Tuck raw edge inside | Smooth curve and even depth |
Patch pocket | Folded edge attached to body | Enclose side and lower edges | Shape, corners and row position |
Give each row a sample or drawing reference. Add the chosen stitch type, thread, stitch density and dimensions once the team agrees them. Where several operations form one construction, name the order and show the intermediate state that needs checking.
For a visible pocket row, suppose the agreed trial target is 2.0 mm from the folded edge, with a tolerance of 0.5 mm either side. The allowed range in this example is 1.5 to 2.5 mm. State that the folded edge is the reference; measuring from the cut edge would answer a different question.
Also define where to measure. A straight section and a tight corner may need separate instructions. Do not average a wide section with a narrow one and call the whole row acceptable unless the agreed method explicitly allows that treatment.
Keep the schedule with the current style revision. ApparelDiary's guide to apparel PLM for product development explains how construction records can stay linked to the wider product file.
Build trial pieces that answer real questions
A useful seam trial contains the features that might make the construction fail. Choose material from the proposed production fabric and record its identity. Use the intended components where they affect the joint. Substituting a much softer binding can hide a problem that returns in bulk.
Mark the face, grain direction and intended joining line before sewing. Give each trial a clear identity. If two options differ in several ways, list those differences; otherwise, a better result may be credited to the wrong change.
Include a straight section, the relevant curve and the important crossing. They can be separate pieces if that makes comparison easier. A sample with the right curve but the wrong layer count still leaves the thickest point untested.
Check the result on both faces. Note the allowance width, folded depth, exposed edges, alignment and any ridge. New Mexico State University's construction guidance highlights smooth seams, controlled bulk, suitable finishes and aligned crossings. Use those features as observation prompts while keeping the buyer's own acceptance criteria clear.
Apply the planned care trial when the product brief requires it. Record the method and compare the same features before and after care. A seam that lies flat in the first sample may change when its fabric and trim respond differently. Keep care results tied to the tested material combination.
For a seam intended to stretch, use an agreed test and report the conditions. Pulling a sample by hand can reveal an obvious concern, but it does not create a measured strength or stretch rating. Formal test results need the named method, sample details and acceptance requirement.
Keep one reviewed sample intact as a reference. Use a separate designated trial piece if a cut cross section is needed to trace hidden folds. Label the cut piece so that it cannot later be mistaken for an undamaged approved sample.
Describe the failure before changing the seam
“The seam failed” is too broad to guide a correction. American & Efird's seam engineering bulletin distinguishes broken sewing thread, ruptured fabric and fabric yarns moving at the seam. Those observations point to different questions.
If the sewing thread broke, check the full thread and stitch arrangement before adding another row. If the cloth tore near the sewing, a stronger thread may not solve the problem. If fabric yarns moved apart without breaking, record the opening and the conditions under which it appeared.
An exposed raw edge is another kind of defect. Trace whether it escaped because the allowance was too wide to enclose, the fold wandered or the securing line missed it. A new seam name does not repair poor control of the existing fold.
For a ridge at a crossing, inspect the layer arrangement before changing all the seams in the style. The problem may occur only where two folded sections meet. A local construction change may need a new sample, but it can preserve the intended finish elsewhere.
Record both the symptom and the proposed change. “Binding edge missed on reverse near neck join” is more useful than “poor sewing.” The clearer note lets the team check whether the next sample addresses the same defect.
Approve the complete construction
Before release, compare the final seam schedule, pattern allowance and physical sample. They should describe the same joining lines, folds and exposed faces. Resolve any difference while the sample is still easy to inspect.
Confirm the start, end and transition points. A long seam may look consistent while its ends remain insecure or its allowance clashes with a facing. Show these details in the approved construction record.
If the team changes the stitch, thread, binding or layer arrangement, review the effect on the finished seam. An apparently small substitution can change the inside feel or the cloth needed at the edge. Thread purchasing also depends on the selected sewing route; use the separate guide to sewing thread consumption and cone orders once that route is settled.
A useful approval tells the next person what to make and what to check. It names the location, shows how the material meets, states the sewing details and points to the accepted sample. That record turns a broad seam label into a construction that can be repeated and reviewed.
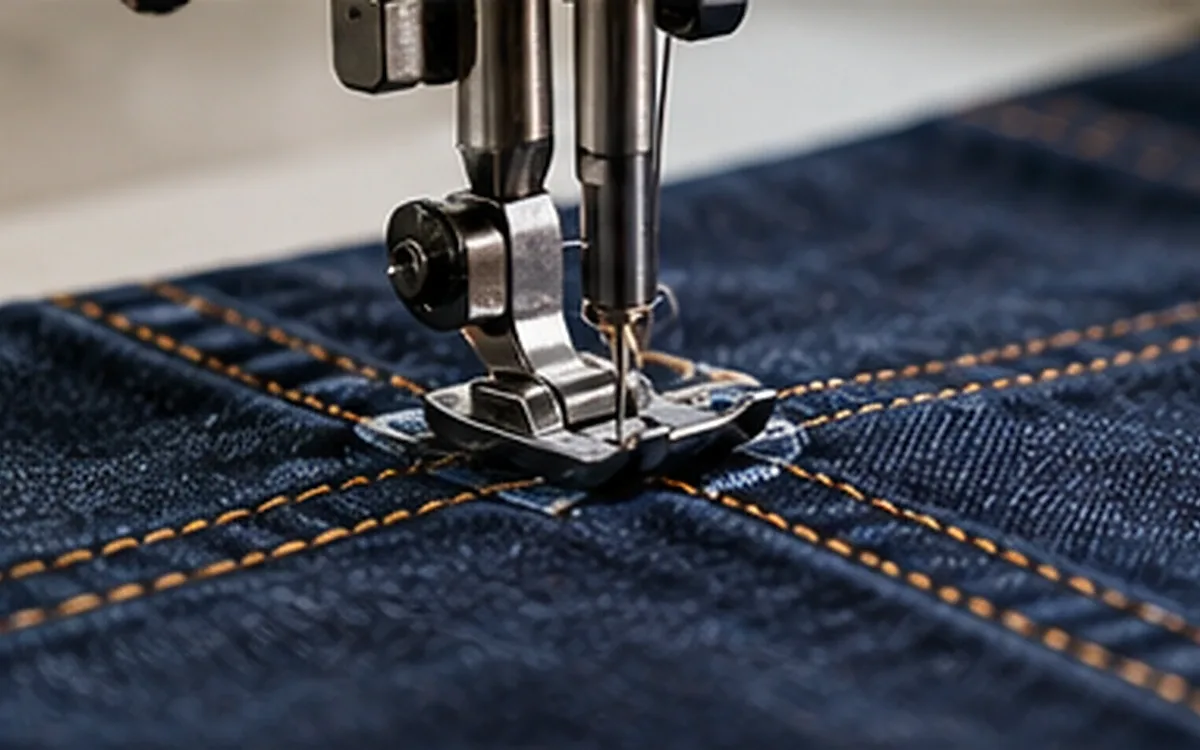
Discussion0
Loading the discussion…