
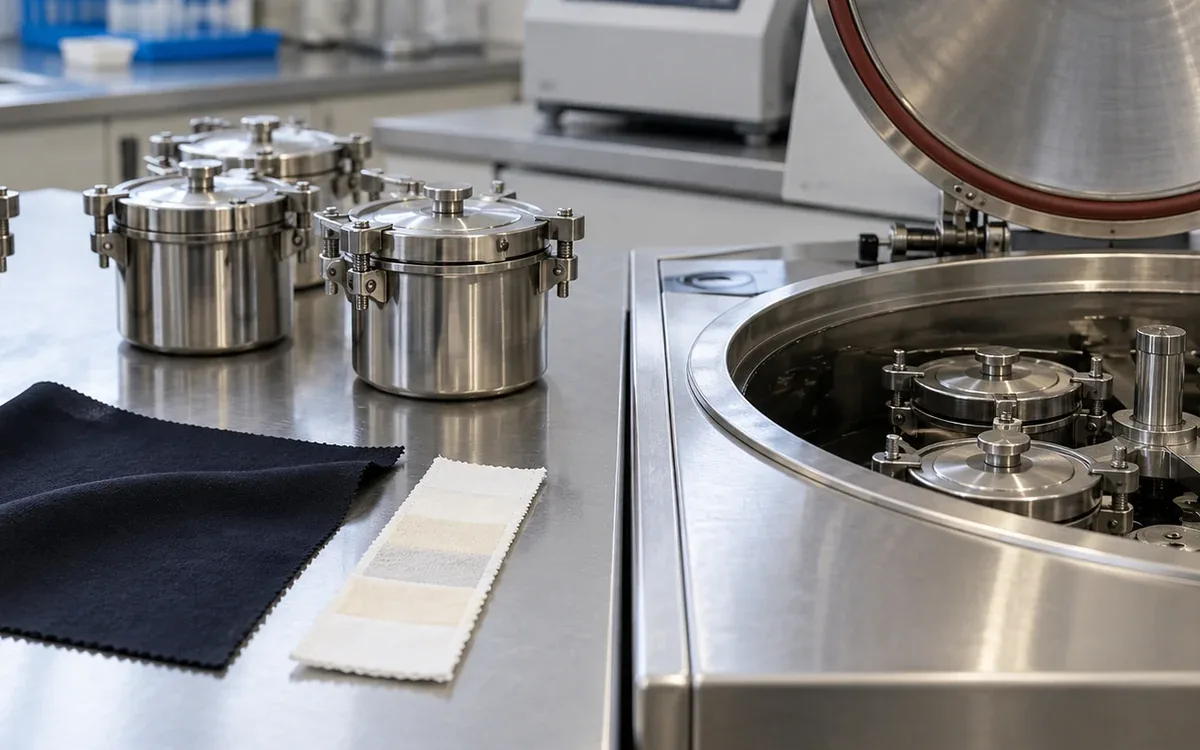
Read the test conditions before the grade
A washing-fastness report may show little colour change but serious staining. The cloth may keep its shade while colour moves to another material. One number headed “wash fastness” hides that difference.
Colourfastness to washing measures how a material responds to a defined wash test. The method and chosen option give the result its meaning. Sample state and the grading steps matter too. The buyer's limits then define a pass.
Start with three questions. Was the correct material tested? Was the agreed exposure used? Did every required result meet its limit? This order helps you spot an unsuitable test even when its grade looks good.
The examples below are hypothetical. Their grades and limits show how to make decisions. They are not rules for all apparel.
Keep colour change and staining as separate results
Colour change concerns the tested material itself. Compare its colour after the test with an untested reference from the same cloth. How much has the original look changed?
Staining concerns the adjacent fabric placed with the test piece. Compare it with unused fabric of the same test type. How much colour moved onto this receiving material?
ISO 105-A02 specifies the grey scale for assessing colour change. ISO 105-A03 addresses the grey scale for staining. The names are similar, but the comparisons have different objects.
A dark fabric may lose a little colour with little visible change. That colour may be easy to see on a pale receiving cloth. A good colour-change grade does not cancel a poor staining grade.
The reverse can happen too. A visible change in the source may not stain each adjacent fibre to the same degree. Read all results before deciding what to check next.
ApparelDiary's fabric colour approval guide covers agreement on the initial shade. Washing-fastness evidence answers a further question: how does that material behave during the specified exposure?
Identify the method and its selected option
“ISO wash test” is incomplete. Record the full standard designation, edition, and test option. Do the same for an AATCC requirement. A test family can contain several exposures, so the family name alone does not define the work.
The public scope of ISO 105-C06 describes domestic and commercial laundering tests using reference detergent. It covers single and multiple tests. The multiple tests use more severe mechanical action. The scope also sets limits on how these tests relate to real washing.
AATCC TM61 covers accelerated laundering. Its selected conditions aim to reflect colour loss and surface changes from several typical washes. These may be hand or home washes. That does not make each option equal to every ISO option.
Item in the request | Why it changes the interpretation |
|---|---|
Standard and edition | Establishes the procedure and reporting rules |
Selected test option | Defines the exposure within the method family |
Detergent and any bleach system | Identifies the chemical challenge |
Specimen and adjacent-fabric arrangement | Defines the source and receiving materials |
Assessment procedure | Establishes how the result is rated |
Required grade for each output | Defines the buyer's acceptance decision |
Resolve gaps in the test request before work starts. Do not pick the mildest option after seeing the results. A pass under that option may not meet the original need.
Use the full authorized method in the lab. A public summary or teaching article does not give every test step.
Check the detergent and bleach boundary
ISO 105-C06 does not capture the effect of optical brighteners in commercial wash products. Its scope also notes that industrial or hospital items can face harsher processes. Keep those limits in mind when explaining what a report proves.
A uniform used in a specialist laundry needs a test brief that reflects that need. A household wash test may help during trials. It may still leave questions about the specialist route.
Name the bleach used. “With bleach” does not tell you which chemical system was tested. A pass with one bleach does not prove a pass with another.
A product may allow several care routes. Decide what evidence each one needs. A hotter test is not always the worst case for every chemical or mechanical effect. Define the key challenges before the lab picks its program.
A buyer may request a trial with a commercial detergent. Name the product, blend, dose, and route. Keep this trial result beside the standard result. Describe it as a separate test. Do not quietly change ingredients and keep the standard's name.
Do not convert a test into a garment lifetime
An accelerated test speeds up selected effects. It does not reproduce every detergent, load, drying route, stain treatment, or wearer habit.
AATCC's TM61 training presentation warns that accelerated results may not predict real-world staining. It points to the mix of dyed and undyed items, their fibres, and other use conditions. These limit what the result can predict.
“Passed the required accelerated test” is a useful statement. A promise of colour life for a fixed number of months needs other evidence. Do not get that promise by multiplying test time or a nominal wash count.
Check the sample's production state
Check which stage the sample represents. Is it dyed cloth before finishing, finished bulk cloth, or a whole garment? Each may have a different history. An early test does not cover every later change in dyeing or finishing.
Record the lot, roll or garment code, colour, fibres, and process state. Link the original label to the lab sample number. Even a correct report cannot release a lot if it tested a different lot.
For a print, record which area was tested. A solid ground, dense motif, and pale area may use different colour systems or coverage. Plan tests around the questions that matter for the product.
Avoid choosing only an unusually clean edge or an easy pale colour because it fits the requested specimen size. Use the agreed sampling plan. Record visible differences within a sample. Ask whether those areas need separate tests.
Keep a labelled, protected untested reference. A photo helps locate the tested area. It cannot replace the physical cloth needed for a controlled colour comparison.
Treat the adjacent fabric as a specified test material
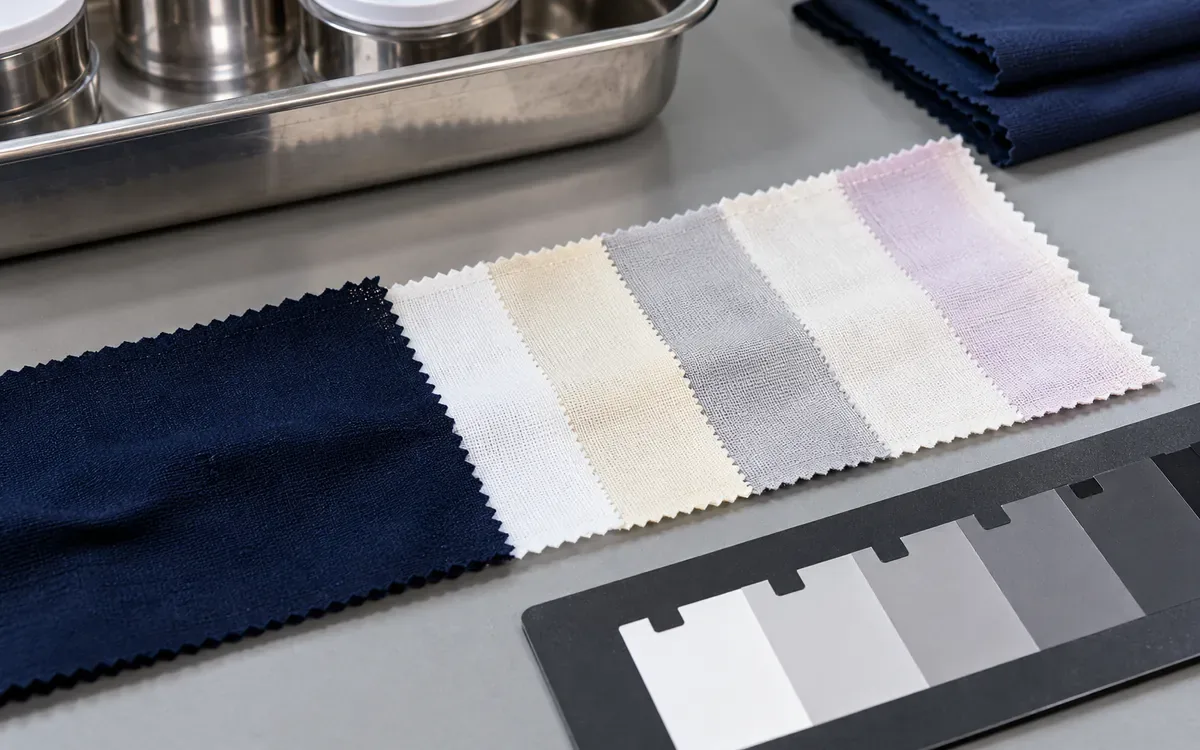
A multifibre fabric contains several receiving fibres. It helps show that released colour may stain one fibre more than another. Each band has defined test properties. A random strip of white cloth cannot take its place.
ISO 105-F10 specifies requirements for multifibre adjacent fabrics and their staining properties. Record the required type and what the lab used. Include its batch details where needed.
Check each band before entering its result. Turning, cutting, or mounting the composite may change the order you see. Do not rely on memory. Name each fibre in the report. Labels such as strip one and strip six are not enough.
Follow the method for how to attach and align the fabrics. Use its sizes and separation steps after exposure. These details control contact. A different setup may change the test even with the same wash program.
Show each required fibre result. Do not hide a low band grade in an average called “multifibre pass.” Some buyers set limits for selected fibres only. Name those fibres and apply the exact limits.
A standard adjacent fabric also differs from the actual pale panel in a garment. Both can be useful, but they answer different questions. Label a trial with actual garment parts separately from the standard test result.
Confirm the exposure before diagnosing the dyeing
Check the laboratory record when a result is unexpected. Check the chosen program and actual temperature. Review how the solution was made. Check mechanical action, treatment time, rinsing, and drying too.
Use the exact detergent named in the method. A familiar shop product may not replace the reference detergent. Added ingredients can change the test.
Likewise, adding bleach because the test “looks like a wash” changes the challenge. Omitting specified bleach changes it too. The report should let a reviewer identify the actual chemical system.
Check that the sample and test fabrics were conditioned and graded as required. Do not grade hot or damp cloth as if it were in the required final state.
This is a validity check, not a reason to dismiss a poor result. If the method was followed, investigate the material. If an error made the test invalid, record what went wrong. Repeat the work needed to get a valid result. Keep the original record too.
Interpret grey-scale grades without inventing percentages
The common grey scale runs from 5 to 1. Grade 5 means the least change or staining. Grade 1 means the greatest. Grades such as 3–4 fall between the main steps under the grading method.
These are ordered ratings. They are not percentages of dye left or garment life. Nor are they evenly spaced measures of dye mass. Grade 4 does not mean that 80% of the dye remains.
Do not report a 25% improvement simply because a grade increased from 3 to 4. It is an improvement in the grade under that test. It does not prove the claimed percentage gain in a physical property.
Use the result exactly as the assessment procedure reports it. The notation 3–4 is an intermediate grade. It is not an uncertainty range for observed values from 3 to 4.
If the buyer sets a minimum of 4, grade 3–4 falls short. Only a written decision rule can say otherwise. Sales pressure does not make it a pass.
Keep instrumental assessment identifiable
An instrument result and a visual grade can both help. State which route was used. AATCC EP7 describes an instrument method for colour change. It includes a limit on use with fluorescent whitening agents.
Do not replace the required grade with an unrelated colour-difference value. If using an instrument, check the method and how the sample was presented. Check the calculation too.
When visual and instrumental findings differ, retain both records and investigate the basis. Select neither result simply because it passes. Use the agreed method and decision rule to control release.
Work through a complete result table
Assume a made-up order requires colour change of at least 4. Staining must also be at least 4 on each listed fibre. All samples below had the same valid exposure and grading conditions.
Output | Lot A | Lot B | Lot C |
|---|---|---|---|
Colour change | 4–5 | 4–5 | 3–4 |
Acetate staining | 4–5 | 4–5 | 4–5 |
Cotton staining | 4 | 4 | 4–5 |
Polyamide staining | 4 | 3 | 4 |
Polyester staining | 4–5 | 4–5 | 4–5 |
Acrylic staining | 4–5 | 4–5 | 4–5 |
Wool staining | 4 | 4 | 4 |
Lot A meets the stated numerical requirements. Lot B fails the polyamide-staining requirement. Lot C fails the colour-change requirement. Each still needs any other checks required for release.
The two failures call for different checks. For Lot B, study colour transfer to the receiving fibre. For Lot C, study the change in the source cloth. Neither pattern alone proves one chemical cause.
Do not combine the seven grades into a total score. Six strong results cannot cancel a failed seventh result when all seven must pass.
Do not say “two samples passed staining, so the programme passed.” Apply the order rule at the defined sample or lot level. Check every required output.
Count failures using the right denominator
Suppose a separate investigation tests 12 composite specimens. Each produces one colour-change grade and six staining grades, giving 84 assessment cells.
Three specimens each fail one required cell. The cell failure fraction is:
3 ÷ 84 × 100 = 3.6%
The specimen failure fraction is:
3 ÷ 12 × 100 = 25%
Both calculations describe this invented data set. They answer different questions. Calling this “96.4% compliant” hides a key fact. A quarter of the test pieces failed a required limit.
Neither fraction gives the whole lot's defect rate without a sound sampling plan. Report the count, denominator, and sampling basis together.
Design follow-up sampling around the suspected source
If one dye lot fails, compare it with retained cloth from a passing lot. If one finish route fails, keep its process history separate. Do not group all routes under a single colour name.
A trial might take cloth from two positions in each of three lots. Test two separate composites from each position. This creates:
3 lots × 2 positions × 2 composites = 12 test composites
The calculation plans the work. It is not a universal minimum sample size. The sampling plan should fit the suspected variation and the decision being made.
Two ratings of the same exposed specimen are not two independent exposures. Two composites cut side by side do not describe a whole roll either. State which step was repeated: sampling, exposure, grading, or more than one.
Keep the samples distinct through preparation, washing, drying, and grading. Pooling them loses the location data. You may then miss whether the failure is local or widespread.
Resolve differences between laboratories in a useful order
Start by checking whether both laboratories tested the same material and state. Then compare the full method option, test fabrics, exposure records, and grading route.
ISO 105-C06 and AATCC TM61 both concern washing. That does not make their reports repeat readings of the same test. Even two reports with the same method family may use different options.
When methods match, ask where the difference arose. Was it in exposure or grading? An agreed review of the same exposed sample may reveal a grading difference. Fresh matched test pieces can help check the exposure stage.
Use a defined comparison plan. Do not keep sending unrelated pieces until one lab gives a pass. That selects a good number without resolving the cause.
AATCC's colourfastness proficiency programme includes TM61 and supports comparison of laboratory performance. This can help a lab check its control. Taking part alone does not prove that a given bulk report is correct.
Investigate the failure without prescribing a universal cure
For a low staining grade, review the dye system and how the colour was fixed or held. Check washing-off and later treatments that may affect transfer. For low colour change, study the source cloth. How did it respond to the test chemicals and mechanical action?
Treat these as possible causes until controlled trials support them. An added fixative or extra wash is not the right cure for every fibre and dye class.
For reactive-dyed cotton, ApparelDiary's right-first-time dyeing guide explains the wider production controls. Here, use the failed test pattern to choose which process records to check. This gives a direction for the review.
Compare the proposed correction with an untreated control from the same affected material. Confirm the required fastness results after the correction. Check other properties that the new route may change. These include shade, feel, size, and strength.
A better result after treatment shows that the treatment changed the outcome. It does not alone prove the first cause. Keep the process records needed to find why the first route failed.
Separate washing-off and finishing effects in a trial
Suppose a mill suspects both its washing-off route and a later finish. Changing both at once may improve the result, but it leaves their separate effects unclear.
A made-up trial could use two approved washing-off routes and two approved finish routes. Use matched cloth from one starting lot. This gives four combinations. It does not prescribe any chemistry. The supplier and mill must choose routes suited to the cloth.
Trial combination | Washing-off route | Finishing route |
|---|---|---|
A | Existing | Existing |
B | Alternative | Existing |
C | Existing | Alternative |
D | Alternative | Alternative |
If each combination needs two separate test exposures, plan for eight exposures. This design is for teaching. It is not a required sample count or proof of statistical power.
Keep the full colour-change and staining pattern for each specimen. A better result for B than A raises a useful question about washing-off. A difference between C and A raises a question about finishing. If only D improves, the joint route deserves closer study.
Process shifts and small samples can affect the comparison. Check the result again in production. A small trial alone does not prove a stable correction.
Record how the route changes the original shade and other properties. It may stop staining but spoil the look. That would still leave a quality problem. The chosen route must meet the full specification.
Keep laundering claims within the evidence
A standard fastness pass does not establish every aspect of garment wash performance. Shrinkage, seam appearance, component damage, and print durability may have separate requirements.
ApparelDiary's fabric shrinkage testing guide addresses dimensional change. Keep that decision distinct from colour change, even when both tests involve laundering.
For a colour-blocked garment, an agreed whole-product trial may be needed to examine the actual component arrangement. Label that evidence clearly. A changed standard test does not prove full compliance with the original method.
If wear reveals a problem missed by the standard test, record the use conditions. Plan a new test for the missing exposure. Keep it separate from the contractual standard result.
Release the identified material, with open conditions visible
A useful release record links the sample, method, each result, limits, and decision. State which material the decision covers. List any evidence still needed.
If a correction was needed, identify the corrected lot and the report that supports its release. Keep earlier failures linked so later reviewers can understand what changed.
A concession should state the accepted departure and its scope. Record it separately from an ordinary pass. Clear wording helps buyer and supplier read the report the same way.
Frequently asked questions
Is grade 4 always acceptable?
No. The buyer's requirement and selected method define acceptance. Some outputs or products may have different limits. Never create a limit from a familiar laboratory result.
Can good colour change cancel poor staining?
No, when both outputs are required. They describe different effects and must be assessed against their own criteria.
Does one accelerated test equal a fixed number of real washes?
Only the qualified link stated in the selected method applies. It is not a conversion for every garment, detergent, or staining risk.
Should all multifibre grades be averaged?
Retain the individual results and apply the specified rule. An average can hide a failed fibre. It cannot turn ordered grades into a physical percentage.
Make the report support a clear decision
Keep test conditions and both kinds of result in the report. Colour change and staining each matter. Link them to the actual cloth and the buyer's limits.
Read it in that order. Use the pattern of failures to plan samples and controlled trials. This supports a sound decision about the cloth, with the limits of the evidence clear.
References
ISO 105-A02: Grey scale for assessing change in colour.
ISO 105-A03: Grey scale for assessing staining.
ISO 105-C06: Colour fastness to domestic and commercial laundering.
AATCC TM61: Colorfastness to Laundering, Accelerated.
AATCC: Official TM61 training presentation.
ISO 105-F10: Specification for multifibre adjacent fabric.



Discussion0
Loading the discussion…