
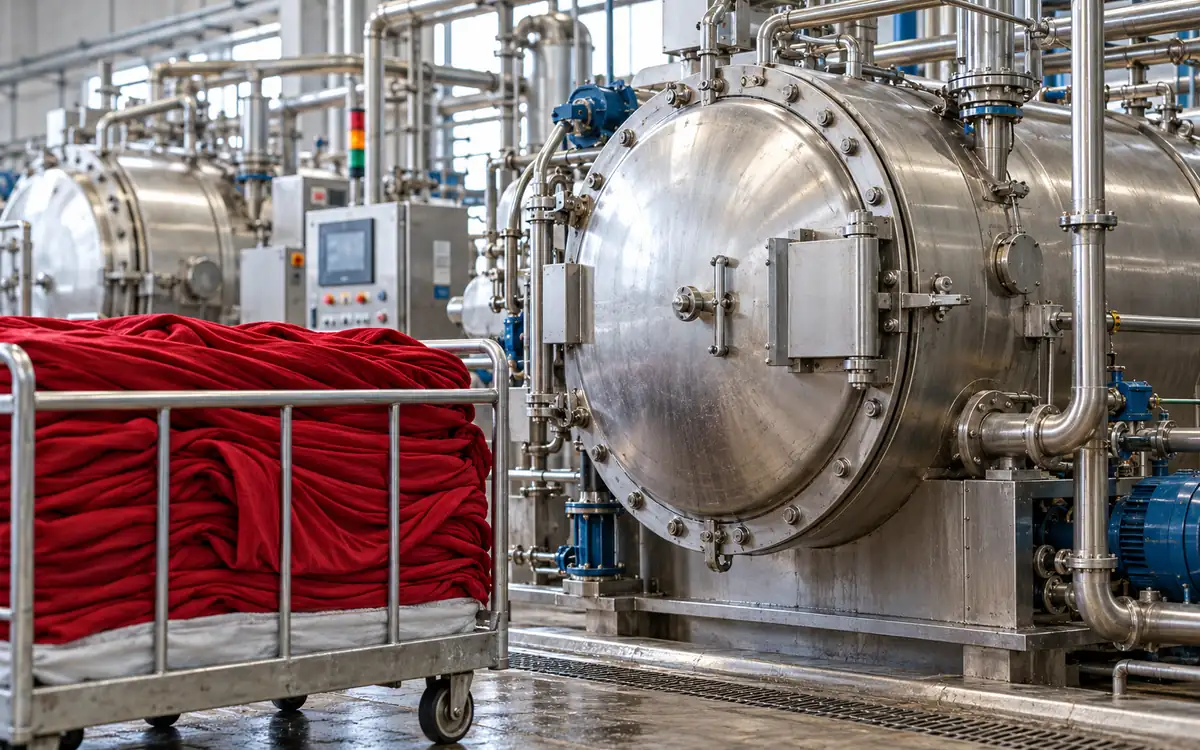
Follow the colour through dyeing, clearing, and finishing
A polyester fabric can match the shade standard after dyeing. It may still fail after finishing. Loose surface dye may stain an adjacent fabric. Heat may move dye towards the surface. A finish may change the result again. These risks call for a check of the whole route. The first attractive swatch is not enough for approval.
Polyester disperse dyeing has three linked control tasks. The dye must reach the fibre evenly. The process must remove unwanted surface deposits. The final fabric must keep the required colour and fastness. Test these after the planned heat and chemical treatments.
This guide focuses on those tasks for polyester fabric and blends. The figures are made up for teaching. They explain process decisions. They are not recipes or limits for every mill.
Know what a disperse dye is doing
Disperse dyes have low water solubility. A dye bath holds fine particles in dispersion. A small amount of dye also dissolves. Dye transfer into polyester differs from reactive dye fixation on cotton.
Heat and the selected dyeing system help dye enter the polyester. A stable dispersion supports that transfer. Poor dispersion can produce deposits and uneven colour. Burkinshaw's review of polyester dyeing explains these links. It examines dye solubility, fibre structure, temperature, and dyeing accelerants.
Do not describe the process as particles simply becoming glued to the fibre. Dye within the fibre gives useful colour. Material deposited on the surface needs different treatment.
For the same reason, a darker wet fabric does not prove better dye penetration. Judge it after the defined clearing, drying, and finishing stages.
Keep the process route clear
There are several polyester dyeing routes. These include high-temperature exhaust dyeing, carrier-assisted dyeing, and continuous thermofixation. Each uses different equipment and controls. Do not merge their settings into one generic recipe.
This article uses exhaust dyeing as the main example. A continuous line needs its own controls. These cover padding, drying, fixation, and washing. A temperature figure alone does not justify a process transfer. Validate the process on the new route.
Follow the approved procedures for pressure equipment. These include operating and sampling rules. A lab description does not permit a change to machine limits. It does not change when the machine may be opened.
Select dyes for the final use
A dye selection should answer more than “Can it make this colour?” Check the required washing, rubbing, heat, light, and storage performance. Review the fibre blend and later finishing too.
Suppliers offer different disperse dye ranges for different needs. CHT's disperse dye portfolio distinguishes several ranges. Their properties include levelling, sublimation resistance, and high washing fastness. Compare these specific properties. A broad claim that all disperse dyes have good fastness gives little guidance.
Terms such as low, medium, and high energy help describe application behaviour. They do not replace the current technical data for the individual dyes in a shade.
Ask the supplier which combinations suit the proposed process. Confirm the shade depth and fibre type. Agree on the pH range, heat exposure, and aftertreatment. A dye may work well in a pale self-shade. It may behave differently in a deep three-dye mixture.
Read product evidence within its scope
DyStar's Dianix XF2 technical brochure reports tests on specific fabrics. These include polyester and polyester/elastane. The results provide evidence about those products under the tested conditions. It is not a certificate for every fabric dyed with the range.
Archroma also offers TERASIL W/WW washfast dyes for polyester. Use such supplier information to build a shortlist and a trial plan. Confirm actual performance on the proposed fabric and complete finishing route.
Keep product grade, commercial strength, and lot identity in the recipe. Two products may share a similar trade name or colour index. That does not prove that they behave the same in use.
Specify the substrate before adapting the recipe
Record the polyester type, yarn construction, fabric construction, and all other fibres. Include the preparation and heat history that the supplier can provide.
Fine filaments can alter dyeing behaviour. So can polymer history or a change in the blend. Check that the input suits the route. Do not blame every polyester fault on recycled content or fine fibres.
ApparelDiary's microfibre guide explains three separate specifications. These are yarn count, single-filament size, and fabric performance. Use these to identify the material. They do not predict the whole dyeing result.
Check for oils, contamination, and uneven preparation. Retain a sample of the incoming fabric. When a defect appears later, the team needs evidence from before the colour process.
State which fibre mass the dye dose uses
State which mass the blend recipe uses. Take an example 400 kg fabric lot. On the approved mass basis, it contains 60% polyester and 40% cotton.
Polyester mass is:
400 × 0.60 = 240 kg
If a trial instruction says 3% dye on polyester mass, it requires:
240 × 0.03 = 7.2 kg
Using 3% of total fabric mass would give 12 kg. That is 4.8 kg more, or 66.7% above the intended dye amount.
The arithmetic does not approve the dose. It shows why “3% dye” is incomplete. Refer to ApparelDiary's liquor ratio and dosing checks for the wider unit controls.
Check the mixture's common operating window
A shade made from several dyes must suit one controlled process. Check the current limits and preferred conditions for each dye. Do not apply a familiar pH to every shade without review.
Consider these fictional supplier-approved pH windows for three candidate dyes:
Candidate dye | Hypothetical supported range |
|---|---|
Red A | 4.2–5.2 |
Blue B | 4.5–5.5 |
Yellow C | 4.0–5.0 |
Their common window is 4.5–5.0. A target of 5.3 sits within Blue B's range but outside the other two.
This simple overlap check is only the start. It does not establish dye compatibility, migration, or the preferred process point. Those require supplier guidance and trials.
Record pH at defined stages with a controlled measurement procedure. Include the sample temperature and instrument conditions. The meter may compensate for temperature. You must still define which process sample was measured.
Protect dispersion before and during dyeing
The dye preparation method can affect a dispersion. Water, auxiliaries, mixing, and process conditions can affect it too. Check the whole combination.
Use the dye supplier's preparation instructions. Inspect dosing vessels and transfer paths for residue. A weighing ticket can be correct while transfer is incomplete. Check that the full dose entered the machine in a properly dispersed state.
The approved procedure may require filtration or a dispersion test. Record the result and test conditions when it does. Do not infer particle stability from a smooth-looking surface alone.
CHT describes dye-dispersion and oligomer-control functions for DISPERGATOR XHT S. This shows why each auxiliary should have a defined job. Dispersants are not all equal. Do not replace one with another at the same mass without review.
Investigate spots before adding more chemicals
Keep a spotted sample and note when the spots first appear. Compare untreated, dyed, cleared, and finished material where available.
A deposit may contain dye, oil, oligomer, or another contaminant. Its appearance alone may not identify it. Use suitable laboratory examination or supplier analysis when the source is unclear.
Map the pattern. Does it follow a machine position or fabric fold? Does it follow a dosing event or previous colour? Choose a check that helps separate those causes.
Control the rate of dye uptake
A temperature programme affects how quickly dye can transfer into the fibre. Some parts of the cycle are more sensitive to a rapid change. Faster heating can leave less time for dye to spread evenly.
Set the heating profile with the dye and substrate suppliers. Then check the actual machine response. Record heating rate, hold conditions, circulation, and interruptions.
For a hypothetical trial, raising a bath from 90°C to 120°C at 1.5°C per minute takes:
(120 − 90) ÷ 1.5 = 20 minutes
At 3°C per minute it takes 10 minutes. The shorter ramp changes the time available during that temperature interval. It does not prove that total processing time can be cut safely.
If a bulk machine overshoots or pauses, keep that event in the trial record. Do not replace the logged curve with the intended one.
Circulation and loading still matter
A laboratory bath may mix differently from a full fabric load. Record machine loading, movement settings, and any flow restriction.
Even with the same recipe, some cloth may have poor contact. A fold may trap part of it. These differences affect the result. More hold time may improve one symptom but leave the mechanical fault in place.
For a recurring unevenness fault, keep the fabric and recipe the same. Compare controlled loading conditions. Mark samples so their positions remain known after dyeing.
Keep cooling inside the approved cycle
Record the cooling stage as well as the heating stage. Faster unloading may seem useful. A changed cooling stage can also change what the cloth and liquor experience. Keep the approved cooling route and machine safeguards in place during trials.
A fault may appear only after cooling. Use an approved sampling method to keep evidence from that stage. Compare the same fabric under the established route before changing clearing chemistry. A final swatch alone cannot show exactly when a deposit or crease first developed.
Do not confuse exhaustion with useful colour
A bath becoming paler shows that less colour remains in the sampled liquor. It does not prove that all the missing dye is inside the fibre. Some may not contribute useful colour.
Dye may remain on the fabric surface or form deposits in the machine. Samples may carry some out. The chosen analysis may also measure some forms poorly.
Suppose a hypothetical batch receives 10 kg of dye. A validated final-bath analysis accounts for 0.7 kg remaining. A simple balance would call 93% absent from that bath.
If another 0.5 kg is found in deposits and 0.3 kg in removed samples or transfers, the unexplained balance changes. It still does not directly measure dye within the fibre.
Use bath analysis for the question it can answer. A turbid dispersion needs care in analysis. Prepare the sample and calibrate the test suitably. A simple absorbance reading may otherwise give an invalid concentration.
Compare the final colour and fastness after clearing. That is the fabric the next process will receive.
Make reduction clearing a controlled aftertreatment
Reduction clearing follows polyester dyeing. Its aim is to remove unwanted surface dye and related deposits. It does not aim to build shade.
Aleem and Christie's experimental study of polyester clearing compared several reducing systems. These included conventional and alternative systems. The outcome varied with the individual dye. This supports testing the selected shade system. Do not assume one clearing treatment works the same for all dyes.
The approved clearing route should name the products and addition order. State the bath conditions and exposure. Define the rinsing and endpoint checks. Follow current technical and safety information.
For a blend, confirm compatibility with every component. A route may clean polyester well. It could still harm another fibre, an existing colour, or a finish.
Compare at least three defined states
Keep samples at three stages. Take one after dyeing and one after clearing. Take the third after the final planned heat and finish. Label each stage clearly.
The sequence helps locate the change. Did colour loss occur during clearing? Did a later treatment change fastness? Without stage samples, the team may blame the wrong operation.
Measure the shade after the approved route, not only before clearing. An unwashed target sample can mislead the team. Clearing removes surface dye. This may look like a recipe error even when clearing works as intended.
Do not make a process pass by shortening clearing until the shade looks deeper. Verify the required fastness and the absence of unacceptable surface deposits.
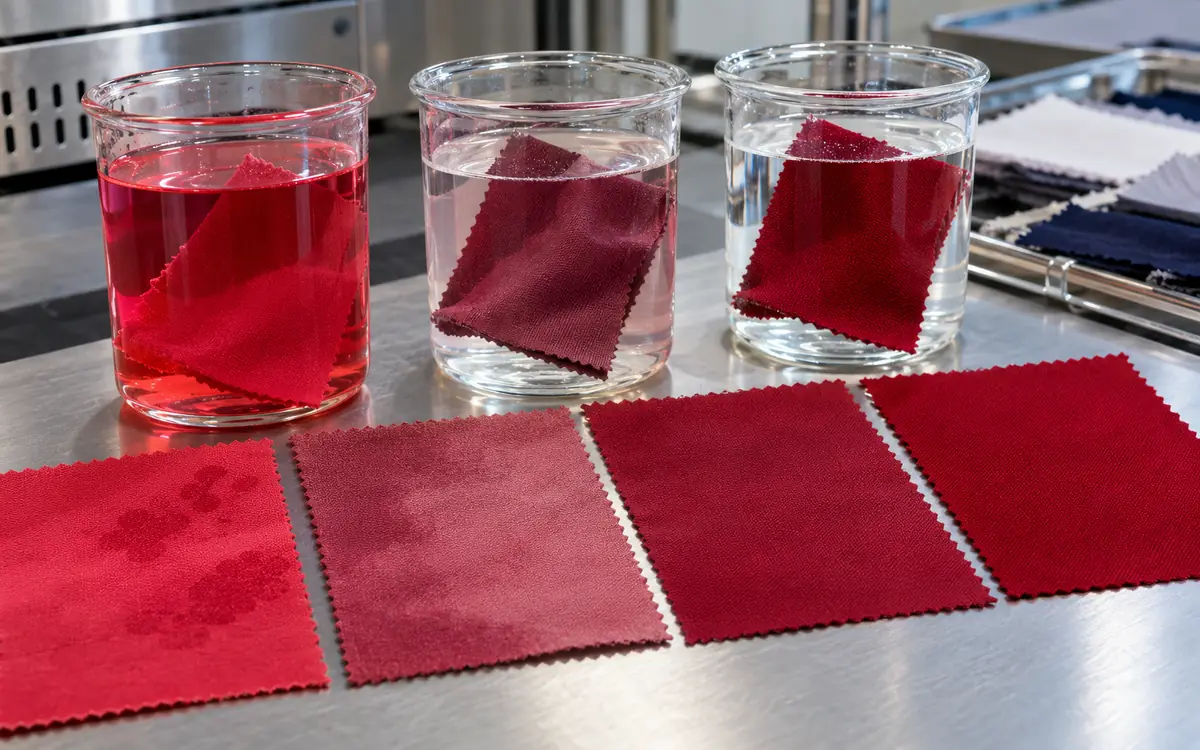
Distinguish clearing failure from thermal migration
Heat can move dye within the textile or towards its surface. This is thermal migration. It differs from loose dye left on the surface just after dyeing.
A 2009 study of micro-polyester suede examined reduction clearing and later thermal migration. The tested fabric structures did not respond identically. The result supports checking the specific substrate and later heat stage.
Sublimation concerns transfer through the vapour phase. A dye's resistance to dry heat is relevant. Yet it cannot predict every migration problem in a finished fabric.
Fastness may pass after clearing but fail after finishing. In that case, investigate the later route. Check heat and finish conditions before repeating the clearing bath. The same bath may simply lead to the same failure.
A small comparison can reveal the interaction
Consider four hypothetical samples cut from one evenly dyed and cleared lot:
Sample | Applied finish | Defined heat treatment | Adjacent-fabric staining result |
|---|---|---|---|
A | None | No further heat | Meets the agreed requirement |
B | None | Planned heat exposure | Meets the agreed requirement |
C | Candidate finish | Planned heat exposure | Misses the agreed requirement |
D | Alternative finish | Planned heat exposure | Meets the agreed requirement |
The candidate finish appears to interact with the tested heat conditions. This does not prove the chemical cause. It does not approve the route for all shades.
Repeat the comparison on relevant depths and colours. Keep the actual heat exposure and finish add-on controlled. Record the time spent in the oven too. Its set temperature alone gives an incomplete comparison.
Treat oligomer deposits as their own investigation
Polyester oligomers are low-molecular-weight material associated with the polymer. Deposits can affect fabric appearance and equipment cleanliness. They should not automatically be described as undissolved dye.
DyStar addresses oligomer deposits in its polyester application solutions. It covers prevention and removal. The source concerns one end-use sector. It confirms that oligomer deposits are a separate process issue.
When deposits recur, keep their location and timing. Inspect strainers and other accessible parts under the approved maintenance procedure. Compare deposit evidence across different fabric lots and the same machine.
Ask whether the cleaning procedure removes the observed material. A cleaner chosen only for residual colour may not address every deposit.
Do not make the process harsher just to dissolve a suspected deposit. Identify the problem first. Work with chemical and equipment specialists to prove a suitable control method.
Build the test panel around the end use
A shade pass and a fastness pass are different decisions. Name the test methods and editions in the plan. State the sample stage and the buyer's acceptance limits.
Assess colour change and staining separately where the method calls for both. A fabric may retain much of its own colour while staining an adjacent component.
Grey-scale grades are not concentration measurements. Do not average them as though they were. Keep the reported grade and name the affected adjacent fibre.
A dark fabric may sit beside pale panels. Give the risk of staining those panels specific attention. Test the relevant finished product combination where the specification requires it.
ApparelDiary's lab dip and buyer approval guide explains how to control the approved colour reference. Link that approval to the sample state used for fastness testing. Record its aftertreatment and finish.
Sample differences within the lot
Take specimens from planned positions across and along the fabric. Include sections affected by stops, unusual cooling, or machine alarms.
An end swatch cannot prove that the whole lot has the same surface condition. Keep location-linked results until the variation question is settled.
If a roll is divided into released and held sections, make the boundaries clear. Separating those sections contains the fault. It does not correct the underlying dyeing problem.
Compare clearing routes on accepted output
A shorter clearing route may save water or time. Confirm the saving over the full process that delivers accepted fabric.
Take a teaching example with a 500 kg batch. Its current clearing and rinse sequence uses 3,000 litres. A trial route uses 2,000 litres. The initial saving is 1,000 litres.
Suppose one in four trial batches needs repeat treatment. This uses another 4,000 litres each time. The average added use is:
4,000 ÷ 4 = 1,000 litres per batch
Average water use returns to 3,000 litres before other losses are counted. This shows why the first pass alone can give a false view of water use.
Use the same boundary for all records. Include chemicals, heating, machine time, rework, and accepted kilograms. One input may fall while output changes or extra treatment is needed. Account for both before claiming a lower environmental impact.
Keep fastness evidence in the economic decision
Suppose Route A costs 80 currency units and Route B costs 70 for the same batch size. Route B is not commercially acceptable if it misses a required staining grade.
The valid comparison begins with routes that meet the product requirements. Costs can then help choose among them.
A cheaper route may need a different dye set or finish. Include those changes in the cost. Some savings may come from the whole package rather than clearing alone.
Use a fault map before changing the shade
Observed problem | Evidence to compare first |
|---|---|
Uneven shade before clearing | Check input fabric and dispersion. Review heating, contact, and sample position. |
Large shade change during clearing | Check each dye's response and exposure. Compare with the approved final target. |
Poor wet fastness immediately after clearing | Check clearing records and surface deposits. Review dye choice and test conditions. |
Fastness drops only after finishing | Check heat history, finish identity, and add-on. Compare with a no-finish control. |
Repeated grey deposits | Analyse deposits. Compare substrate lots, equipment locations, and cleaning records. |
Different colours drift in different directions | Check whether the dyes suit one process. Review each dye's limits and the process records. |
A failure code should describe the observation. “Bad dye” is a conclusion that needs evidence.
Retain the affected samples and process trace. Check when the change began. Was there a new dye lot, substrate, or auxiliary? Did machine conditions or the finishing route change? A correction that hides the symptom in one shade may fail in another.
Approve a route that can be repeated
State the scope of the final process file. List the fabric range, dye set, machine type, and load range. Add the clearing system and finishing conditions. Record what has actually been tested.
A new combination needs a complete trial before broad production. Carry it through the planned finish and care tests. Keep results from the untreated, dyed, cleared, and finished stages.
Check the first production lots against the approved trial. Compare both the actual curve and fabric results. Review unusual additions and repeat treatments. Do not add them to a revised recipe without explaining why.
When a supplier changes a product grade, treat that as a controlled change. Similar colour names do not guarantee the same dispersion, migration, or clearing behaviour.
Frequently asked questions
Is reduction clearing required for every polyester shade?
The dye system, shade depth, and substrate affect the aftertreatment needed. Review the finishing route and fastness specification too. Use a validated route and final tests. A light appearance alone does not establish that clearing can be omitted.
Does a high-energy dye always give the best result?
No. Check how the dyes work in the process and shade mixture. Migration, cost, and end-use performance matter too. Select the dye system for the actual product. One class label is not enough.
Why can fastness worsen after a good clearing result?
Later heat or a finish can change where dye sits in the textile. This can affect the surface. Compare samples before and after those stages to locate the change.
Can more dye correct a pale result after clearing?
Only after the cause is understood. Extra dye may increase surface deposits. It may not fix poor penetration, an unsuitable dye system, or excess clearing loss.
Are all pale deposits oligomer?
No. Oils, auxiliaries, dye deposits, and other materials can look similar. Identify representative deposits before selecting the corrective treatment.
Release the finished colour system
Successful polyester dyeing starts with a suitable dye choice. Control dye transfer and clear the fabric effectively. The later finishing route must work with these stages. The useful endpoint is an accepted finished fabric.
Keep stage samples and measure the changes that matter. The mill can then separate poor dyeing from surface contamination. It can identify clearing loss or thermal migration. Use that evidence to correct the relevant process stage.
References
Burkinshaw: Elevated temperature and carriers in polyester dyeing.
DyStar: Dianix XF2 technical brochure.
Archroma: TERASIL W/WW washfast dyes.
CHT: DISPERGATOR XHT S technical information.
Aleem and Christie: Clearing of dyed polyester and alternative reducing agents.
Reduction cleaning and thermomigration effects on micro-polyester suede.
DyStar: Application solutions addressing polyester oligomer deposits.


Discussion0
Loading the discussion…