
Sanforizing moves part of the dimensional change into finishing
Woven cotton may look stable on the inspection table. It can still shorten in the wash. Compressive shrinking aims to reduce that later change. It shortens the fabric in a controlled finishing step.
The machine result and the wash-test result are different measurements. A range may visibly shorten the cloth yet leave too much residual shrinkage. It may instead give an acceptable wash result but fail other needs. Usable width, handle, and appearance still matter.
Link three things in the process record. Start with incoming shrinkage potential. Add the rubber-belt treatment and the delivered fabric state. These links help the team set the range and investigate drift.
Use the process name and label carefully
“Sanforizing” is a common technical term for controlled compressive shrinking. SANFOR and SANFORIZED are registered trademarks. A label claim has its own conditions.
The Sanfor description of the process links the licensed claim to set process steps. It also requires testing and inspection. Its shrinkage standards page also separates woven and knitted fabric requirements. Some conditions depend on the treatment.
A commonly quoted percentage does not fit every fabric or wash route. Customers can have different limits too. Check the label conditions and the buyer's actual specification.
This guide concerns process control for woven cotton. The figures are teaching examples. They do not give machine settings or shrinkage limits for all products. They do not give permission to use a trademark.
Understand what the rubber belt does
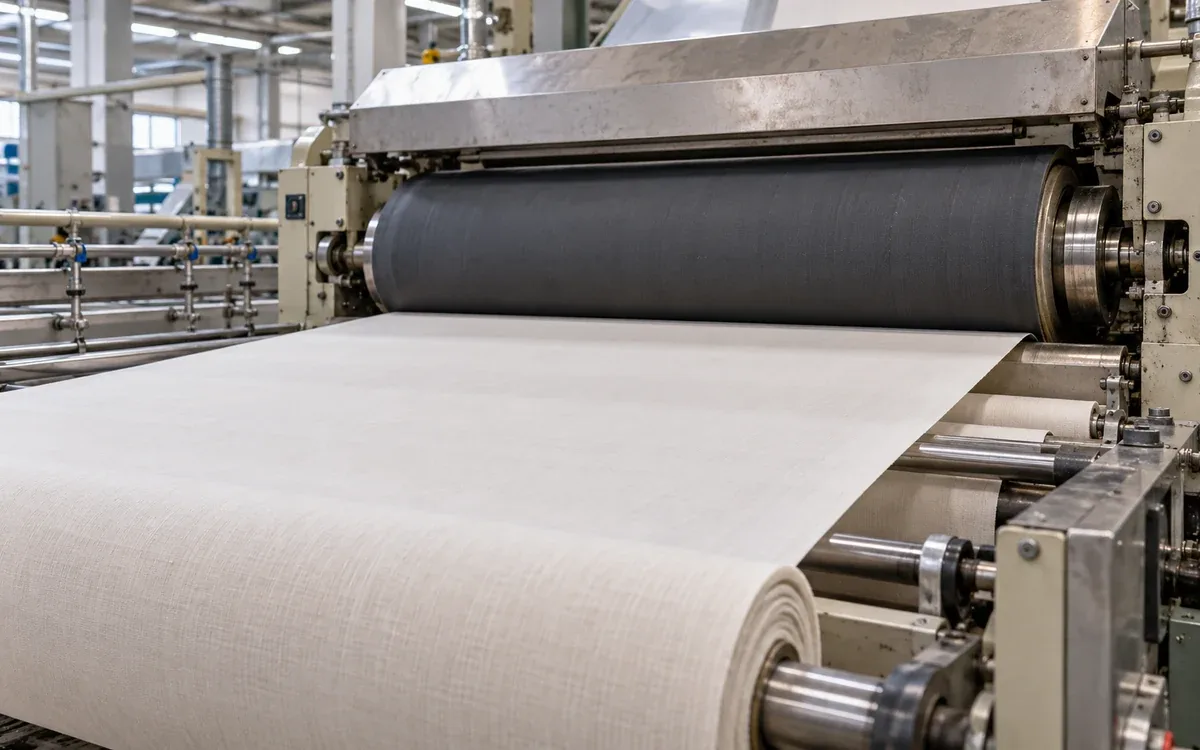
The central action is mechanical. A rubber belt deforms in the contact region, then recovers. Fabric held against its working surface follows that shortening. The yarn structure moves closer together in the travel direction.
Rieter's DAYTEX technical guide describes the pressure roll and heated cylinder. It explains belt contraction and fabric response. This action shows why belt condition and contact matter. A recipe number alone cannot describe them.
Prepare and handle the cloth suitably before and after the belt unit. The approved route includes moisture application and width control. It also includes drying and delivery.
Separate the belt unit from later finishing
The rubber-belt shrinking unit differs from the felt-belt calender. Brückner describes both within its POWER-SHRINK range. The felt-belt calender contributes to the fabric's finished touch.
Labelling every belt as the “shrinking blanket” can confuse fault checks. Identify the actual unit and its function.
The fabric may meet its dimensional target but have a handle or surface fault. Check later units too. More compression at the rubber belt may not fix that fault.
Measure the incoming potential before setting the range
The incoming fabric is the starting condition for the finishing decision. Earlier wet treatment and drying can affect how much change remains. Tension and width history matter too.
Take samples that represent the fabric before compressive shrinking. Test them with the agreed care procedure. Link results to the fabric lot and its current process stage.
The Sanfor process description calls for a check of potential wash shrinkage. Do this before adjusting the range. Similar fibre content does not justify copying the last order's setting.
Record input width, mass per area, construction, and visible distortion. Preserve a retained reference. An unchanged article name can hide a new width or finish. That change may need a new trial.
Do not use a previous process stage by mistake
Greige fabric differs from dyed and dried fabric. Tests at these stages describe different starting states. Some dimensional change may already have occurred between them.
Use the sample that represents the fabric entering the range. Keep earlier results as history. Do not add their full change to the remaining target.
See ApparelDiary's fabric shrinkage testing guide. This process trial uses those results to control finishing. It does not replace the full test method.
Make moisture application uniform
Moisture helps prepare the fabric for mechanical treatment. The amount and spread required depend on the material and range. Follow the route proved by the trial.
Aim for a repeatable condition across the width and through the lot. A damp edge and drier centre are uneven. Their average may meet the target while hiding that difference.
Check the application system and the actual fabric response. A pump or valve setting records what the machine was asked to do. It does not prove that the cloth received the same amount everywhere.
Where moisture is measured, state its basis and method. Check how the lab result relates to the inline sensor. Prove that relationship before using one reading in place of the other.
Locate where a moisture difference begins
For a side-to-side fault, check matching positions before and after application. Then link each position to its later dimensional result.
The difference may exist before application. Check the preceding route and whether application can handle that variation. If the difference starts at the applicator, check its distribution system.
Do not compensate for one wet strip by increasing compression for the full width. First find the source and assess the whole fabric result.
Record any approved correction and repeat the comparison. This is more informative than making several adjustments until the roll looks even.
Control width without losing the intended length result
Fabric structure and handling link width preparation to lengthwise compression. Set targets for both directions.
Set the inlet width from the approved product and process trial. Measure actual width at the defined stage. The machine display alone is not enough.
Observe how the cloth reaches the belt unit. Folds or unstable guidance can change contact. A change in tension can do the same. These faults make the result less even.
Avoid treating maximum width as an automatic production benefit. The delivered fabric must pass the agreed care route. Check both its dimensions and structure.
Keep usable width separate from total width
The garment marker may not be able to use the selvedges. Faulty edges may also be excluded. Record the usable-width rule agreed by the customer and mill.
A trial may gain total width but need a larger rejected edge allowance. The useful cutting gain may then be small. Compare usable width at the same fabric condition.
ApparelDiary's usable fabric width guide explains that downstream decision. Confirm the approved cutting width. It may differ from the range setting.
Treat belt pressure and belt tension as different controls
Pressure acts at the working zone. Tension acts around the belt. These are separate controls. More of one may not correct a fault caused by the other.
Dunline's rubber-belt guidance explains the risk of excess tension. It can reduce useful belt recoil and increase the compression needed. Check fabric-tension points before and after the belt unit too.
Use the belt supplier's instructions and the machine supplier's instructions. Both must fit the installed combination. The same number can mean different mechanical conditions. Check belt thickness, material, and range design before comparing it.
Record the relevant setup after a belt change or maintenance. The machine's reference condition may change after that work. A clear record helps separate this from later process drift.
A displayed compression value needs a valid reference
Belt grinding changes thickness. A new belt can also differ from the worn belt it replaces. After relevant work, set the machine's compression reference by the approved method.
Dunline's grinding guidance calls for thickness and hardness records. It also includes resetting the compression reference. The detailed procedure is specific to the equipment and belt.
A pre-maintenance recipe value may give different contact after the work. Check the reference. Run an approved fabric check before blaming a new cloth lot.
Do not turn the maintenance instructions into an informal operator adjustment. The work needs trained staff, safe access, and the manufacturer's procedure.
Read speed differences on the correct basis
Drive speeds help describe fabric handling. State the denominator used for each percentage difference.
Take an example inlet delivering fabric at 64 m/min. A downstream point delivers 60 m/min. Assume these accurately measure steady material flow. Also assume no slip or accumulation:
Length reduction relative to inlet = (64 − 60) ÷ 64 × 100 = 6.25%
A feed excess stated relative to the downstream speed is:
(64 − 60) ÷ 60 × 100 = 6.67%
Both percentages describe the same speed pair. Their bases differ. Write the definition beside either value in a worksheet.
Drive readings do not directly prove residual shrinkage
Check contact, slip, and fabric tension in a speed comparison. Cloth may also accumulate in the path. A motor's displayed speed may differ from the true fabric speed.
Check the measurement and machine reference first. Only then use the ratio to estimate dimensional change. Confirm the result on the fabric.
The measured process length reduction may be correct. It still does not establish the wash result. Residual shrinkage concerns the finished fabric. It measures the change during a specified later treatment.
Use drive information to control the machine and explain variation. Use the required fabric test to approve the delivered product.
Distinguish compression achieved from shrinkage remaining
Track the fabric at three points. Measure before the range. Then measure after the range in the defined test condition. Finally, measure after the required care procedure.
Consider a hypothetical marked length that begins at 1,000 mm. After the finishing route, it measures 960 mm. The process has shortened that gauge by 4%.
After the agreed wash and dry test, the finished specimen measures 940 mm. Measure residual change from the 960 mm finished state. The remaining contraction is about 2.08%.
Do not calculate the residual result as 6% minus 4%. It is not exactly 2%. Those figures use different starting lengths.
Follow the agreed standard for marking and calculation. This example explains the reference stage. Name that stage in the production record.
Use the result to choose the next trial
If residual length shrinkage is too high, check the incoming potential. Compare moisture, belt state, contact, and tension history. One higher pressure setting will not solve every case.
If width fails while length passes, investigate the width preparation and route. A lengthwise improvement cannot approve a separate width failure.
If the finished fabric grows during the care test, preserve the sign and investigate it. Reporting every value as positive “shrinkage” can hide growth.
Follow yarn density as a useful cross-check
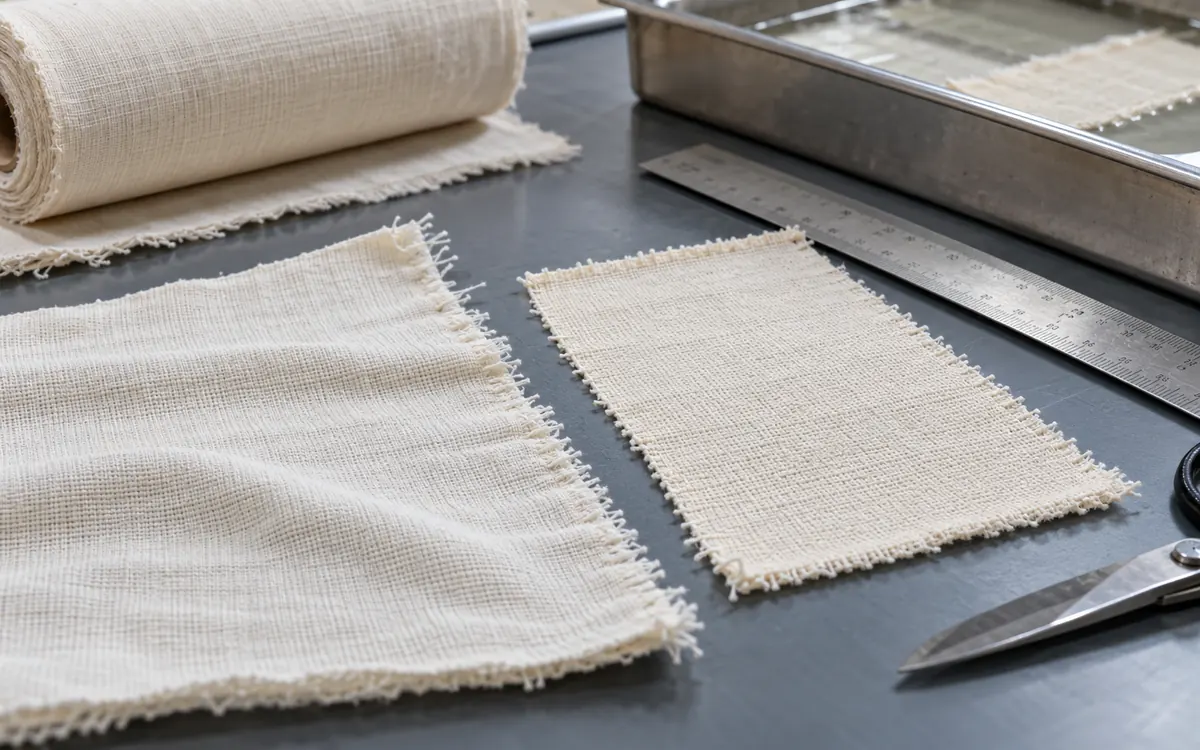
Lengthwise compression packs more filling yarns into each unit of finished length. This assumes the number of yarns is conserved. It gives a useful structural cross-check.
Suppose a hypothetical fabric has 60 picks per centimetre before treatment. A defined length is shortened to 96% of its starting value, with the same picks retained.
The expected density from that simple conservation model is:
60 ÷ 0.96 = 62.5 picks per centimetre
This is an ideal model. In real measurements, account for the fabric state. Check local variation and distortion too.
A claimed large length reduction may produce little measured density change. If so, review length measurements and sampling conditions. Do not change the gauge length after testing to force agreement.
A higher GSM does not prove added material
Suppose dry mass stays the same while area falls. Dry mass per unit area then rises. Compacted fabric can show a higher GSM without extra fibre.
Take an example with unchanged width and 4% length reduction. Initial dry GSM is 180. It would become:
180 ÷ 0.96 = 187.5 g/m²
Control moisture when checking this link. Account for any finish added too. A commercial GSM reading may use conditioned fabric. It is not automatically the same as a dry-mass calculation.
Use the result as a balance check. GSM, pick density, and residual wash shrinkage answer different questions. Keep them separate on the trial sheet.
Build a trial that finds a usable operating window
Select matched sections from the incoming lot and include the current approved route. Vary only the factors needed to answer the question. If several must change, plan an experiment that can separate their effects.
Record fabric condition and moisture application. Add speed, width, relevant belt settings, and delivery handling. Keep the belt identity and recent maintenance in the record.
Judge the output after the same conditioning and care sequence. Do not compare a warm machine sample with a conditioned reference tested later. They are not a fair pair.
A suitable route must meet the dimensional requirements. It must preserve usable width, appearance, and handle too. The material or buyer may require strength or other performance tests. Include these in the trial.
A hypothetical three-route decision
Assume a project sets three limits. Residual length contraction must be no greater than 2.0%. Usable width must be at least 148 cm. No visible surface marks are allowed. These are invented project limits.
Trial | Residual length contraction | Usable width | Surface result | Decision |
|---|---|---|---|---|
A | 2.8% | 149 cm | Acceptable | Misses length requirement |
B | 1.7% | 148.5 cm | Acceptable | Meets the stated checks |
C | 1.1% | 147 cm | Pressure mark present | Misses width and appearance |
Trial C has the lowest residual shrinkage. That does not make it the winner. The product must meet all three limits.
The table shows the decision logic. It does not prove process stability. For real approval, follow the required sample plan. Review each result and repeatability. Check repeated production runs too.
Preserve the result after the belt unit
The cloth still passes through drying and delivery. Too much pull later can undo some of the intended effect.
Cotton Incorporated's mechanical finishing guidance warns of unwanted tension from rolling after compaction. Choose a delivery arrangement that suits the approved range and fabric.
Trace tension through the dryer and guide rolls. Check the winding or folding system too. Use the machine's designed controls and the supplier's instructions.
A fault may appear only after delivery. Compare samples before and after that stage. Use the same test conditions. This can show whether delivery changed the result of an effective belt treatment.
Do not add more upstream treatment to offset an uncontrolled downstream pull. This can hide the fault. It can also create needless stress elsewhere.
Keep belt condition in the quality record
A belt is a working process component, not just a spare part. Record its thickness, surface condition, and hardness. Tracking and cooling history also affect repeatability.
Rieter's guide stresses routine inspection and proper maintenance. It directs users to the original machine instructions for mechanical settings. Include these rules in the plant's maintenance system.
Monforts describes its cylinder design and automatic belt grinding. These are features of its rubber-belt shrinking ranges. Check the installed belt and resulting cloth. Those checks remain necessary even with these features.
Use the belt supplier's inspection criteria. Hardness and minimum-thickness limits depend on the belt and use. Do not apply one generic limit to all cases.
Connect maintenance with a fabric check
Record what changes after approved grinding, cleaning, or replacement. The machine procedure may require new reference dimensions or settings. Include those values.
Run a suitable reference fabric. Compare its dimensional results, surface, and width. Keep this evidence beside the maintenance record.
A mechanical inspection and a fabric test support different release decisions. Both may be needed. Check the requirements before returning the range to its normal product mix.
The reference may pass while a new construction fails. Check the material and route in that case. Do not simply repeat maintenance.
Troubleshoot the location and timing of the fault
Map the problem. Does it affect the whole width or one edge? Does it occur during one period or on one fabric type?
Observation | First evidence to examine |
|---|---|
Residual length shrinkage rises through a lot | Check incoming potential and moisture trend. Review belt condition and tension. |
Length passes but width fails | Check input and setting width. Review guidance and the fabric's response across its width. |
Surface marks appear after maintenance | Check the belt surface and contact references. Compare matched post-service samples. |
Left and right behave differently | Check moisture spread, alignment, and contact. Compare samples from mapped width positions. |
Fabric passes before winding but fails afterward | Check delivery tension. Compare matched samples before and after winding. |
One construction needs repeated correction | Review the approved recipe's material scope. Check incoming variation. |
These checks guide the investigation. Several causes can produce the same symptom. Preserve the evidence before making changes.
Use safe machine access for any inspection. Follow protective and isolation procedures for the pressure zone and moving belt. Apply them to heated surfaces and the drive system too.
Compare yield on a defined fabric basis
The range intentionally changes length. Explain that planned change in the production report. Do not call every missing metre an unexplained loss.
Record planned contraction separately. Also record trims, faults, sampling, and other rejected material. Compare input and output in the same conditioned state.
Take an example 10,000 m lot. It should deliver 9,600 m after approved contraction. Then 120 m is rejected for a surface fault. Accepted output is 9,480 m.
The planned change is 400 m. Rejection accounts for another 120 m. These have different causes. Calling all 520 m a defect loss misstates the process. Ignoring the 120 m because “sanforizing shortens cloth” hides a quality cost.
Use accepted length and usable width in the commercial review. Keep the original dry-mass basis available to reconcile the material flow.
Make the release useful to the next team
Identify the finished lot and approved route in the release record. State test conditions and dimensional results in both directions. Add usable width and relevant appearance checks.
State the point in the process that the sample represents. Rewinding, washing, or more finishing may change the material. Check whether earlier evidence still covers it.
Tell the customer and cutting team the delivered fabric state. The range setting alone is not enough. They need to know how the cloth behaves in the intended route.
Preserve the original failing results when a repair is made. Record the repair as a new treatment and test the complete sequence.
Frequently asked questions
Does sanforizing guarantee zero shrinkage?
The process name does not promise zero shrinkage for every product. Test the delivered fabric. It must meet the agreed specification. Label programmes have their own rules.
Is the pressure setting the same as percentage shrinkage?
No. It is a machine control value. The belt, moisture, and material all affect the fabric response. Speed, contact, and handling matter too. Verify the actual result.
Can a higher GSM prove that compaction worked?
It can support a material balance. It does not prove the residual wash result. Nor does it prove every product requirement. Keep the measurements separate.
Why can a lot fail after it looked good at the range?
The sample may not represent the lot. Test conditions may differ, or later handling may change the cloth. Trace it through the full route.
Should a failed lot simply be run again?
Repeat processing needs an approved trial and a full result check. The second pass starts with treated cloth. It may affect width, surface, handle, and yield.
Keep the mechanical action tied to the final fabric
Start compressive shrinking by measuring the incoming fabric's remaining dimensional change. Then control moisture, width, and belt action. Manage drying and delivery so the finished roll keeps the intended shortening.
Test the fabric under the agreed method. Judge it against the product requirements. That is the final proof. Link that evidence to the machine record. The mill can then correct drift using measured results. A pressure number or generic shrinkage promise gives less useful guidance.
References
Sanfor: Controlled compressive shrinkage and label programme.
Rieter: DAYTEX shrinkage belts technical guide.
Dunline: Compressive-shrinking rubber belt FAQ.
Dunline: Rubber belt grinding instructions.



Discussion0
Loading the discussion…