
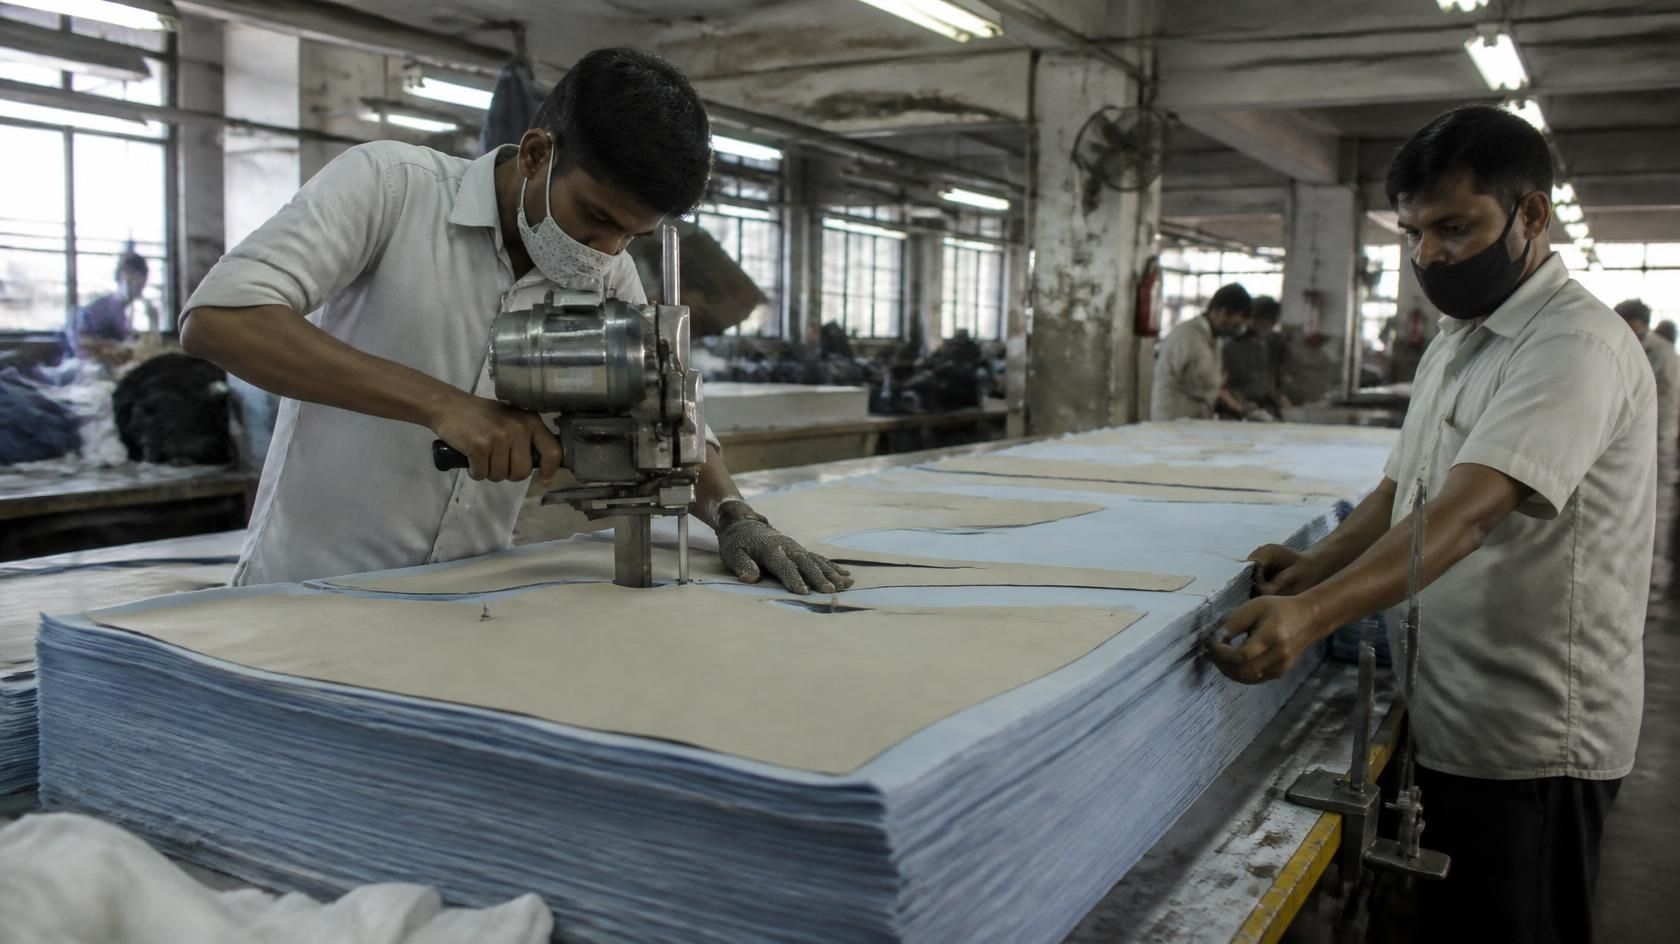
Your sewing line stops at 10:40. A supervisor walks a bundle back onto the cutting floor holding two front panels that do not match in shade and a third that is 4 mm short at the armhole. Nobody is arguing about the operator. The argument is about the RMG cutting process, and the mistake was made four hours earlier on a spreading table nobody was watching.
That bundle costs you three ways: the cut components, the sewing minutes already spent on them (minutes measured against the line's own standard minute value calculation), and the line balance while a replacement is chased through re-cut. Fabric is 60–70% of the total manufacturing cost of a garment. Every other department shares the remaining 30–40%. A cutting room quietly running at 82% marker efficiency instead of 87% out-loses a sewing floor missing target by two pieces an hour, and it does it silently, because nobody reports cutting room efficiency and marker planning in the daily production meeting.
Most factories treat cutting as three steps: spread, cut, send. It is nine, and eight of them carry a control point that, when missed, reappears downstream under a different name.
Why the RMG cutting process decides margin before sewing starts
Everything downstream of the knife can be reworked; nothing upstream of it can be un-cut. A badly sewn seam is unpicked and re-sewn. A badly cut panel is scrap. Sewing improvement projects operate on 30–40% of the cost base. The RMG cutting process operates on 60–70%.
Cutting is also a batch process feeding a flow process: one lay produces several hundred garments' worth of components in twenty minutes, so a single uncontrolled variable reaches hundreds of garments before anyone inspects the first. That is why cutting defects are almost never found in cutting.
Stage 1: Marker receipt and lay planning
The marker is the full-scale layout of every pattern piece across the sizes in the ratio, nested to consume as little fabric as possible. The control point is marker verification against the approved pattern set and the measured usable width, not the nominal width on the packing list, but the width measured after inspection, minus selvedge.
The failure is a marker planned to 148 cm on fabric arriving at 146 cm. The spreader finds it at ply one and the room improvises: shift the marker, lose an edge piece, or accept a panel running into selvedge. All three cost money; only the third one hides. Two checks belong here: confirm grain line on every piece, and confirm that nap, pile and directional prints are marked one-way: a two-way marker on a napped fabric gives you fronts and backs that reflect light differently, and nobody sees it until pressing.
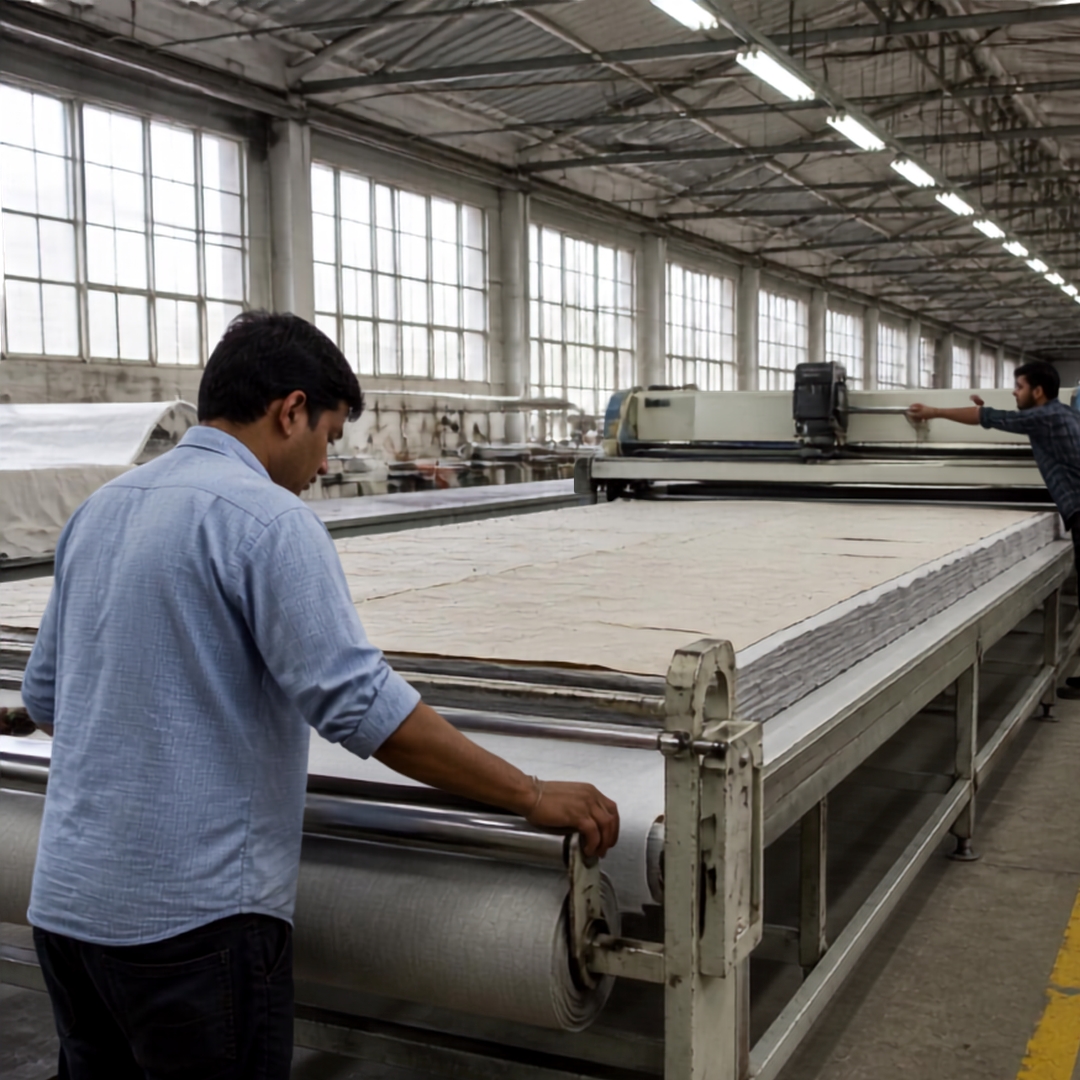
Stage 2: Relaxation and spreading, where most cutting defects are born
Fabric arrives tightly wound, held stretched by winding tension, and how far it recovers depends partly on the yarn itself: see our guide to yarn count systems, Ne, Nm, Tex and Denier. Cut it there and it recovers afterwards: panels shrink unpredictably and measurements drift between cutting and finishing. A relaxation period skipped to save four hours on Thursday becomes a measurement rejection the following Wednesday, and by then nobody connects the two.
Tension and end losses
Every ply must be laid tension-free at uniform tension across the lay. A spreader pulling fabric taut to make a lay look flat is storing energy in the plies; after cutting they relax undersize, and on a 120-ply lay the top and bottom plies do not relax equally, so the same panel measures differently depending on which ply it came from. Check tension at plies 1, 40, 80 and 120, not just at the start.
Loose end alignment forces the operator to add an end allowance to every ply to be safe. The arithmetic is unkind: a 3 cm allowance added because ends are uncontrolled, on a 150-ply lay, is 4.5 metres of fabric per lay, discarded as tail-end waste for the life of the style. The control point is a fixed end guide plus an audited allowance figure, not operator judgement.
Field note: A knitwear unit in Gazipur was returning about 40 bundles a week from sewing for short components. The cutting supervisor was certain the count was right because the spreader called it out loud. We put mechanical ply counters on two tables for a week. Counts were short on 11 of 62 lays, by one to three plies, always on lays spread after 8 p.m. A night-shift spreader was dropping a ply to skip a fabric fault and not logging it. The fix cost two counters and one extra line on the lay slip.
Stage 3: Cutting accuracy and the high-lay trap
Straight-knife and rotary-knife cutting is manual, and accuracy depends entirely on holding the blade vertical through hundreds of layers. The blade enters vertical and, under lateral load on a curve, bows: the top ply is cut to the marker line, the bottom ply is cut somewhere else. Deflection scales with lay height and curve sharpness, worst on armholes, necklines and small-radius pieces at the bottom of a tall lay, which is why a plant can cut 200 plies of a straight panel accurately and lose tolerance on 120 plies of a curved one. The proof takes five minutes: pull the top, middle and bottom panel from one block and check the edges against the pattern.
Stage 4: Numbering and bundling, the real root cause of shade variation
Every panel is numbered with its ply position and lay, so panels from the same ply stay together through sewing. Shade drifts along a roll and between rolls of one dye lot: panels from ply 4 and ply 140 may sit half a metre apart in the roll, and under shop lighting they look identical. Under the buyer's D65 light box, a front panel from ply 4 sewn to a sleeve from ply 140 is a shade variation rejection. It gets written up as a fabric problem. It is a bundling problem.
The rule that breaks: a supervisor fills a short bundle from the re-cut pile, the garment goes together, and the rejection surfaces three weeks later in another country.
Stage 5: Sorting, cut audit and issue to sewing
The cut audit is the last chance to catch everything above: panel measurement against the pattern, notch position and depth, ply-number continuity, and count against the ticket. Anything that fails goes back as a lay-level investigation, not a bundle-level replacement, because a fault in one bundle exists in every bundle from that lay. The record leaving the room (lay number, ply range, size, count, issue time) is what traces a finishing defect back to a shift. Without it, every quality investigation ends in a shrug.
Where does each stage of the RMG cutting process fail?
Stage | Control point | Common failure | Consequence downstream |
|---|---|---|---|
Marker receipt | Verified against measured usable width | Planned on nominal width; direction unchecked | Panels into selvedge; shading front to back |
Relaxation | Defined time by fabric type, logged | Shortened to meet a cut plan | Post-cut shrinkage; measurement rejection |
Spreading: tension | Checked at four heights through the lay | Fabric pulled taut to look flat | Panels relax undersize; varies by ply |
Spreading: ends | Fixed end guide, audited allowance | Operator-judged allowance every ply | Tail-end waste for the style's life |
Cutting | Blade verticality; lay height by curve radius | Knife deflection on curves at full height | Armholes/necklines out of tolerance |
Numbering and bundling | Numbering before block leaves table; bundles never crossed | Shortages filled from re-cut or another lay | Shade variation; buyer rejection |
Sorting and issue | Sampling-based audit; lay traceability | Ticket-count check only | Lay-wide defects issued in full |
The one-shift cutting room audit checklist
Relaxation log for every roll on the floor: time in and out recorded
Measured usable width vs marker width: marker plus tolerance sits inside
Ply tension checked at four heights on a live lay: no recovery when lifted
End allowance in use matches the documented figure
Mechanical ply count matches the lay slip exactly
Top, middle and bottom panel from one curved block within tolerance at the armhole
Ten sampled bundles opened, following the same sampling logic as AQL 2.5 inspection tables: ply numbers continuous, no mixed lays
Issue record present for the last four hours: lay, ply range, size, time
Failures on ply tension, ply count, or the bundle check are systemic, not incidents. Treat them as lay-level investigations and check every other lay from that shift.
Final Word
The cutting room is not a support function feeding sewing. It spends two-thirds of your cost and makes every irreversible decision in the factory. Most plants inspect the output of the RMG cutting process and manage none of its inputs, then file the resulting defects as fabric, sewing or buyer problems, because those departments happen to be holding the garment when the fault becomes visible.
Put a control point on every stage, audit several of them every shift, and keep the bundle intact. The efficiency follows from the control, not the other way round.

Discussion0
Loading the discussion…